Connecting to Oracle
EmpowerID includes an Oracle connector that allows organizations to bring the user data (user accounts, profiles and roles) in their Oracle system to EmpowerID, where it can be managed and synchronized with data in any connected back-end user directories. When EmpowerID inventories Oracle, it creates an account in the EmpowerID Identity Warehouse for each Oracle user, a group for each Oracle profile, and an EmpowerID Business Role for each Oracle role.
EmpowerID Oracle connector allows organizations to bring the user data in their Oracle system to EmpowerID, where it can be managed and synchronized with data in any connected back-end user directories. Once connected, you can manage this data from EmpowerID in the following ways:
- Provision new users
- Edit user attributes
- Delete users
This topic demonstrates how to connect EmpowerID to Microsoft Dynamics AX.
To connect EmpowerID to your Oracle system
- Log in to the EmpowerID Management Console as an administrator.
- From the EmpowerID Management Console, click the EmpowerID icon, and select Configuration Manager from the menu.
- In Configuration Manager, select the Account Stores node and then click the Add New button above the grid.
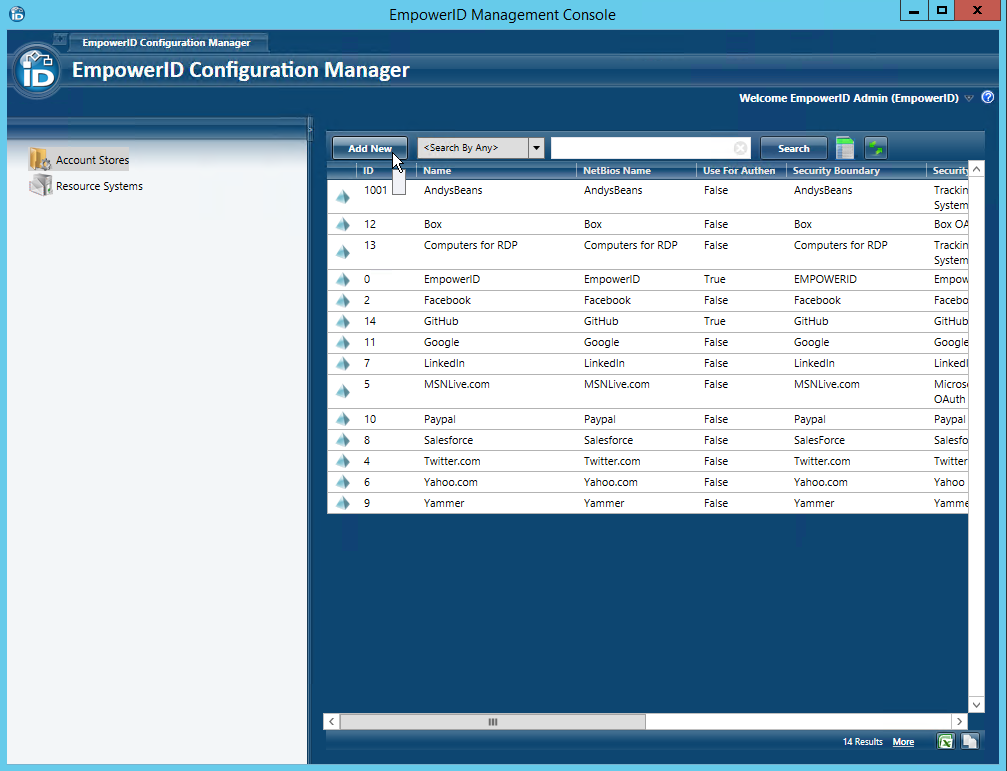
- In Configuration Manager, select the Account Stores node and then click the Add New button above the grid.
- Click the Add New button above the grid.
- In the Add New Security Boundary window that opens, select the Oracle Users Security Boundary type from the drop-down list and then click OK.

- In the Account Store Details window that appears, do the following:
- Type a name for the Account Store in the Account Store Name field.
- Type the name of an admin user in the User Name field.
- Type the password for the above admin user in the Password field.
- Type the FQDN or IP address to the server with the Oracle system.
- Type the name of the Oracle database in the Database field.
- Click Save.

- Back in the main screen of Configuration Manager, search for the account store you just created and then double-click it or right-click it and select Edit from the context menu.

This opens the Account Store Details screen for the Oracle connector. The use of this screen is discussed in the next section.
To configure the Oracle account store
The Account Store Details screen contains three panes that are relevant to the Oracle connector--the General pane, the Inventory pane, and the Group Membership Reconciliation pane. To view reference information about a particular pane, expand the drop-down for that pane.
Oracle Account Store Configuration
Before configuring EmpowerID to manage the account store, determine whether you want EmpowerID to provision Person objects from the user records it discovers in the account store. If so, answer the following questions before turning on inventory.
- When do you want EmpowerID to provision Person objects for those user accounts? At inventory or at a later point in time?
- If inventory provisioning is desired, in what Business Role and Location should those Person objects be placed?
- How many user accounts can one Person have in the account store?
- If people can have more that one user account in the account store, do you want EmpowerID to attempt to automatically join any user accounts meeting the conditions of your Join rules to an existing Person during inventory?
For a greater discussion of these points within the context of connecting EmpowerID to an account store, see Active Directory.
- From the General pane of the Account Store Details screen, enable each desired feature by toggling the icon to the right of each feature from a red sphere to a green check box. For example, if you want EmpowerID to provision an EmpowerID Person for each Oracle user, toggle the red sphere to the right of Allow Person Provisioning to a green check box.

- In the Inventory pane of the Account Store Details screen for the account store, toggle the icon to the right of the Allow Automatic Person Provision On Inventory setting from a red sphere to a green check box if you enabled Allow Person Provisioning in the General pane and you want EmpowerID to automatically create a linked EmpowerID Person object for each new, unique Oracle user discovered during the inventory process.

- If you are allowing automatic person provision on inventory, click the Edit button to the right of Business Role for New Inventory Provision and select an appropriate Business Role for each new Person provisioned during inventory.

- Click OK to close the Business Role Selector.
- If you are allowing automatic person provision on inventory, click the Edit button to the right of Location For New Inventory Provision and select an appropriate Location for each Person EmpowerID provisions during inventory.

- Click OK to close the Location Selector.
- To begin inventory, click the red sphere to the left of Enable Inventory so that the red sphere becomes a green check box.

- After several minutes, refresh the Account Store data by pressing the Refresh Data button located a the top of the Account Store Details screen to see that EmpowerID has inventoried the Oracle user accounts and provisioned the requisite number of EmpowerID Persons for those accounts (if you selected the provisioning options discussed above).