Assigning Resource Owners
Home / Identity Administration / Access Assignments / Current: Assigning Resource Owners
When users shop for any resources for which they do not have the delegations to claim, EmpowerID creates a task for each of their requests and routes those tasks to all users with the ability to approve them. In EmpowerID, these "approvers" are known as "resource owners" and comprise all users who have the Access Manager Access Level for the specific resource being requested.
For example, if a user requests membership in a group that is available from the IT Shop—and the group does not allow for automatic group joining—EmpowerID sends the request to each person who is an Access Manager or owner of the group. Any one of those people can then decide whether to approve or deny the membership. This principal applies to all resource types protected by EmpowerID.
To assign resource owners
- In the Navigation Sidebar of the EmpowerID Web interface, expand Admin, then Identities, and click Manage Delegations.
- From the Manage Delegations page, click the Resource Delegations tab.
This opens a form that allows you to do the following:- Select a resource type, such as a security group, an Exchange mailbox or an asset request, etc.
- Specify the specific resource belonging to the resource type, such as the BK-GVR01 security group, the administrator mailbox, or the Mobile Phone asset request, etc.
- Select the type of EmpowerID Actor to assign the access.
- Search for and select specific actor belonging to the type. For example, if you select Person as the type of actor, then you would search for and select each person who is to be the resource owner.
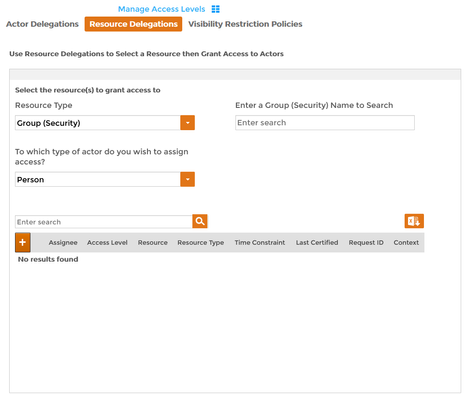
- From the Resource Delegations tab, select the appropriate resource type from the Resource Type drop-down.
Type the name of the specific resource for that resource type in the Enter a Name to Search field and then click the tile for the resource.
Please note that the label for the field dynamically updates to reflect the selected resource type. Thus, if you selected Group (Security) as the resource type, the label would read Enter a Group (Security) Name to Search.
- Click the Add Assignee
 button on the grid.
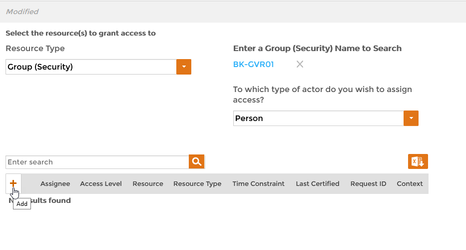
- In the Assignee dialog that appears, do the following:
- Type the name of the specific actor in the Enter Name to Search field and then click the tile for that actor.
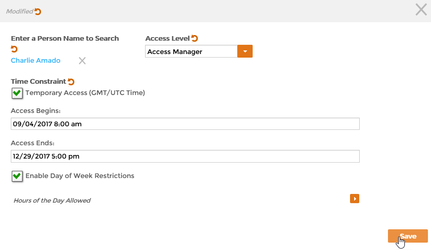
- Select Access Manager from the Access Level drop-down.
Optionally, limit the time and dates of the access assignment as needed.
Loading