/
Granting Direct Access to Resources
Granting Direct Access to Resources
- Universal Importer for Confluence
- Kim Landis (Unlicensed)
Owned by Universal Importer for Confluence
Home /Identity Administration/ Access Assignments / Current: Granting Direct Access to Resources
Direct access assignments allow you to selectively grant users access to specific resources on a resource-by-resource basis, as opposed to By Location or Relative access assignments, which have a broader scope. When you make a direct access assignment, you grant access to a single resource object.
This topic demonstrates how to grant direct access to resources by granting the access to an EmpowerID Person.
To grant direct access to resources
- In the Navigation Sidebar, expand Identities and click Manage Delegations.
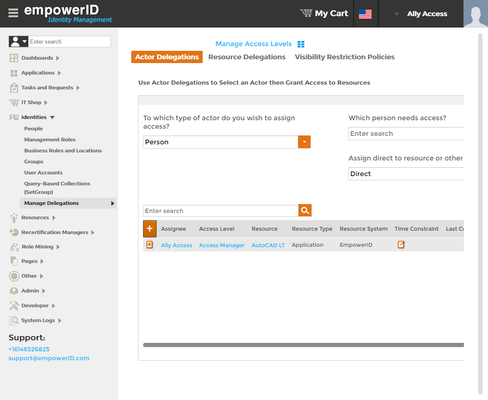
- Select the Actor Delegations tab.
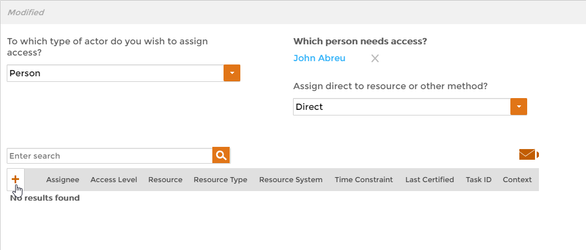
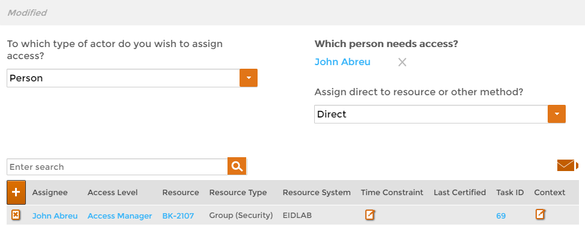
- Select Person from the To which type of actor do you wish to assign access? drop-down, type the name of the person to whom you are delegating access in the Which person needs access? field and then click the tile for that person.
- Select Direct from the Assign direct to resource or other method drop-down.
- Click the Add Access Assignments (+) button located in the grid header.
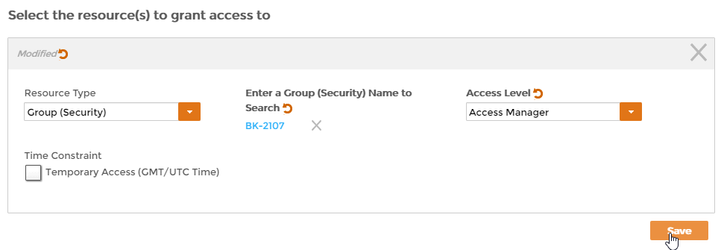
- In the Select the resource(s) to grant access to dialog that appears, do the following:
- From the Resource Type drop-down, select the resource type for the resource you are giving the person. For example, if you are giving the person access to a security group, you select Group (Security).
- Type the name of the specific resource to which you are giving the person access in the Enter a <Resource Type> Name to Search field, where <Resource Type> is the resource type you selected in step 6a.
- Click the tile for the resource to select it.
- Select the specific access you want to give the person from the Access Level drop-down. For example, if you want to give the person the ability to control group membership for a group, you select Access Manager.
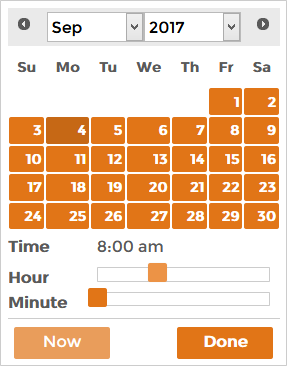
- Optionally, if you want to limit the access to a specified period of time, tick Time Constraint and select the appropriate dates from the Access Begins and Access Ends fields. Please note that clicking these fields opens a Calendar control for selecting the dates.
- Click Save to add the assignment to the shopping cart.
- Repeat step 6 above for each type of access assignment you want to make for the person.
- When you have finished adding access assignments, click the Shopping Cart at the top of the page, type a reason for the assignment and then click Submit.
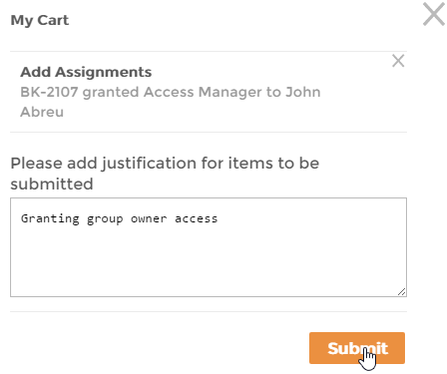
Once the workflow processes the request, if no approval is needed, you should see the assignment(s) in the grid.
, multiple selections available,
Related content
Granting Direct Access to Resources
Granting Direct Access to Resources
More like this
Granting Access by Location
Granting Access by Location
More like this
Granting Access to Resources
Granting Access to Resources
More like this
Granting Access to Resources
Granting Access to Resources
More like this
Granting Access to Relative Resources
Granting Access to Relative Resources
More like this
Granting Access to Relative Resources
Granting Access to Relative Resources
More like this