You are viewing an earlier version of the admin guide. For the latest version, please visit EmpowerID Admin Guide v7.211.0.0.
Application Configuration Settings
Phillip Hanegan
- Anonymous
To register an application for use with EmpowerID, you must first create a record for the application in the EmpowerID Identity Warehouse and specify configuration settings for it. You do this on the Manage Applications page by clicking the Create Application action link. This opens the Create Application page, which contains tabs and fields where you can enter information about the application. This topic provides an overview of this page.
The following image shows part of the Create Application page that appears when you register an application in EmpowerID.
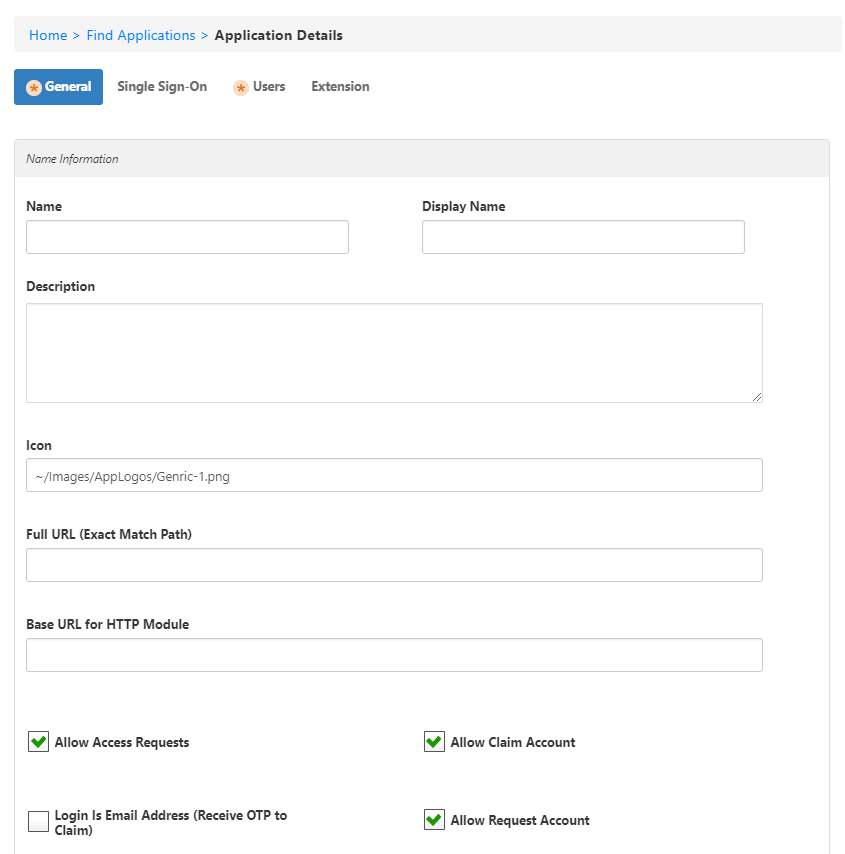
The page has four tabs:
General — This section provides fields for specifying general application settings common to most application types.
Single Sign-On — If the application is a service provider that requires users authenticate to access resources, you use this section to configure Single Sign— On (SSO) for the application.
Users — This section provides settings for linking the application with an account store.
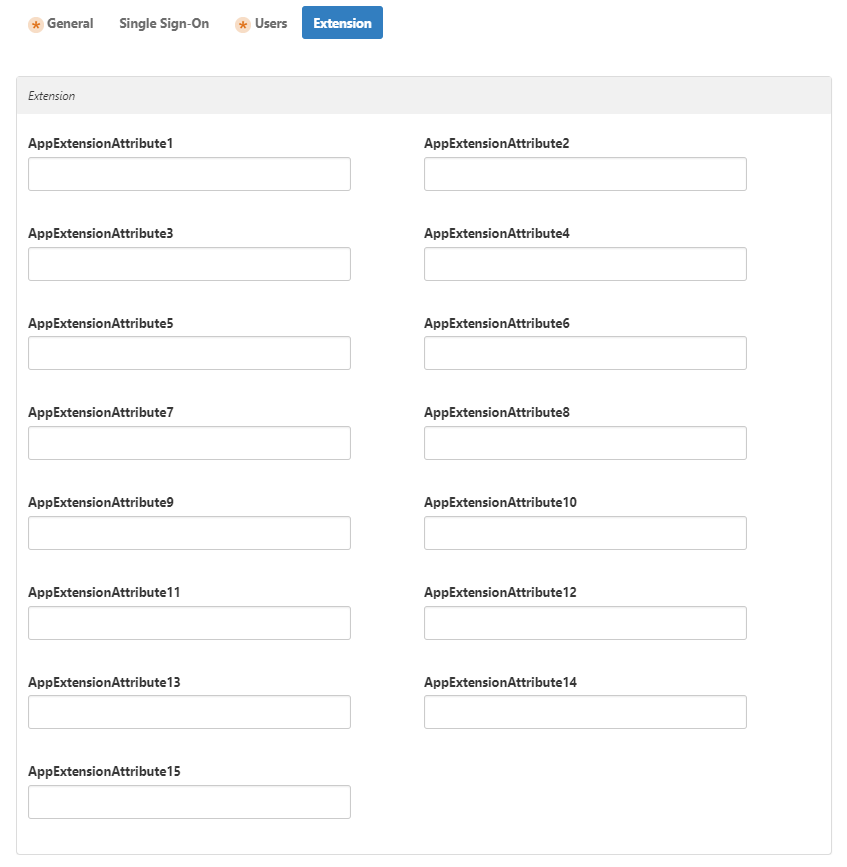
Extension – This section provides space for up to fifteen additional custom attributes that are specific to your application.
General Tab
This section provides fields for specifying general application settings common to most application types.
- Name — This is the name of application.This field is required.
- Display Name — This is the name of the application that displays to users on the EmpowerID User Interfaces.This field is required.
- Description — This is a description of the application.This field is required.
- Icon — This is the icon associated with the application. EmpowerID links the icon to an application tile that users can click to access the application once they have been granted an account for the application. The URL specifies the specific tile that is displayed for the SSO application.
- Full URL (Exact Match Path) — When protecting Web-based resources, specify an exact URL to restrict. To restrict access to the specific page www.empowerid.com/customers/reports.aspx, type www.empowerid.com/customers/reports.aspx here.
- Base URL for HTTP Module — This specifies the URL the user types in their browser to go to the application.
- Allow Access Requests — Specifies whether the application appears in the IT Shop. Items in the IT Shop can be requested and/or claimed by users.
- Allow Claim Account — Specifies whether users can claim ownership of an application account from the IT Shop. Users who claim accounts, must provide their login from the SSO application as EmpowerID passes the login to the application as an assertion of the user's identity. If the login is incorrect, the assertion will be rejected by the application.
- Login Is Email Address — Specifies whether the application expects usernames to be formatted as email addresses.
- Allow Request Account — Specifies whether users can request an account in the application. All account requests route to the application owner and other delegated users with the authority to provision new accounts in the application.
- Make me the Application Owner — Specifies whether the person creating the application is the application owner. Application owners can grant or deny access requests.
- Configure Advanced Claim and Request Account Options — Specifies whether custom pages and workflows are to be used for claiming, requesting, editing and deleting application accounts. If this option is selected, the page displays additional settings that can be used for setting the custom pages and workflows to be used.
- Is Fulfillment Group Centric — With tracking-only applications, select this option to send a separate fulfillment request to each group owner. Clear this option to send just one request to the application owner.
Fulfillment Workflow — When you select Is Fulfillment Group Centric, click in this field and press Enter to select the ProcessGroupFulfillment workflow tile or any custom workflow you may have. Otherwise, it uses the default workflow and sends a single request to the application owner.
To have a custom workflow appear as an option here, add the word "fulfillment" to the custom workflow's Search Tags.
Single Sign-On Tab
If the application is a service provider that requires users authenticate to access resources, you can configure Single Sign-On (SSO) for the application from this section of the form.
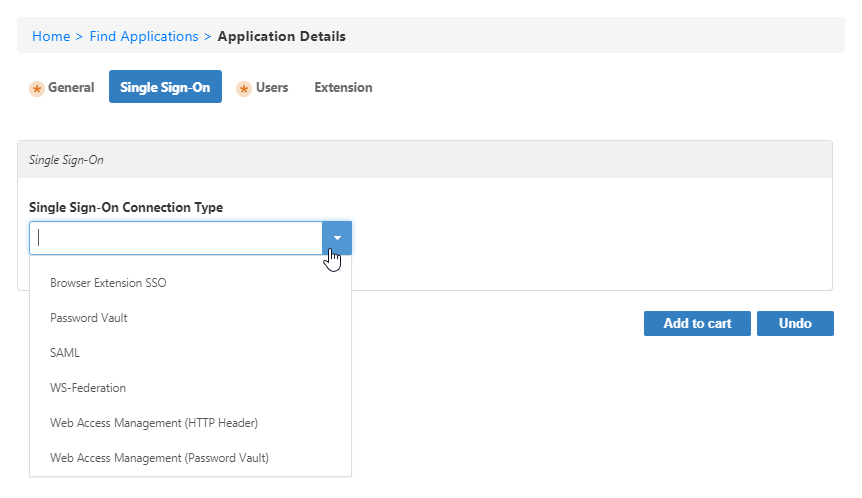
Single Sign-On Connection Type — Specifies the SSO connection type for the application, when applicable. Depending on the type selected, the form provides different options.
Users Tab
This section of the form provides settings for linking the application with an account directory.
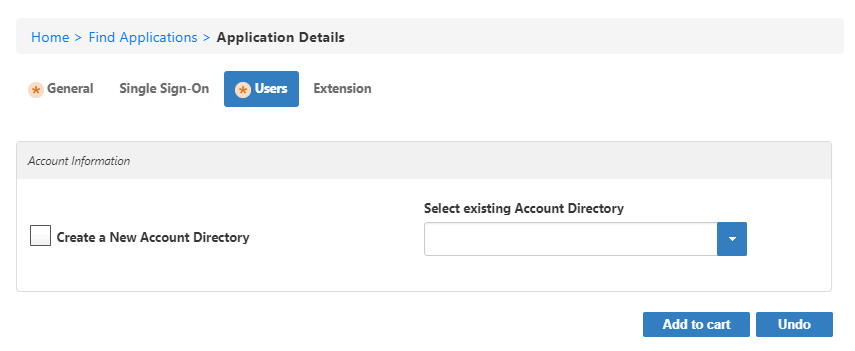
When registering applications in EmpowerID, you must link those applications to an account directory. This is necessary for EmpowerID to control access to the application as well as for providing you the means for attesting the accounts owned by users in registered applications during audits. When linking applications to account directories, you can choose to create a new account directory specifically for the application or select an existing account directory that has already been registered in EmpowerID. If you choose to create a new account directory, EmpowerID creates a special type of account store internal to EmpowerID, known as a "tracking-only" account store. A tracking-only account store account exists as a container within EmpowerID for storing user and group records for SSO or Attestation without making a connection to any external directory associated with the application. Opting to create a new account store when registering applications in EmpowerID is advantageous in that doing so creates a one-to-one correlation between the account store and the application, as well as the SSO connection for the application, if used. You simply add your existing users and groups to the account store in the same way you would with Active Directory users and groups.
Extension Tab
This section allows you to add up to fifteen custom attributes for your application.
Once you finish setting up the application, select it from the applications grid to see the Application Details Page where you can further configure it with groups, application subcomponents, MFA, etc.
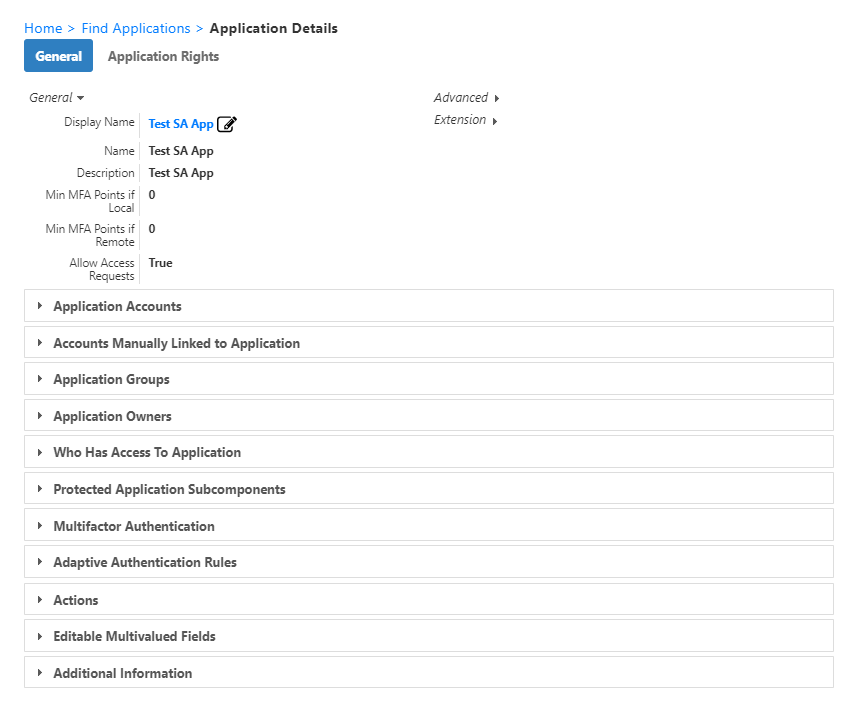
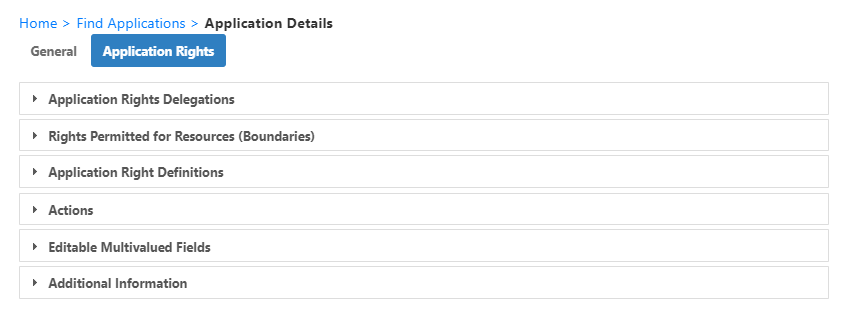
For more information on practical application of these settings, see Creating a Reverse Proxy Application for the Sample App and Creating a WAM SSO Application for the Sample App.