Create Custom Authorization Manager Classes
In EmpowerID, when Operation activities are invoked at runtime, a real-time approval authorization process is triggered to ensure that the user executing the code within the Operation activity has the right to do so. If the user has been granted the right, the code executes and the workflow continues; if the user does not have the right, the workflow routes to operation to an approver who must approve the task before the code will execute. By providing an operation framework, activities are extended to support RBAC authorization, audit logging and an entire approval process with email notifications and task lists.
In the case that normal RBAC authorization processes need to be overridden or added to, EmpowerID provides an Authorization Manager class library in Workflow Studio, allowing you to add your own custom authorization manager class to handle unique operational authorization situations. You can create a class in Workflow Studio inside the Authorization Manager class library that inherits from the IAuthorizationManager class and by overriding the authorization methods specific to the operation you wish to effect. These methods are as follows:
- HasAccess — You override this method to customize who has access to complete the operation.
- GetApprover — You override this method to customize who can approve the request.
In addition to creating the custom Authorization Manager class, you also need to specify the Authorization Manager Assembly and Authorization Manager Type in EmpowerID Management Console for the specific Resource Type operation(s) affected, setting the values to that of the assembly that gets created when you publish the class library and that of the full name of your custom class. Once you have accomplished this, EmpowerID will use the authorization manager specified for the operation when it is run.
In this topic, we demonstrate how to create a custom Authorization Manager class that adds members of an IT Admin group to the list of approvers for the Provision Computer and Move Computer operations. We demonstrate this by doing the following:
- Opening the existing Authorization Manager class library in Workflow Studio and adding a custom class to the class library that will:
- Inherit from the IAuthorizationManager class
- Override the Has Access and Get Approver methods
- Specifying the Authorization Manager class for the appropriate Resource Type operation(s)
To create a custom Authorization Manager class
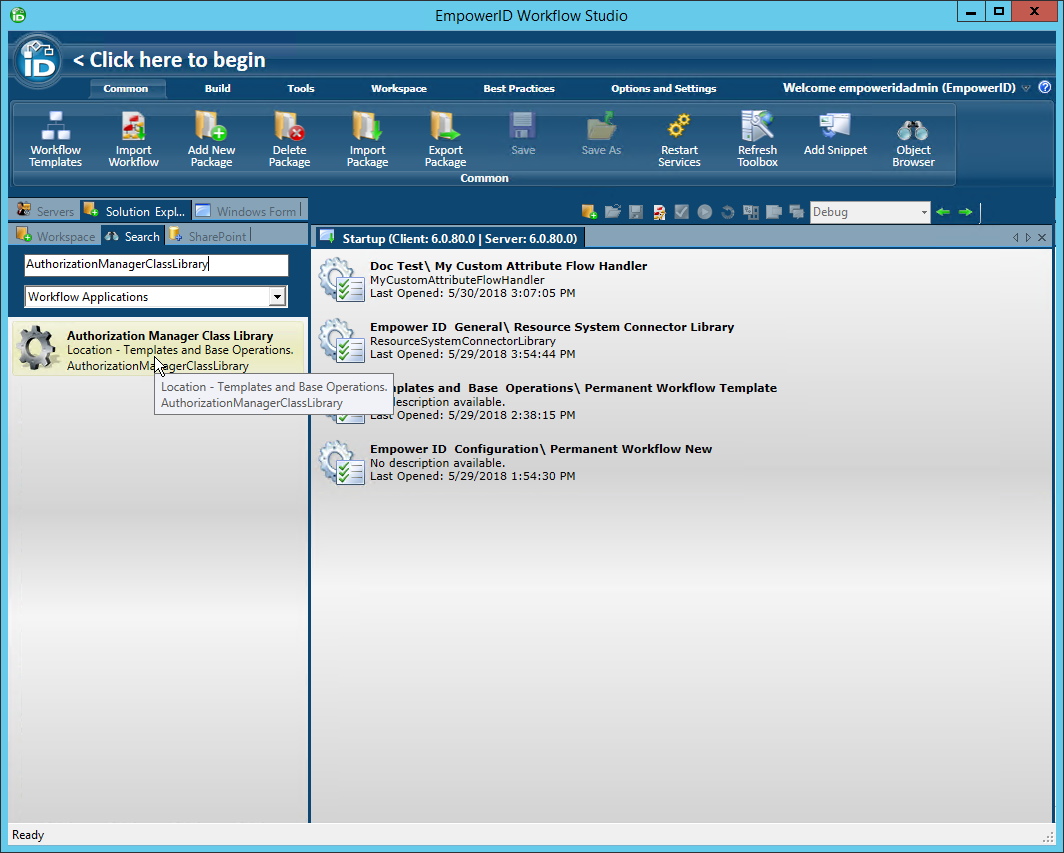
From Solution Explorer, search for AuthorizationManagerClassLibrary and then double-click the Authorization Manager Class Library template.
Workflow Studio opens a stubbed Authorization Manager Class Library class in the Workspace.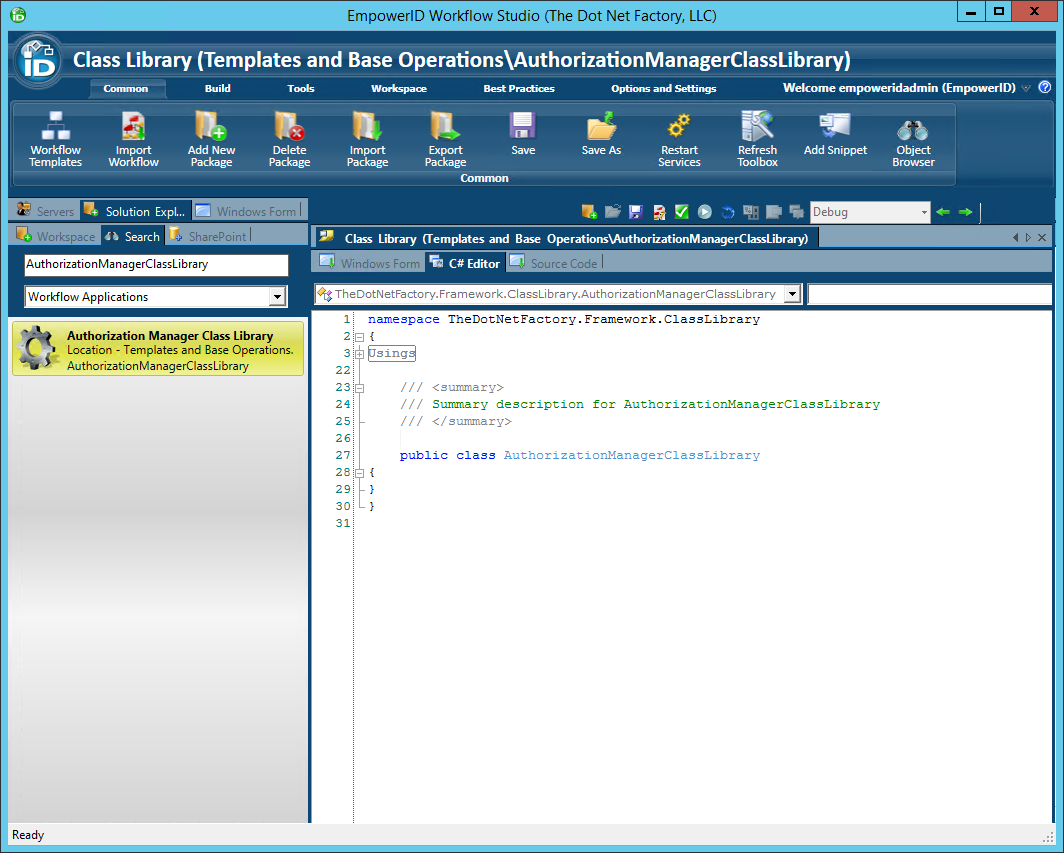
- In the Solution window, right-click on the Classes folder and select Add Visual C# Source Item > Add Class Source from the context menu.
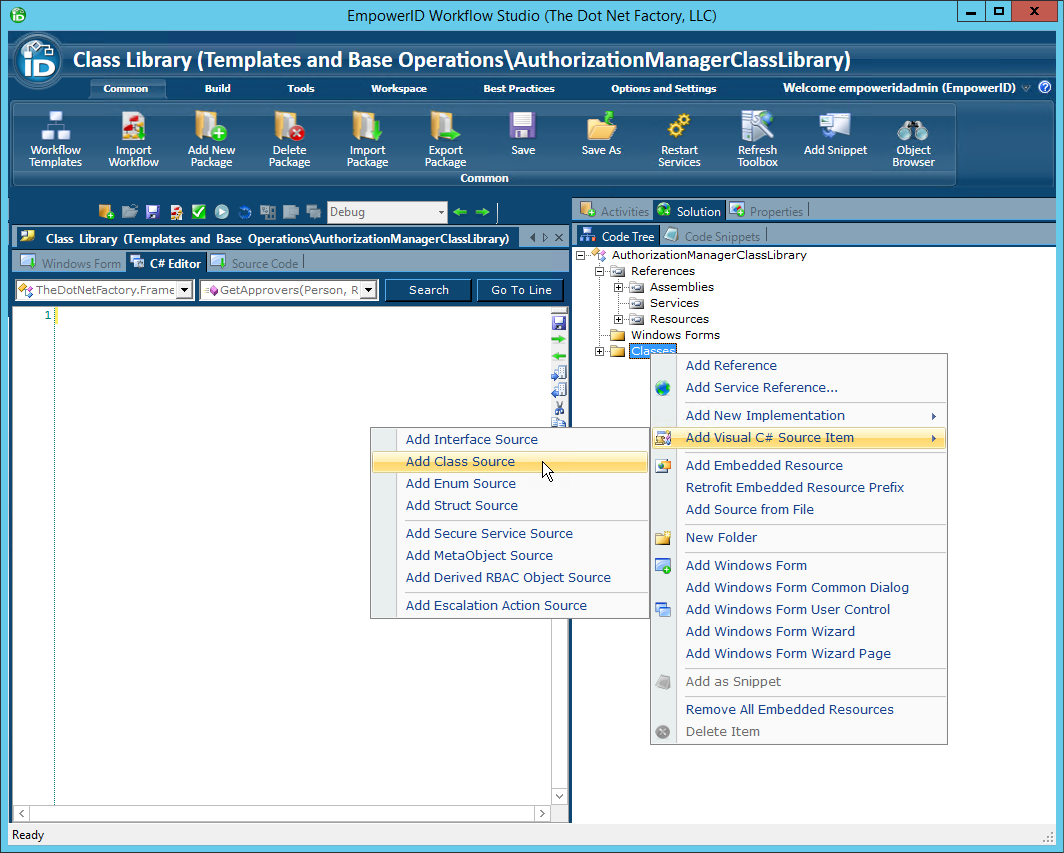
- Enter a name for the class and then click OK.

Workflow Studio creates the class and opens a stub for it in the C# Editor.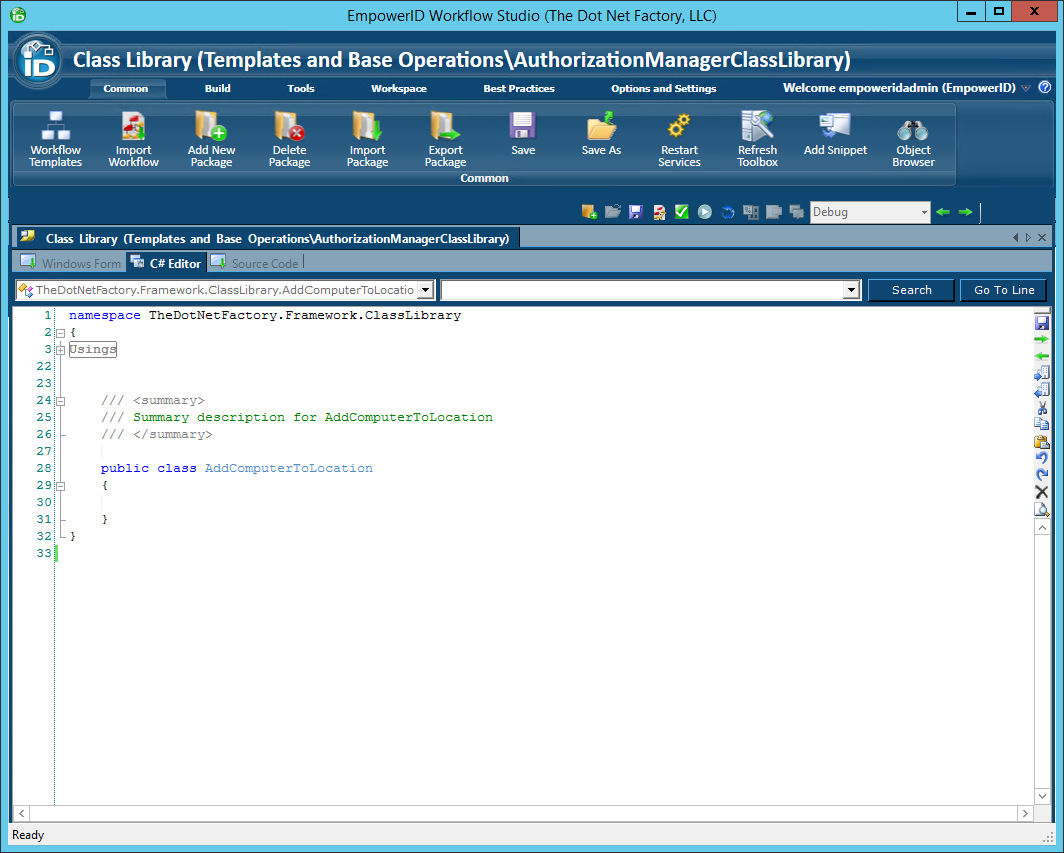
- In the Usings region for your class, add a reference to the TheDotNetFactory.Framework.Core.Workflows namespace.
- In the C# Editor for the custom Authorization Manager class, add code to do the following:
- Inherit from TheDotNetFactory.Framework.Core.Workflows.IAuthorizationManager base class
- Implement the HasAccess() method
Implement the GetApprovers() method
Your class library should look similar to the following example. Please note that the name of your class will differ accordingly.public class AddComputertoLocAuthorizationManager : IAuthorizationManager { public bool HasAccess(Person Requestor, ResourceType ResourceType, E.TList<Resource> TargetResources, ResourceTypeOperation operation, Dictionary<string, object> Parameters) { } public E.VList<PersonPrincipal> GetApprovers(Person Requestor, ResourceType ResourceType, E.TList<Resource> TargetResources, ResourceTypeOperation operation, Dictionary<string, object> Parameters) { } }
- In the C# Editor for the custom Authorization Manager class, add code to the HasAccess() method do the following:
Determine whether the Requestor has access for the current operation
In the below example code, we are checking to see if the requestor has a title that contains IT Admin. If the requestor does, then the method returns true; otherwise, it returns false.public bool HasAccess(Person Requestor, ResourceType ResourceType, E.TList<Resource> TargetResources, ResourceTypeOperation operation, Dictionary<string, object> Parameters) { if (Requestor.Title.ToSafeString().ToLower().Contains("IT Admin")) { return Resource.HasAccess(Requestor.PersonID, TargetResources, operation.Name); return true; } else { return Resource.HasAccess(Requestor.PersonID, TargetResources, operation.Name return false; } }
- In the C# Editor for the custom Authorization Manager class, add code to the GetApprovers() method to do the following:
- Add members of an IT Admin group to the list of operation approvers
Return RBAC approvers if there are no IT Admin approvers available
The code should look similar to the below example.public E.VList<PersonPrincipal> GetApprovers(Person Requestor, ResourceType ResourceType, E.TList<Resource> TargetResources, ResourceTypeOperation operation, Dictionary<string, object> Parameters) { E.VList<PersonPrincipal> RbacApprovers = PersonPrincipal.GetRbacApprovers(operation.Name, TargetResources); var ITAdmins = Person.GetByGroupID(54); E.VList<PersonPrincipal> ITAdminApprovers = new E.VList<PersonPrincipal>((from a in ITAdmins join b in RbacApprovers on a.PersonID equals b.PersonID select b).ToList()); if (ITAdminApprovers.Count > 0) { return ITAdminApprovers; } else { return RbacApprovers; } }
- Compile your class library by clicking the Compile button in the toolbar located just above the C# Editor. Compiling the class library allows you to verify that your code contains no syntax errors.
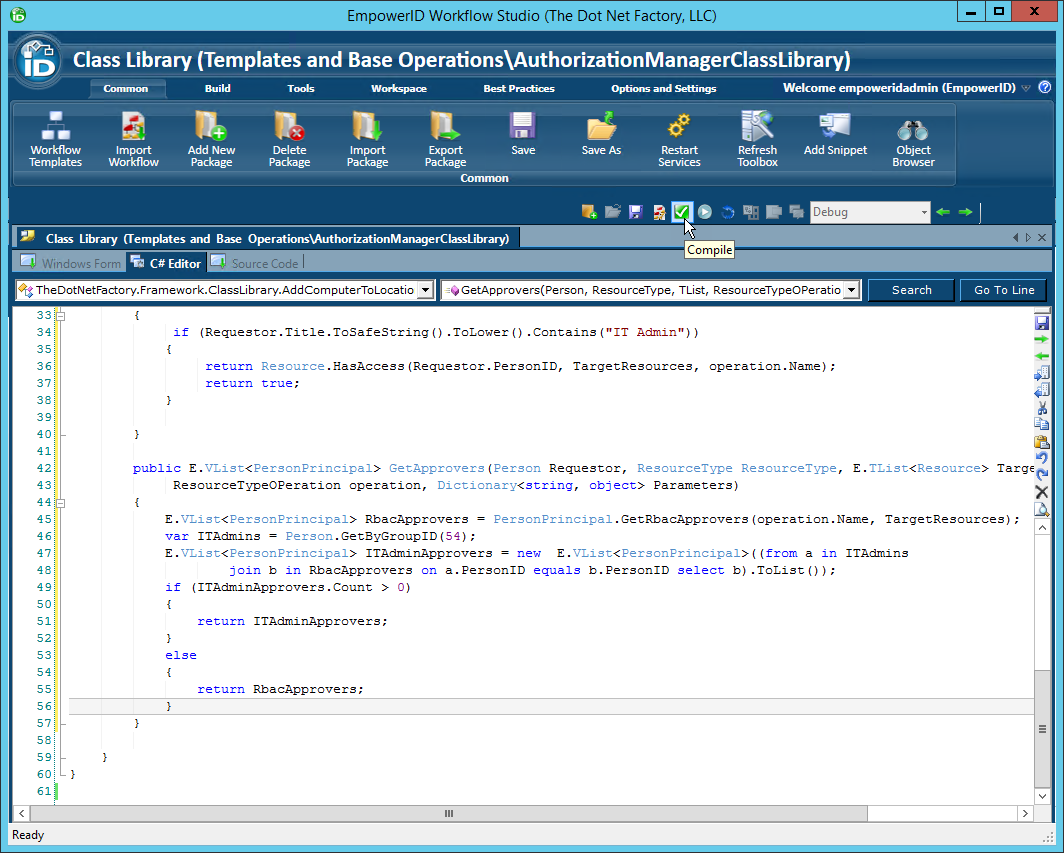
After the compilation completes, you should see an Operations Log appear with a status of Succeeded. If the compilation failed, locate and fix the errors as specified in the log and then recompile the class library.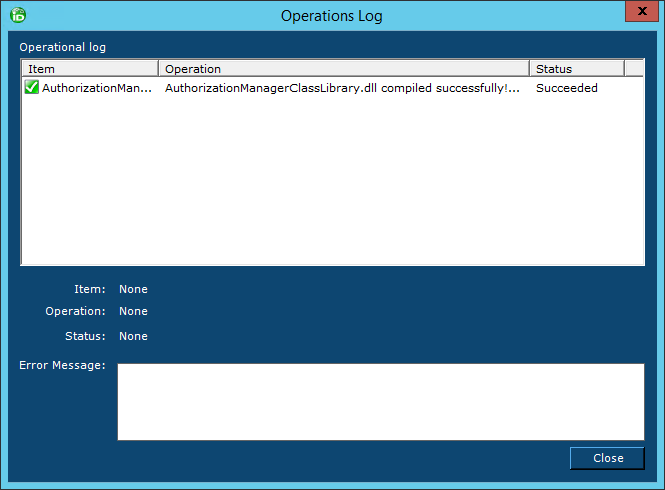
- Click Close to close the Operations Log.
- Click the Compile and Publish button in the toolbar located just above the C# Editor to publish the custom Authorization Manager Class Library. Publishing adds an assembly for the class library to the GAC and makes it available for use in EmpowerID.
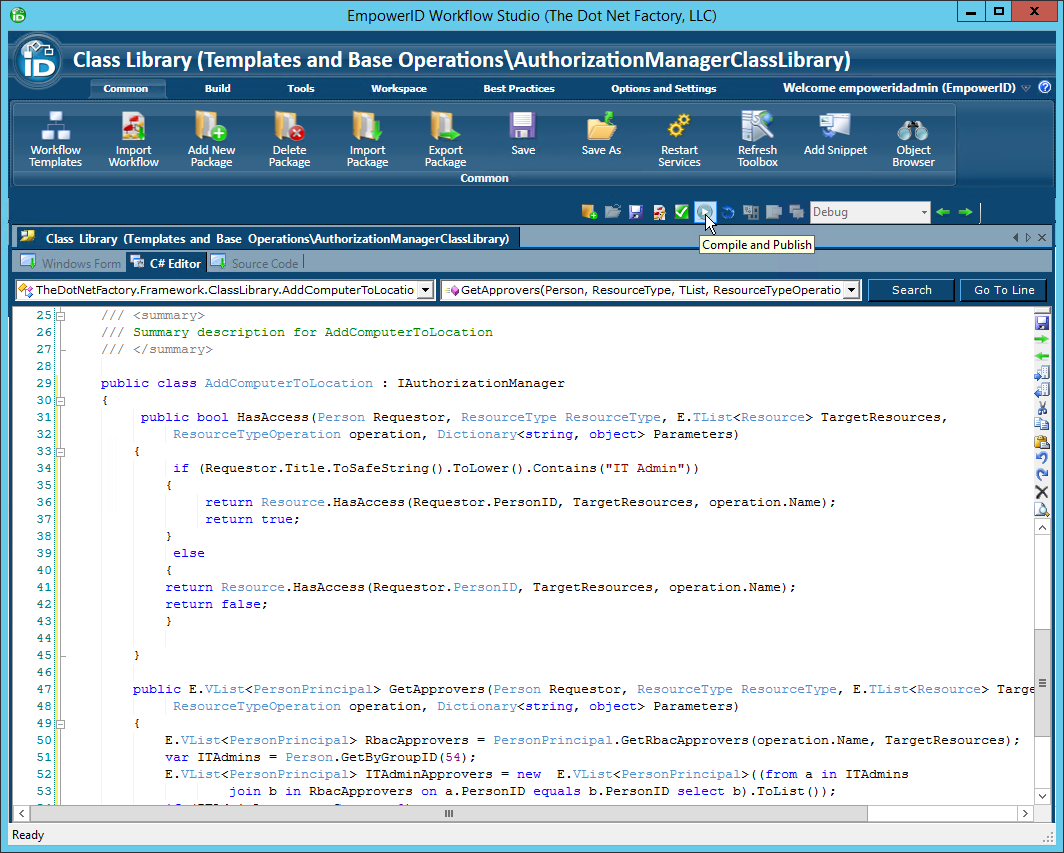
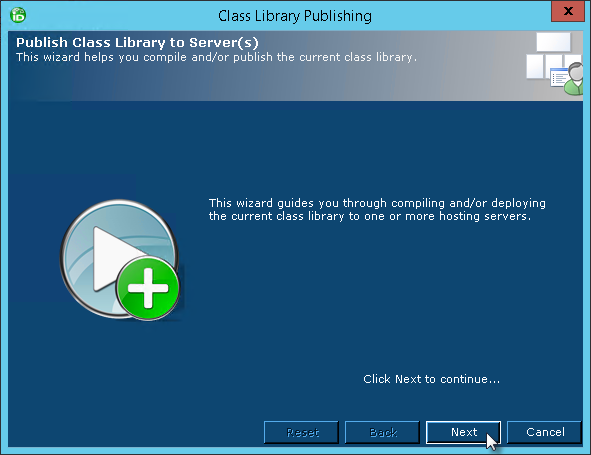
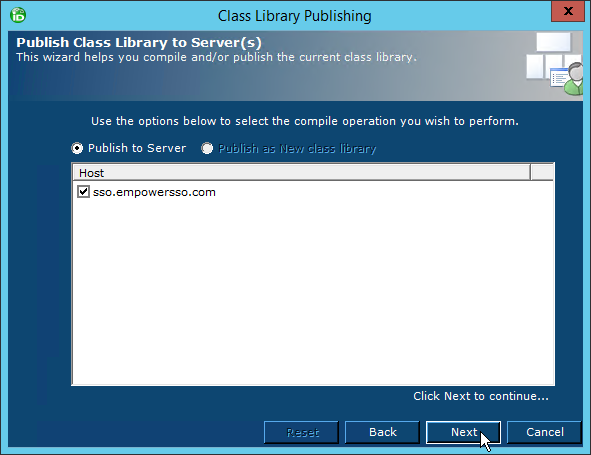
- In the Class Library Publishing wizard that appears, click the Next button.
- Select the server and click Next.
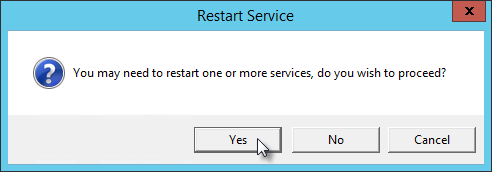
- Click Yes when prompted to restart one or more services.
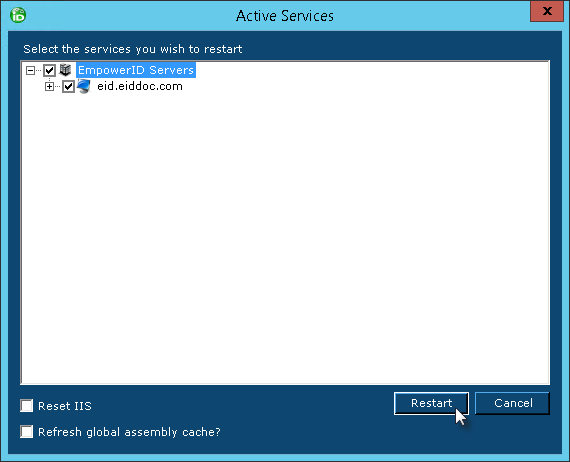
- In the Active Services dialog that appears, select the services to restart and then click Restart.
Now that the custom Authorization Manager class has been published, the next step is to instruct EmpowerID to use it for processing the appropriate Resource Type Operation(s).
To set the Authorization Manager class
- From the navigation sidebar of the EmpowerID Web interface, expand Infrastructure Admin > Type Definitions and click Operations.
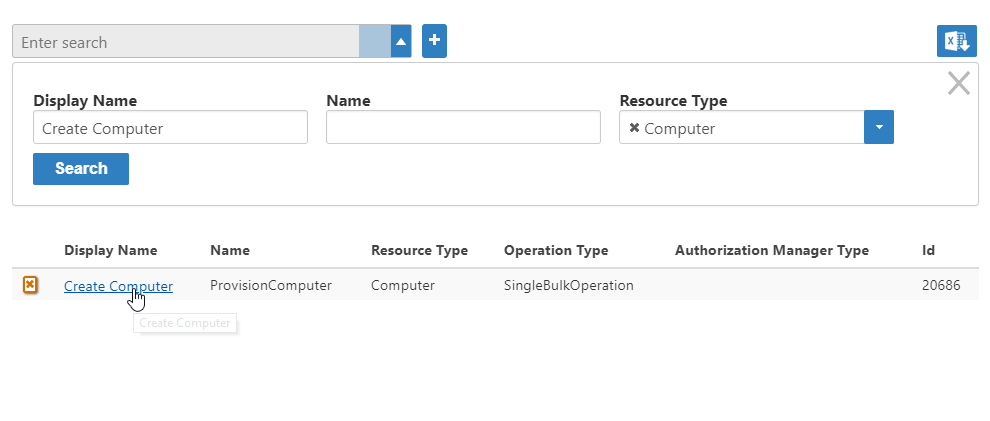
- Click the drop-down to the right of the search button to display Advanced Search options.
- In the Advanced Search dialog that opens, do the following:
- In the Display Name field, enter Create Computer.
- Click the Resource Type drop-down and select Computer.
- Click Search.

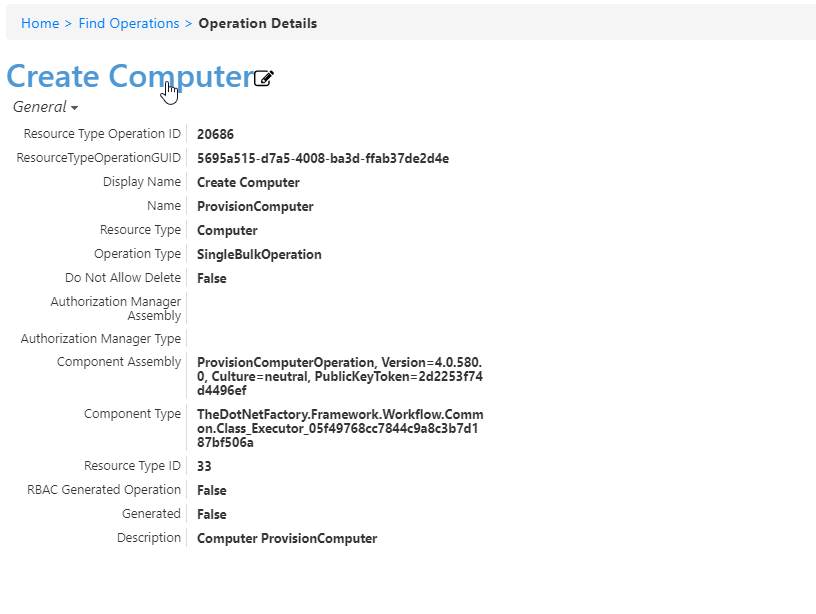
- Click the Create Computer link.
- Click the Edit link on the Operation Details page that appears.
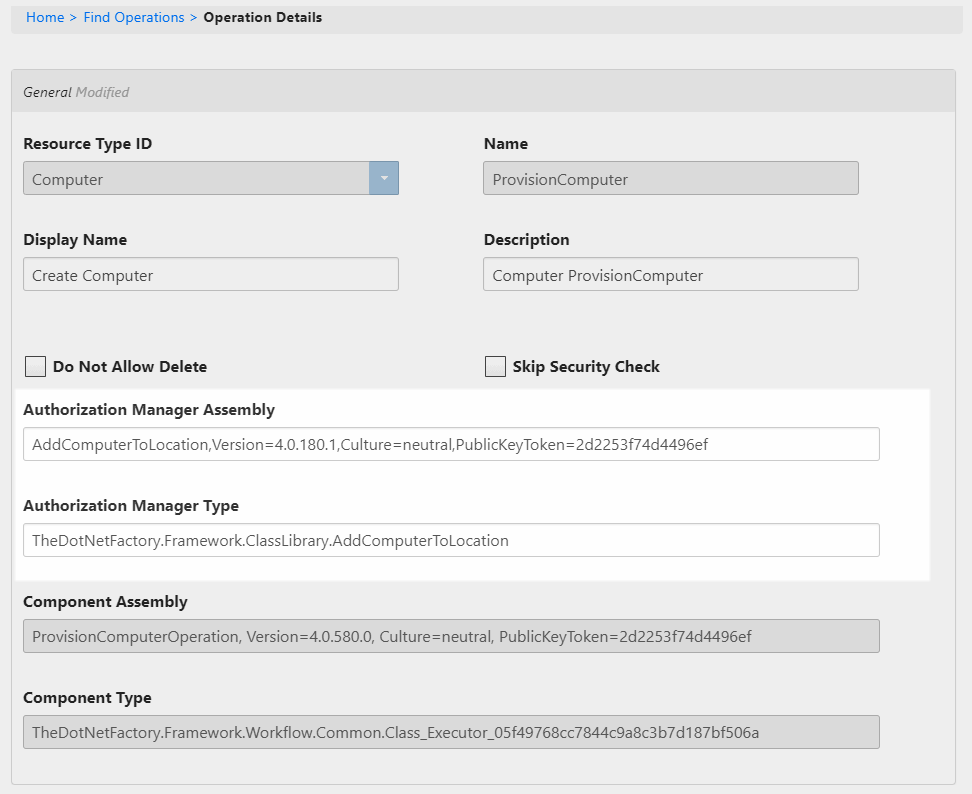
IN the Authorization Manager Assembly field, enter the name of the Authorization Handler assembly you just created above, followed by the version number, Culture, and PublicKeyToken information as comma separated values. This entry should look similar to AddComputerToLocation,Version=4.0.180.1,Culture=neutral,PublicKeyToken=2d2253f74d4496ef where MyCustomAttributeFlowHandler and Version=4.0.180.1 is the respective name and version number of the assembly in your environment.
EmpowerID PublickeyToken values are always 2d2253f74d4496ef.
- In the Authorization Manager Assembly field, enter the full name of the class you created. This should be similar to TheDotNetFactory.Framework.ClassLibrary.AddComputerToLocation where AddComputerToLocation is the name of your class library.
- Click Save.
The next time the Create Computer operation is called in a workflow, the custom Authorization Manager should be invoked.