Create Custom Stored Procedures
Phillip Hanegan
- Anonymous
EmpowerID ships with thousands of stored procedures for retrieving data in the EmpowerID database that can then be displayed to users in forms, lookups and reports as well as returned for use in EmpowerID workflows. As EmpowerID is extensible, you can create your own stored procedures to retrieve whatever data is necessary to your operations and used those stored procedures in EmpowerID lookups, reports and workflows.
This topic demonstrates this by creating a stored procedure that returns all expiring accounts and using that stored procedure in code to extend the expiration date of each account by twenty days, as well as to send an email to each account owner notifying them of the pending expiration. Doing so involves the following:
- Creating a new stored procedure in the EmpowerID database to retrieve all accounts expiring within a specified timeframe
- Creating a class library with code that calls new stored procedure
To create a new stored procedure in the EmpowerID Identity Warehouse
- Open SQL Server Management Studio (SSMS) and connect to the SQL server containing the EmpowerID database.
- From SSMS Object Explorer, expand the EmpowerID database > Programmability nodes, then right-click on Stored Procedures and select New Stored Procedure from the context menu.
- In the Procedure template that opens, edit the name of the statement so that it reflects the purpose of the stored procedure. When naming custom stored procedures, EmpowerID recommends the following naming convention: CompanyNameOrAcronym_EmpowerIDComponent_PurposeOfStoredProcedure. In our example, we are naming the stored procedure "DEMO_Account_GetExpiringAccounts."
In the Procedure template, remove the sample parameter code and replace it with the below code. We will use this parameter in the class library to specify a limit for the accounts returned by the stored procedure.
@ExpirationInDays int
In the Procedure template, remove the sample code between BEGIN and END.
At this point the CREATE PROCEDURE statement should look similar to the following:CREATE PROCEDURE DEMO_Account_GetExpiringAccounts @ExpirationInDays int AS BEGIN END GO
Next, add code to the statement to return all accounts not currently expired, passing in @ExpirationInDays. Passing in the parameter allows you to filter the accounts returned by the stored procedure based on their expiration date. For example, if you want to return accounts expiring in 10 days, when the procedure runs, you set the parameter to 10.
When adding code to stored procedures in this way, it is important to keep the following key points in mind:
- The query must select all columns (properties) for the component being returned. This is because the schema for EmpowerID components can change and if not all component properties are returned by the procedure, an exception will occur.
- The query should issue a NOLOCK to prevent the statement from being blocked by concurrent data modification queries.
The CREATE PROCEDURE statement should now look similar to the following code:CREATE PROCEDURE DEMO_Account_GetExpiringAccounts @ExpirationInDays int AS BEGIN SELECT * FROM Account (NOLOCK) WHERE ExpiresON > GetUtCDate() and ExpiresON is not null and ExpiresOn < DateADD(Day,@ExpirationInDays, GetUtCDate()) END GO- Next, click execute or press F5 to create the stored procedure.
You should see the new stored procedure in Object Explorer.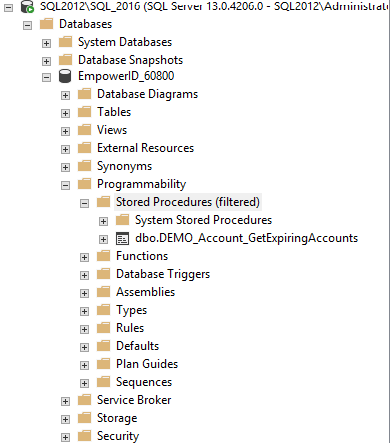
The next step is to create a new class library in Workflow Studio with code that calls the stored procedure. This is demonstrated below.
To create a class library that calls the new stored procedure
- In Workflow Studio, start a new class library project by clicking the Workflow Studio application icon and selecting Extensibility > EmpowerID Class Library from the context menu.
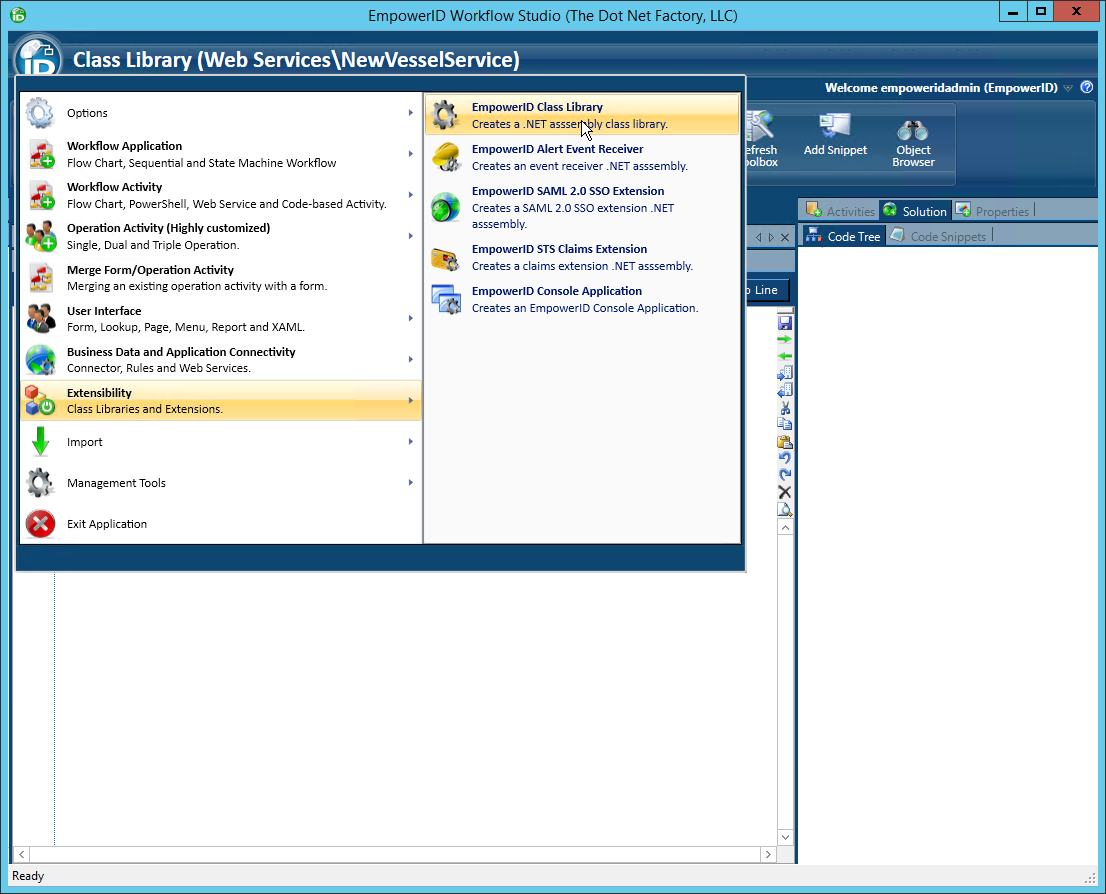
- Name the class library appropriately and save it to the package of your choice.
This opens the C# Editor for the class library.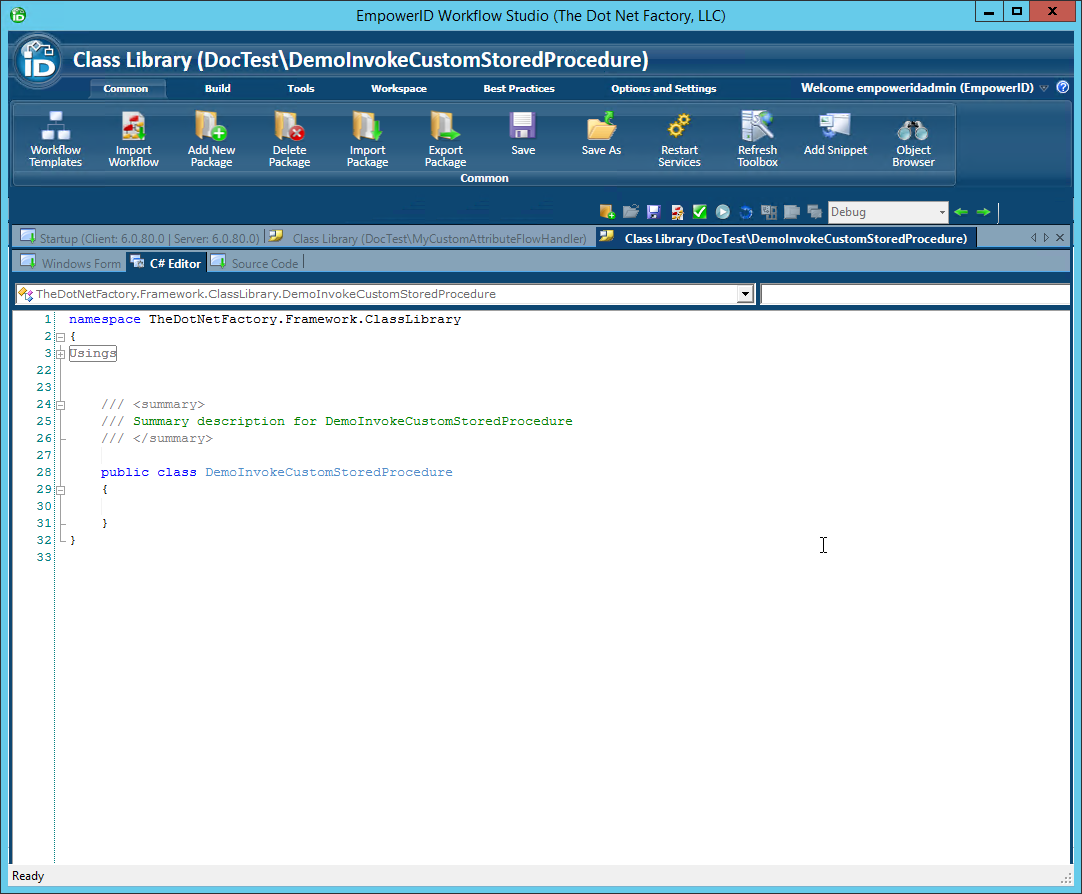
- In the C# Editor for the class library, create a new method that does the following:
- Executes the stored procedure created above to return a list of all accounts expiring within five days. This method uses the following parameters:
- sprocName — String that specifies the stored procedure
- timeout — Integer that specifies the length of time in seconds the method remains active
- start — Integer that specifies the first record to be returned
- pageLength — Integer that specifies the number of records to be returned when paging
- totalCount — Integer that specifies the total number of records to be returned
- sprocArgs — Object that specifies the value to be inserted into the parameter of the stored procedure
- Loops through the accounts returned by the stored procedure, extending the expiration date of each by 20 days.
Sends an email to each account owner notifying them of the pending expiration
The code should look similar to the below example.public class DemoInvokeCustomStoredProcedure { public void test() { int totalCount; E.TList<Account> accounts = Account.GetTList("Demo_Account_GetExpiringAccounts", 30, 0, int.MaxValue, out totalCount, 5); foreach(Account acc in accounts) { //Extend the expiration date by twenty days for each account returned by the stored procedure acc.ExpiresOn = DateTime.UtcNow.AddDays(20); //Update the ExpiresOn property in the external user directory acc.UpdateAccountStoreIdentityEntry(); //Send email notifying account owners if(!string.IsNullOrEmpty(acc.Email)) { double expirationInDays = acc.ExpiresOn.Value.Subtract(DateTime.UtcNow).TotalDays; string emailBody = acc.FriendlyName + ", Your account is going to expire in " + expirationInDays + " days"; string emailSubject = "Account Expiring"; TheDotNetFactory.Framework.Helpers.EmailHelper.CreateMailMessage(acc.Email, emailSubject, emailBody, true, "", ""); } } } }
- Save your changes and then compile your class library by clicking the Compile button in the toolbar located just above the C# Editor. Compiling the class library allows you to verify that your code contains no syntax errors.
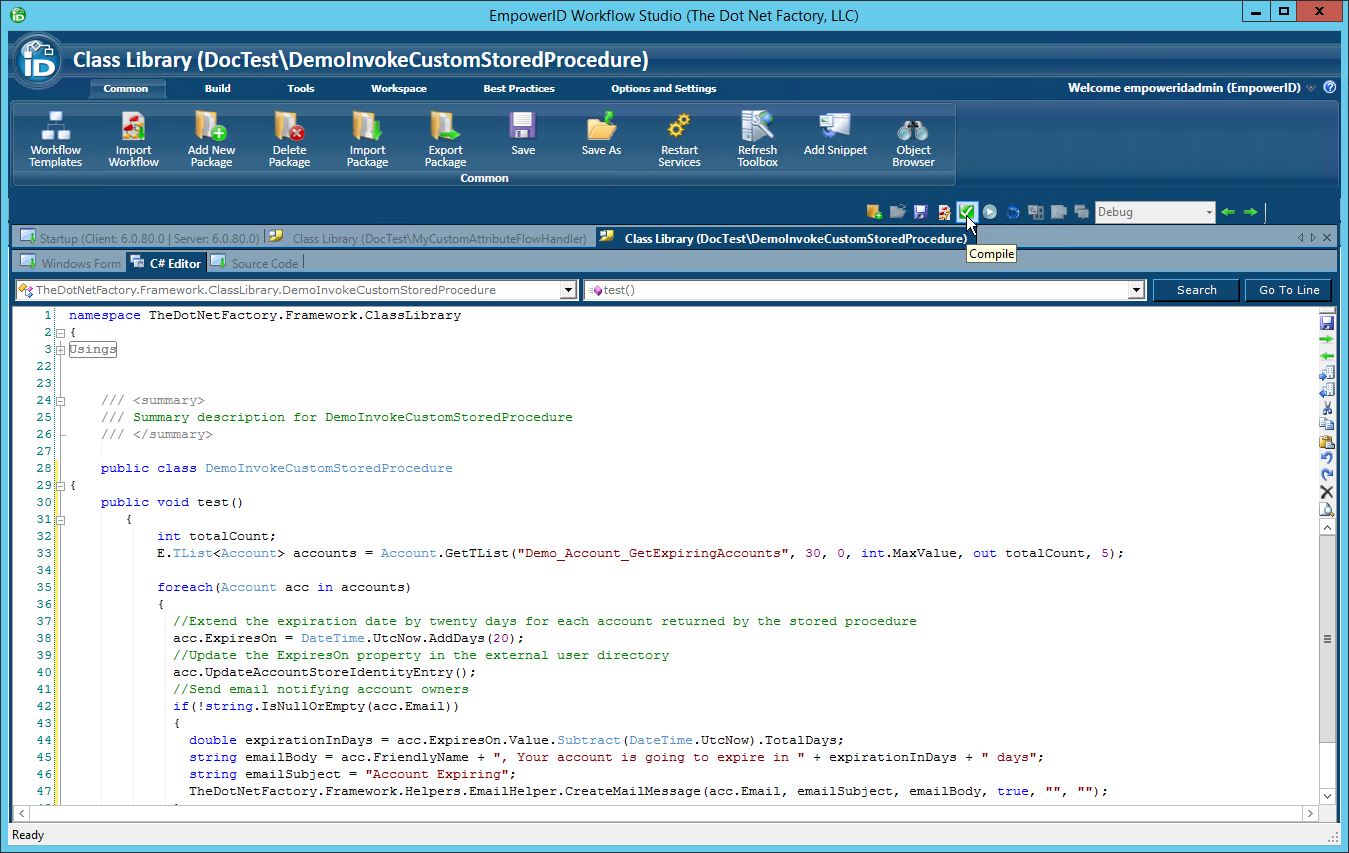
After the compilation completes, you should see an Operations Log appear with a status of Succeeded. If the compilation failed, locate and fix the errors as specified in the log and then recompile the class library.
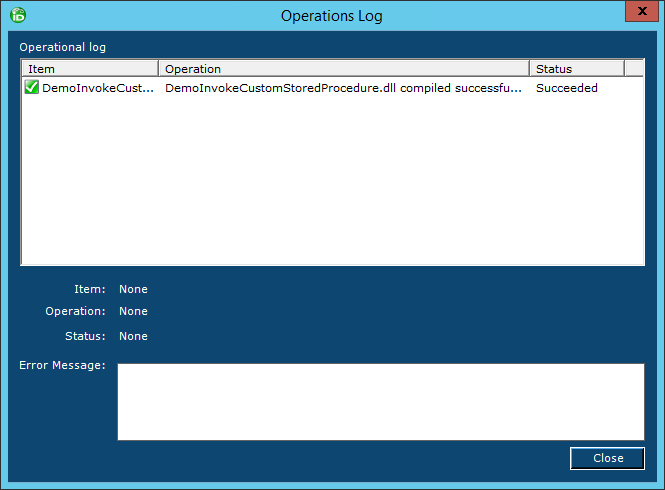
- Click Close to close the Operations Log.
- Next, publish the class library by clicking the Compile and Publish button located just above the C# Editor.
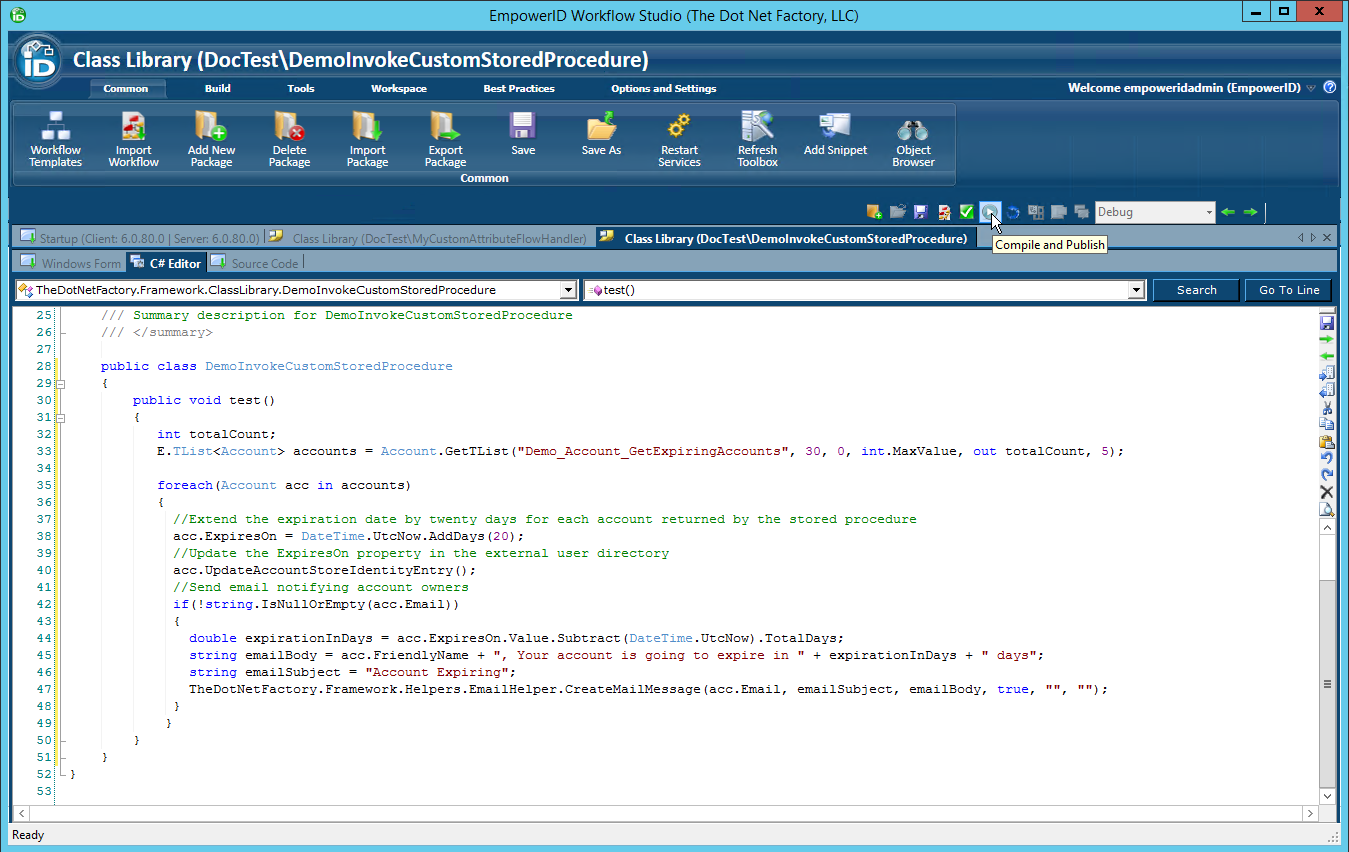
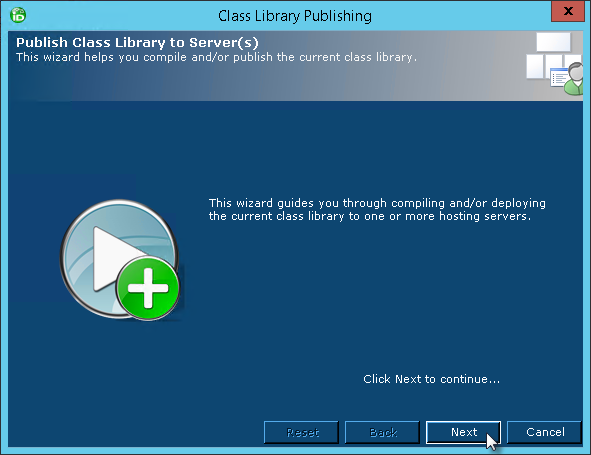
- From the Class Library Publishing wizard that appears, click Next.
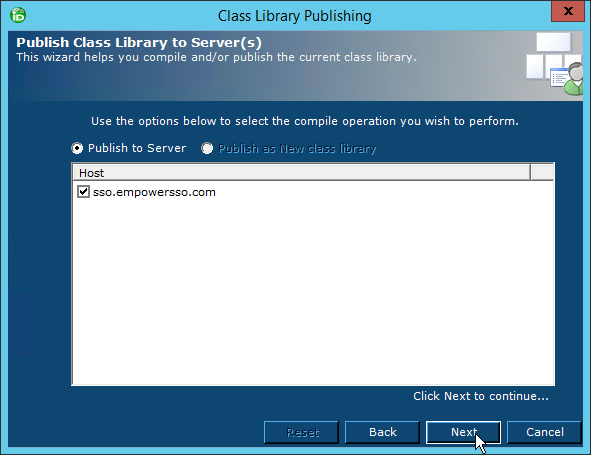
Select an EmpowerID server as the publishing location and then click Next.
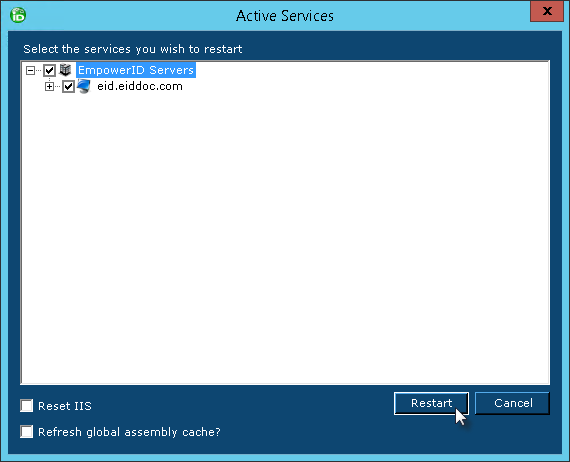
When the wizard has completed publishing, you will be promoted to restart one or more services. Restarting the services allows EmpowerID to pick up your changes as well as make the underlying assembly for the class library available to the local GAC of those services.
- Click Yes when prompted to restart the services.
- In the Active Services dialog that appears, select the services to be restarted and then click Restart.
You can now use the class library in workflows.