Create Custom Attribute Flow Handlers
By default, EmpowerID retrieves attribute values for each user account in a connected account store and maps them value for value to the corresponding Person attributes stored in the EmpowerID Identity Warehouse. In this way, if the value of "State" for an AD user account is "Massachusetts" then the value of "State" for that account's Person object in EmpowerID is "Massachusetts." However, EmpowerID allows you to create your own Attribute Flow Handlers to customize these values. You do this by creating a class library in Workflow Studio that inherits from the DefaultAttributeflowHandler class and by overriding the method specific to the account store (external or EmpowerID) you wish to effect. These methods are as follows:
- SetPersonAttribute — You override this method to customize how the attribute is set in EmpowerID.
- ProcessPersonAttributeChange — You override this method to customize how the attribute is set in an external account store like AD.
In addition to creating the custom Attribute Flow Handler, you also redefine the Attribute Flow Assembly and Attribute Flow Type for the specific Security Boundary Attributes you are customizing in the EmpowerID Management Console, setting the values to that of the assembly that gets created when you publish the class library and that of the full name of your custom class. Once you have accomplished this, the next time attribute flow occurs, the affected values will be updated in the appropriate system.
In this topic, we demonstrate how to create a custom Attribute Flow Handler that truncates the State attribute value contained in an external account store to the abbreviation for those states so that the abbreviated value appears as the State attribute value for the corresponding Person records in the EmpowerID Identity Warehouse. We demonstrate this by doing the following:
- Creating a Attribute Flow Handler class library in Workflow Studio and adding code to the class library to:
- Inherit from the DefaultAttributeflowHandler class
- Override the SetPersonAttribute() method of the DefaultAttributeflowHandler class to abbreviate the State attribute for user accounts in AD so that those attributes appear in the abbreviated form for each corresponding Person record in EmpowerID
- Editing the State Security Boundary Attribute for EmpowerID in the EmpowerID Management Console
To create a Custom Attribute Flow Handler
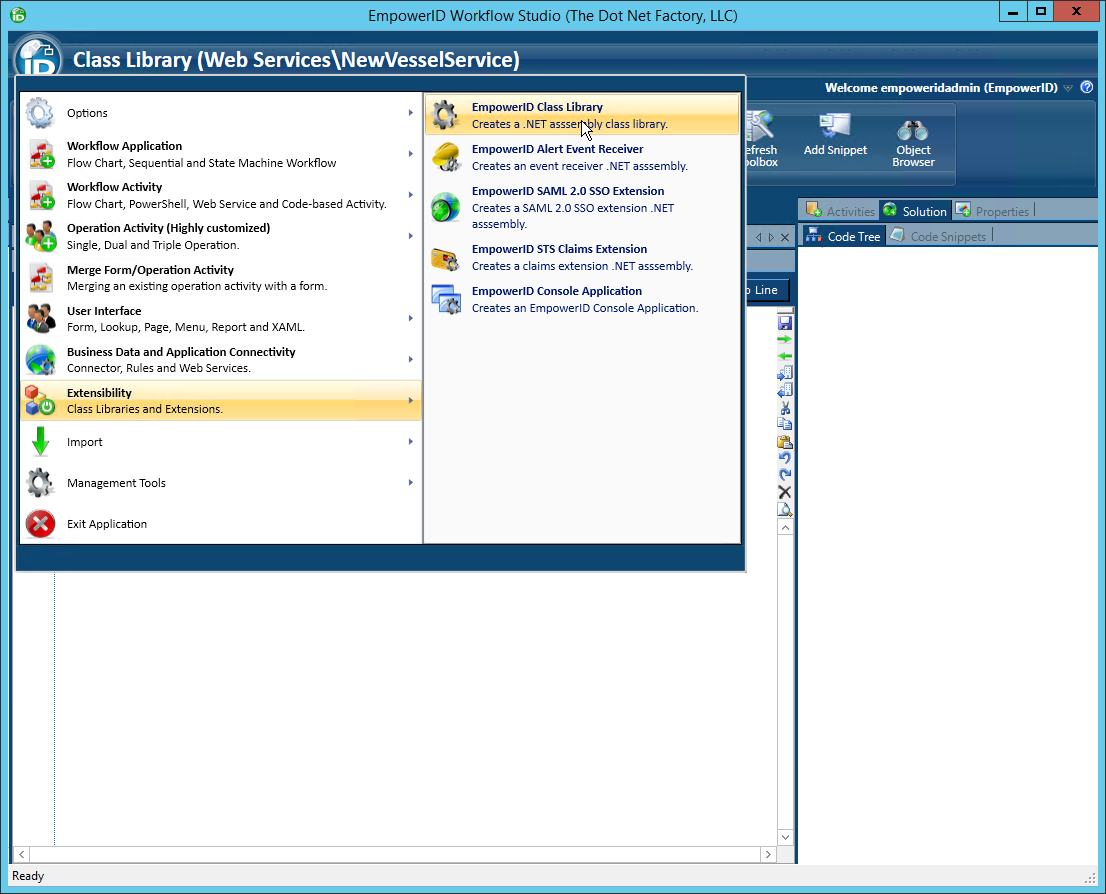
- In Workflow Studio, click on the application icon to open the application menu and select Extensibility > EmpowerID Class Library.
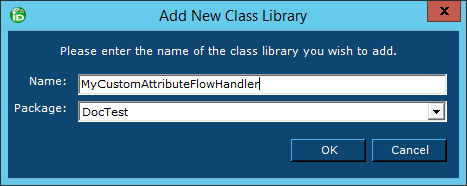
- Name the Attribute Flow Handler appropriately and save it to the package of your choice.
This opens the C# Editor for the custom Attribute Flow Handler.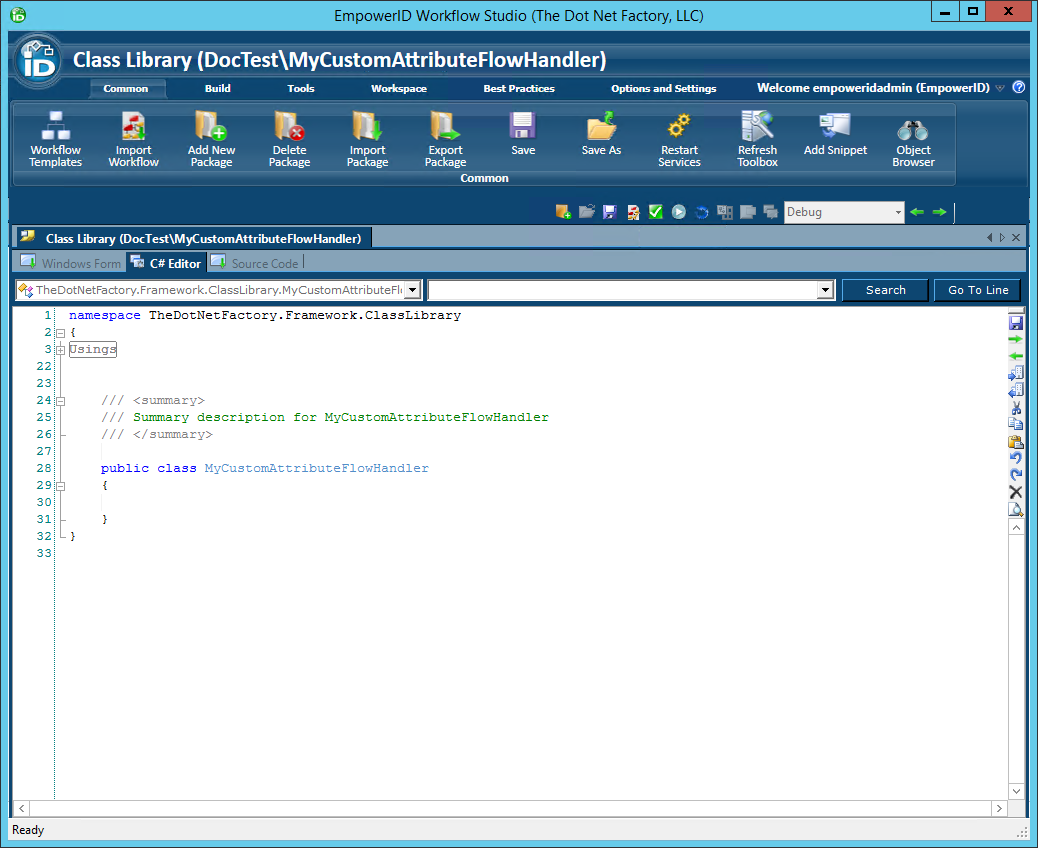
- In the C# Editor for the custom Attribute Flow Handler, add code to do the following:
- Inherit from TheDotNetFactory.People.Components.InboxManagers.DefaultAttributeflowHandler base class
Override the SetPersonAttribute() method, passing in thePersonandAccountObjectAttributeInboxobjects as parameters. TheAccountObjectAttributeInboxobject is the class used for processing attributes that flow from external account stores to EmpowerID.
The code should look similar to the following example. Please note that the name of your class will differ accordingly.When you create a class library, Workflow Studio automatically adds C= TheDotNetFactory.People.Components as a shorthand Using statement for TheDotNetFactory.People.Components namespace. This allows you to quickly reference the assembly in your code as "C."
public class MyCustomAttributeFlowHandler: C.InboxManagers.DefaultAttributeflowHandler
{
    public override bool SetPersonAttribute(Person person, AccountObjectAttributeInbox attributeInbox)
    {

    }
    }
- In the C# Editor for the custom Attribute Flow Handler, add code to the SetPersonAttribute() method do the following:
- Create a new instance of the SecurityBoundaryAttribute class, calling the GetPersonAttribute() method to return the attributes in the AccountObjectAttributeInbox
- Loop through the State attributes for each account, truncating the values for each to the abbreviated form for that state.
Return the abbreviated form.
The code for the above should look similar to the following.public class MyCustomAttributeFlowHandler : C.InboxManagers.DefaultAttributeflowHandler { public override bool SetPersonAttribute(Person person, AccountObjectAttributeInbox attributeInbox) { //Create new instance of SecurityBoundaryAttribute and call GetPersonAttribute() to return the attributes in the Attribute Inbox SecurityBoundaryAttribute personAttribute = SecurityBoundaryAttribute.GetPersonAttribute(attributeInbox.ObjectAttributeID); //Create variable to hold the results var state = attributeInbox.StringValue; //Loop through the State attributes and abbreviate each switch (state) { case "Massachusetts": state = "MA"; break; case "Missouri": state = "MO"; break; case "New York": state = "NY"; break; case "Texas": state = "TX"; break; default: state = null; break; } //Return state return person.SetAttributeValue(personAttribute.Name, state); } }
- Compile your class library by clicking the Compile button in the toolbar located just above the C# Editor. Compiling the class library allows you to verify that your code contains no syntax errors.
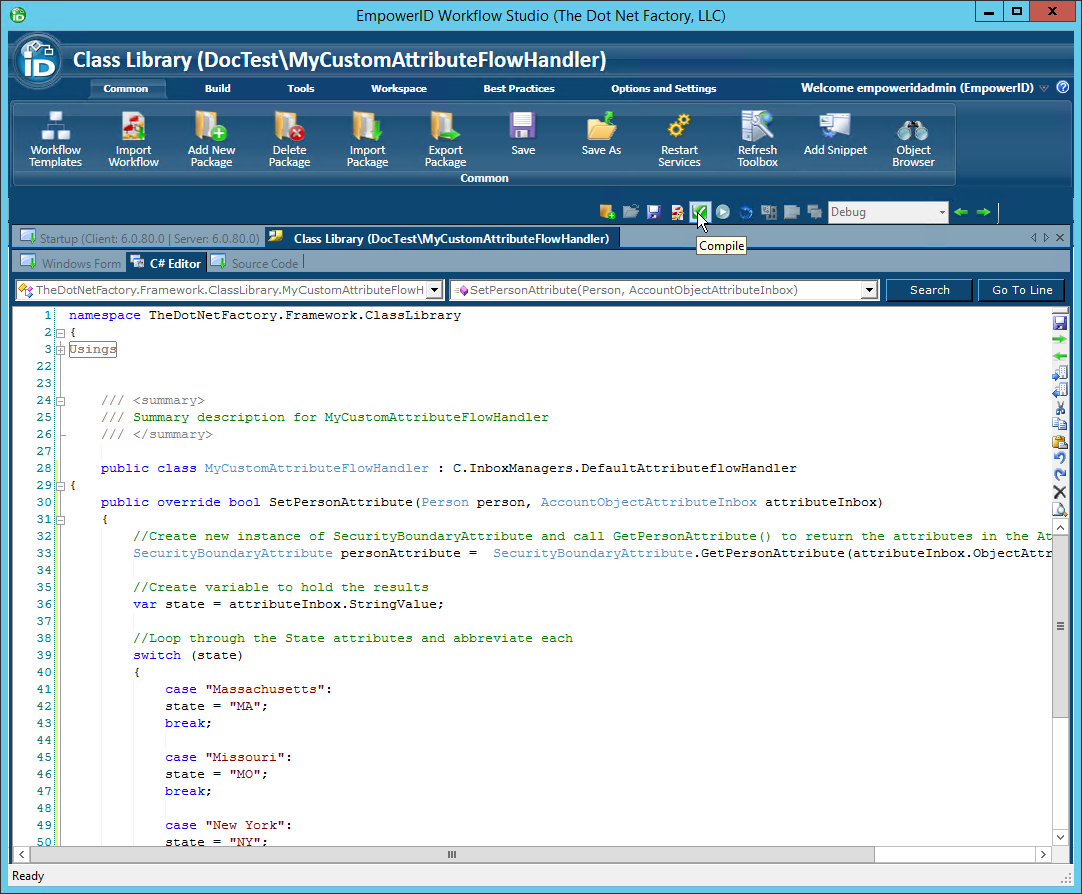
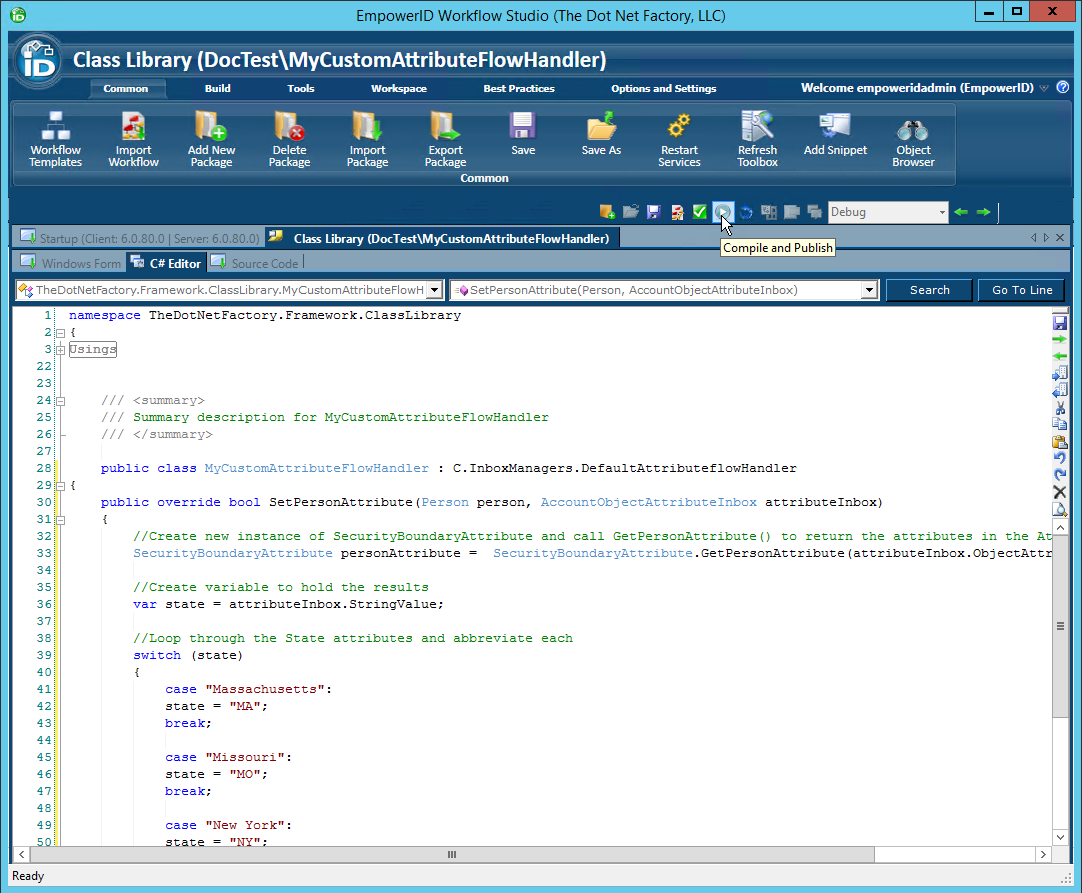
- Click the Compile and Publish button in the toolbar located just above the C# Editor to publish the custom attribute flow handler. Publishing adds an assembly for the class library to the GAC and makes it available for use in EmpowerID.
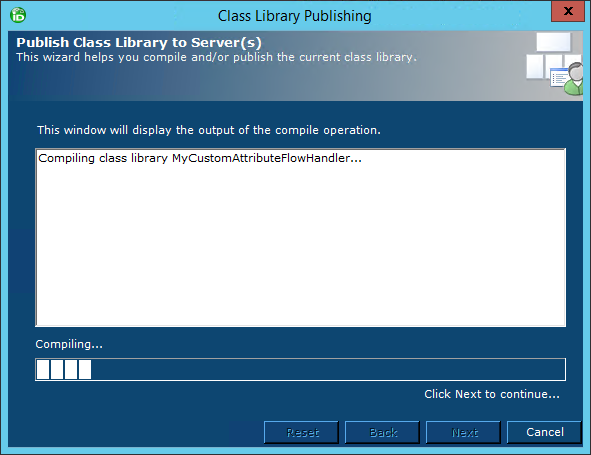
- In the Class Library Publishing wizard that appears, click the Next button.

- Click Next to continue.
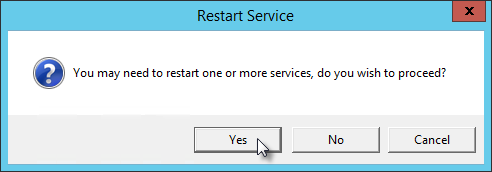
- Click Yes when prompted to restart one or more services.
- In the Active Services dialog that appears, select the services to restart and then click Restart.
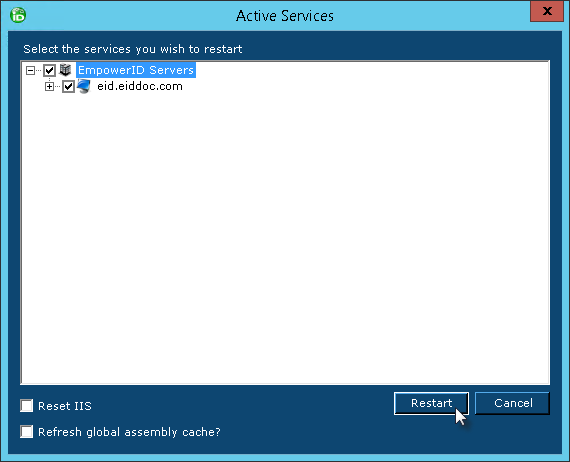
- Reset IIS.
Now that custom Attribute Flow Handler has been created and published, the next step is to instruct EmpowerID to use it for processing the State attributes found in the AD account store. This is demonstrated below.
To edit the State Security Boundary Attribute for EmpowerID
- From the Navigation Sidebar of the EmpowerID Web interface, expand Admin > Applications and Directories and click Manage Schema.
- On the Schema page, click the Security Boundary Attributes tab and the click the drop-down arrow to the right of the Search button. This allows you to perform advanced searching.
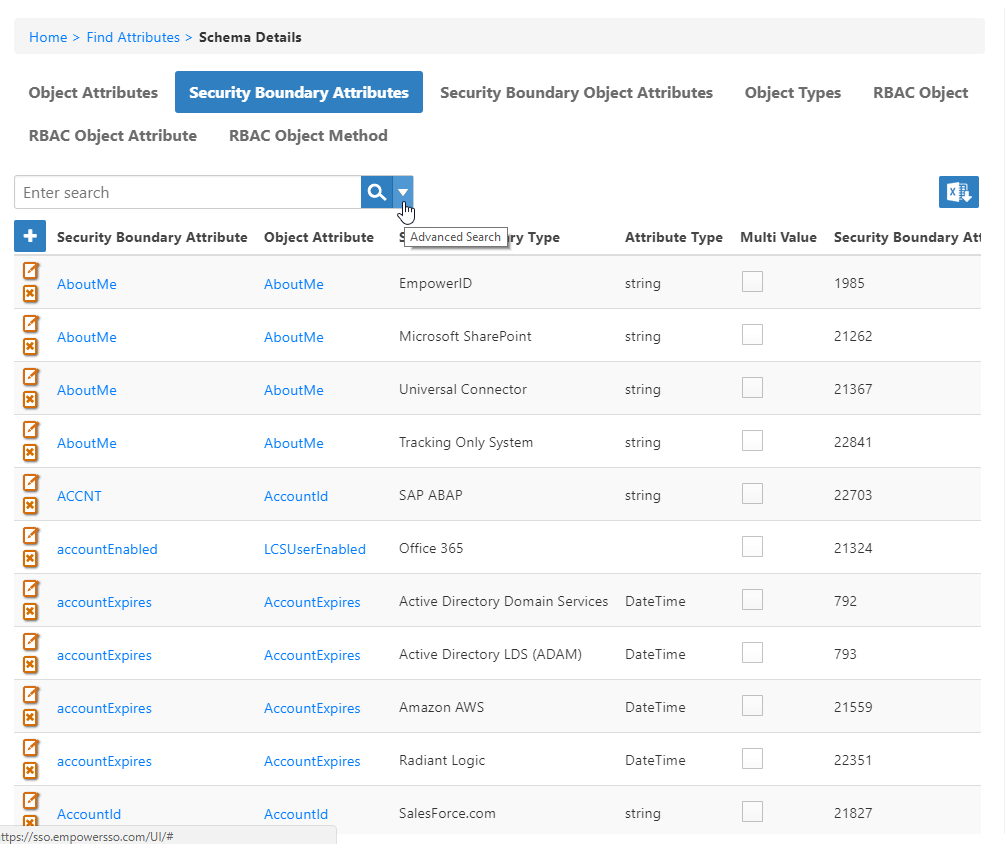
- In the Advanced Search dialog that opens, enter State in the Name field and select EmpowerID from the Security Boundary Type drop-down.

- Click Search to load the grid with the attribute.
- From the grid, click the Edit button to the left of the State attribute.

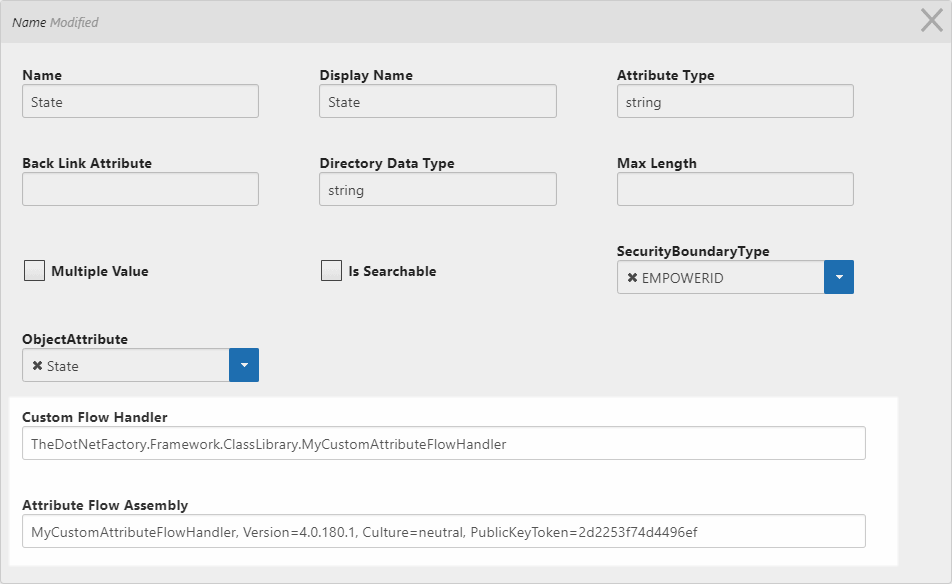
- In the Edit dialog that appears, do the following:
- In the Custom Flow Handler field, enter the full name of the class library you created. This should be similar to TheDotNetFactory.Framework.ClassLibrary.MyCustomAttributeFlowHandler where MyCustomAttributeFlowHandler is the name of your class library.
- In the Attribute Flow Assembly field, enter the name of the Attribute Flow assembly you just created above, followed by the version number, Culture, and PublicKeyToken information as comma separated values. This entry should look similar to MyCustomAttributeFlowHandler, Version=4.0.180.1, Culture=neutral, PublicKeyToken=2d2253f74d4496ef where MyCustomAttributeFlowHandler and Version=4.0.180.1 is the respective name and version number of the assembly in your environment.
- Click Save.
Testing the custom attribute
To test the custom attribute, create a new test EmpowerID Person and set the value of the State attribute to Massachusetts. If the handler is working correctly, the value of the attribute should be transformed to MA.
- From the Navigation Sidebar, expand Identity Administration and click People.
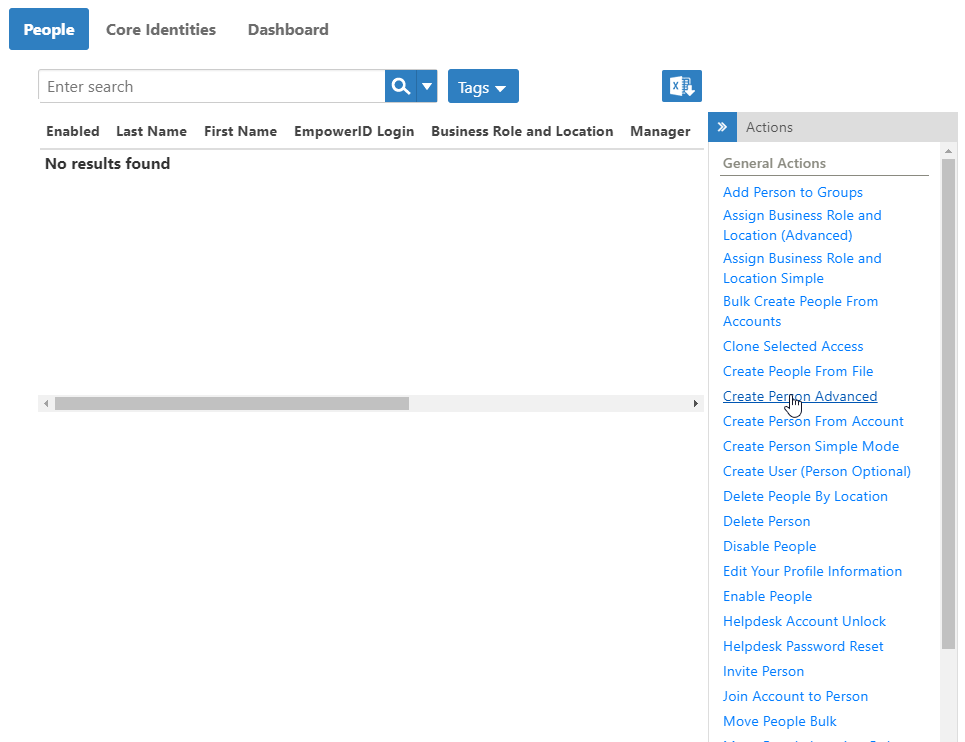
- Click the Create Person Advanced action link.
- From the General tab of the Create Person form that appears, do the following:
- Type a first name in the First Name field.
- Type a last name in the Last Name field.
- Type a login in the Login field.
Set the primary Business Role and Location for the person to Temporary Role in Temporary Location.
The General tab of the form should similar to the below image.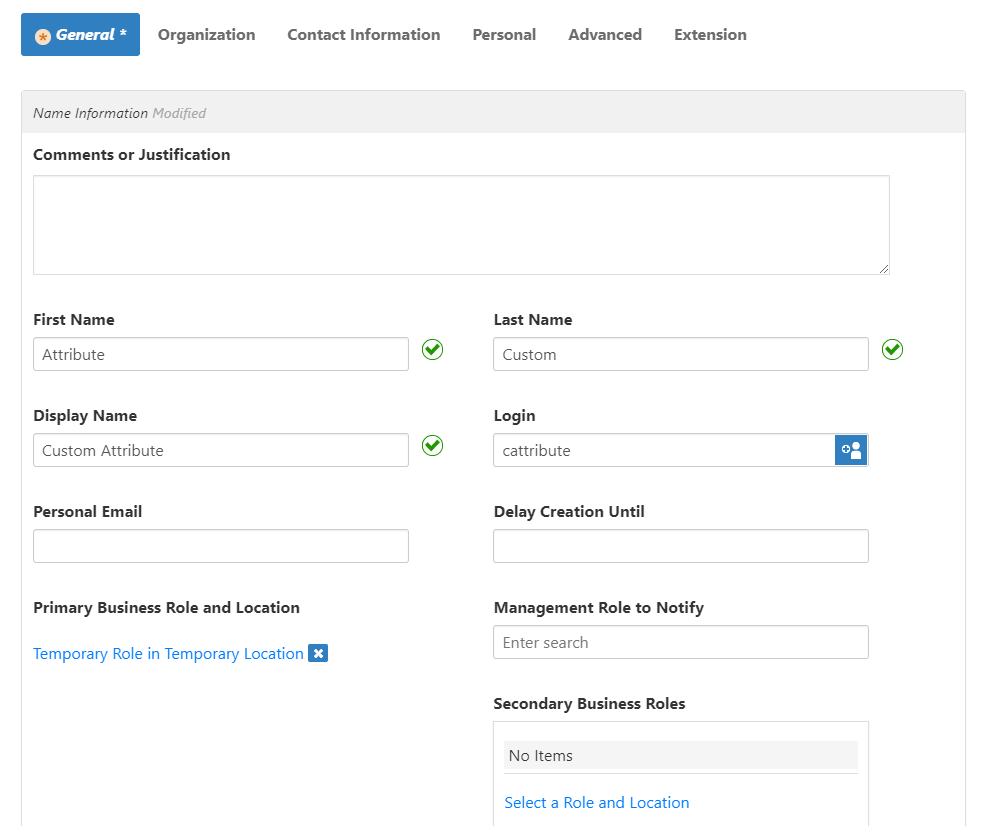
- Click the Contact Information tab and select Massachussetts from the State drop-down.
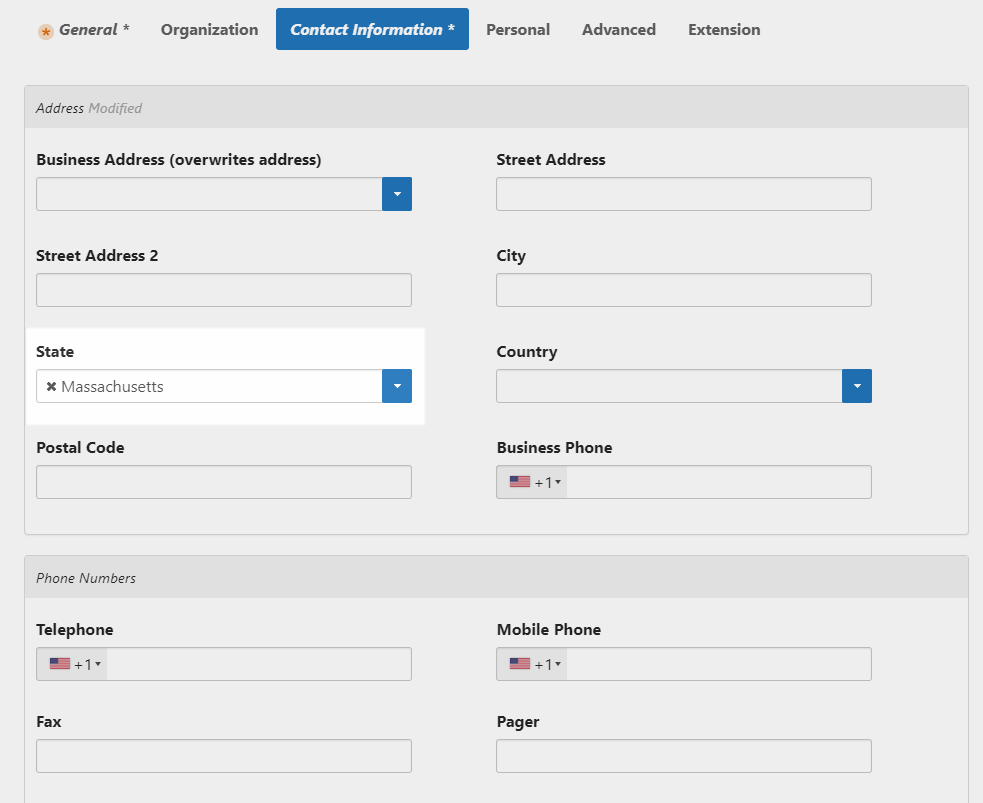
- Click Save to create the new person.
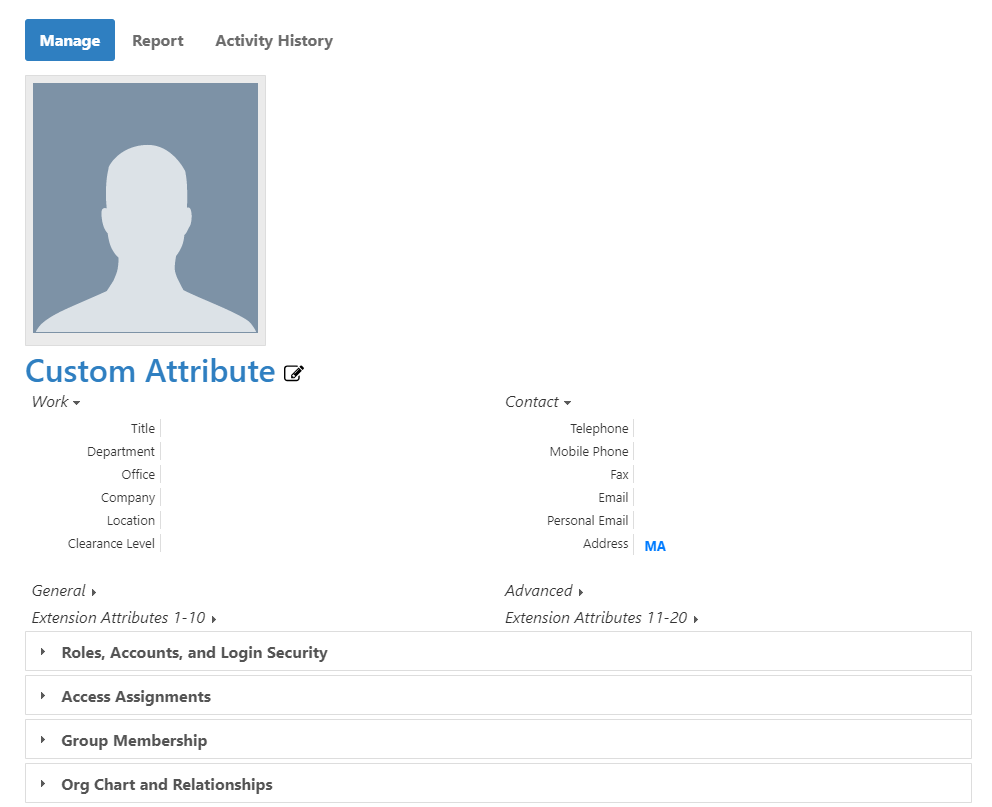
At the next run of the Inventory job, you should the State attribute change to MA. You can view this under Contact on the Person's ViewOne page.