Manipulating Directory Objects
- Universal Importer for Confluence
- Phillip Hanegan
- Kim Landis (Unlicensed)
EmpowerID includes a number of CRUD (create, read, update, delete) workflows for manipulating directory objects via the EmpowerID Virtual Directory. These workflows include the following.
| Workflow | What it does in an EmpowerID connected directory |
|---|---|
LDAPCreateAccount | Creates a new user account object |
| LDAPCreateOU | Creates a new OU container |
| LDAPCreateGroup | Creates a new group object |
| LDAPUpdateAccount | Updates an account object |
| LDAPUpdateOU | Updates an OU container |
| LDAPUpdateGroup | Updates a group object |
| LDAPDeleteAccount | Deletes a user account object |
| LDAPDeleteOU | Deletes an OU container |
| LDAPDeleteGroup | Deletes a group |
In this topic, we demonstrate how to create new directory objects by creating a new AD user account from the EmpowerID Virtual Directory.
As with all EmpowerID workflows, the LDAP workflows associated with the EmpowerID LDAP Server are RBAC-trimmed. Users must have the Initiator Access Level for each workflow to initiate that workflow, as well as a Access Level with any necessary operations allowed to execute the workflow without requiring further approval.
If a user initiates one of the LDAP workflows but does not have the needed delegations to perform the task in that workflow (such as creating a new user account), the EmpowerID LDAP Server will display to that user a message indicating that the request failed and then route the request to a delegated approver via email.
The approver can then choose to approve or deny the request. If the approver approves it, the workflow resumes and the user account (in this case) is created. If the approver rejects it, the workflow terminates and the user account is not created. In either case, EmpowerID routes the results of the request to the request initiator via email.
To create a new user account via the EmpowerID Virtual Directory
Depending on the tool you use for managing directory objects, the steps depicted below may differ for you.
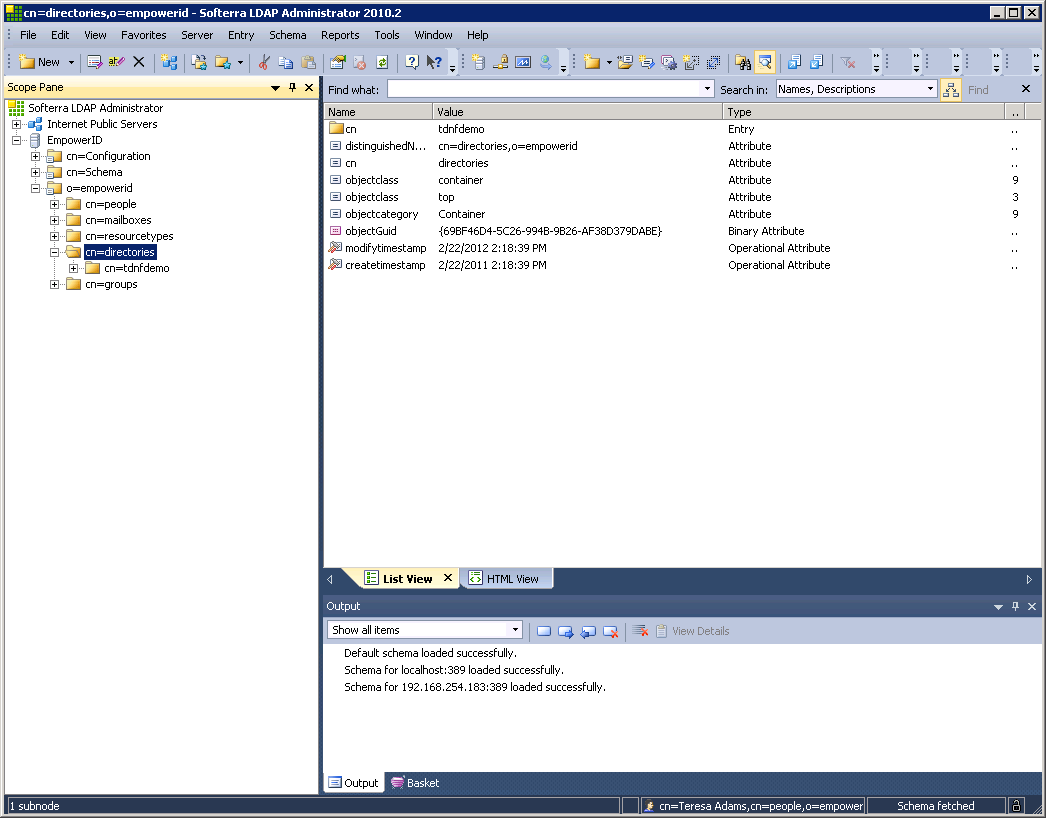
- From your LDAP management tool, navigate to the EmpowerID root tree node and then expand the o=empowerid and cn=directories nodes.
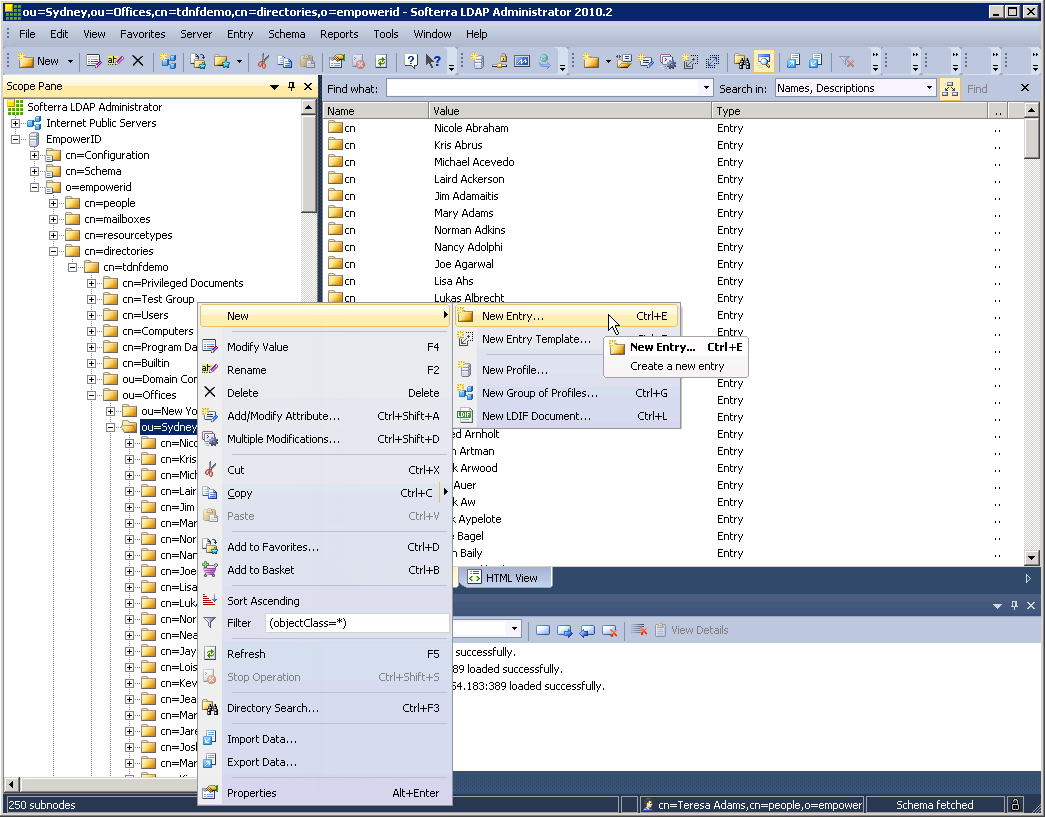
- Expand the the appropriate directory node and locate the OU in which you wish to place the new user account.
- Right-click the OU node and select New, then New Entry.
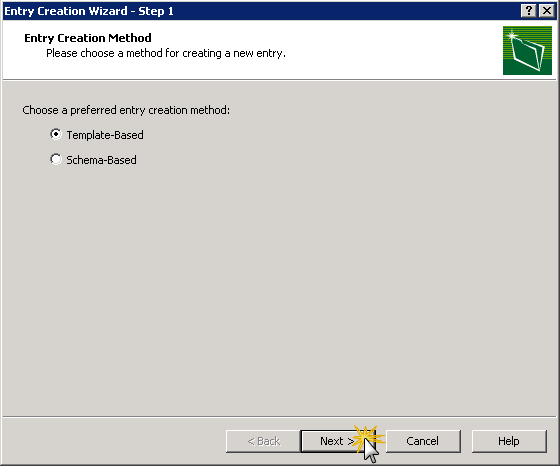
- In the Entry Creation Wizard that appears, select Template-Based and then click Next.
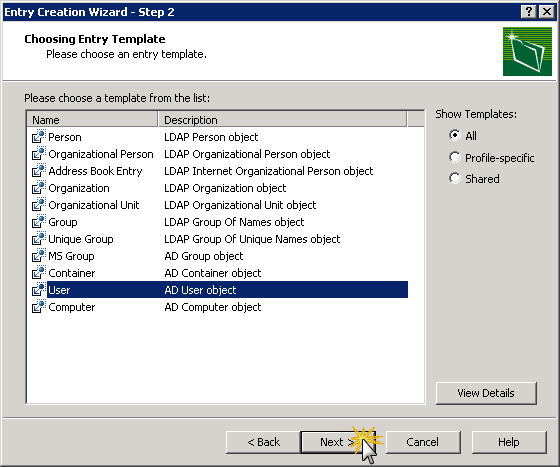
- Select User and then click Next.
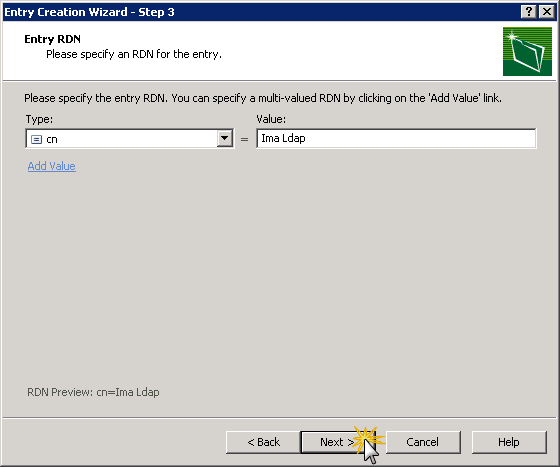
- Specify cn as the RDN type, enter the appropriate value for the type and then click Next.
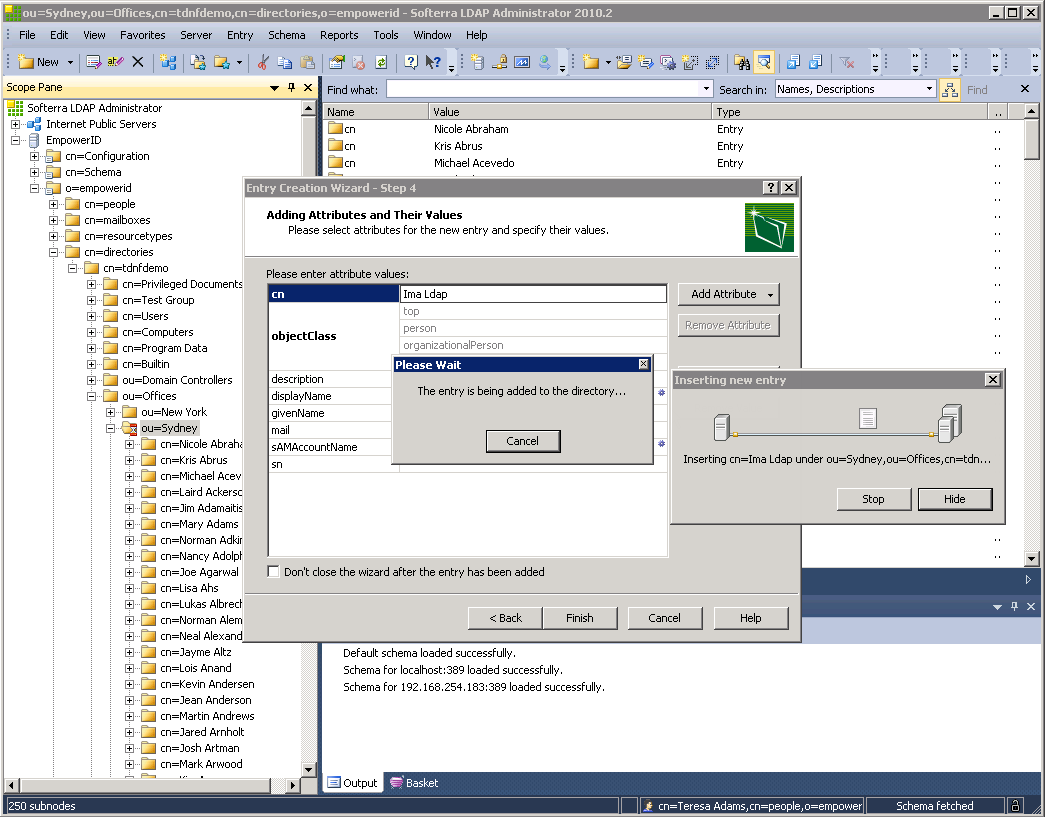
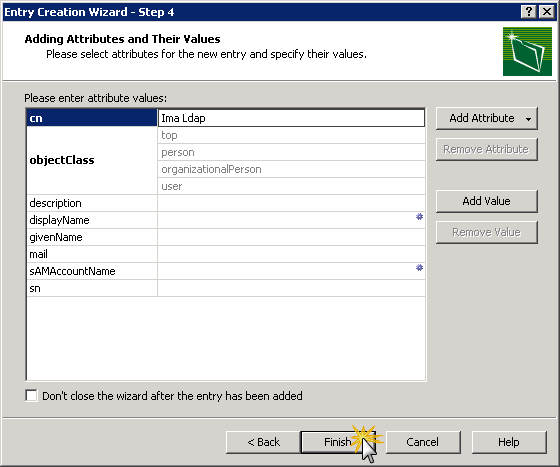
- Review the entry and then click Finish.
- Wait while the workflow executes.