Creating an All Access Person
EmpowerID recommends that you create a Person object with the All Access Management Role and use that identity—instead of the EmpowerID Admin—when configuring EmpowerID. The All Access Management Role grants the Person with the role full administrative capabilities in EmpowerID. You create this Person in the EmpowerID Web interface.
Creating this identity requires you to log in to the EmpowerID Web application as the EmpowerID Admin. After authenticating, EmpowerID will require the EmpowerID Admin to enroll for Password Self-Service Reset. After enrolling, you should change the password for the EmpowerID Admin. Once you have completed this, you can then create the All Access Person and then use that identity to configure EmpowerID.
To enroll the EmpowerID Admin for password self-service reset
- Navigate your Web browser to the login page for the EmpowerID Web site in your environment.
- Log in using the credentials you were given for the EmpowerID Admin.
You should be directed to the Password Self-Service Reset page.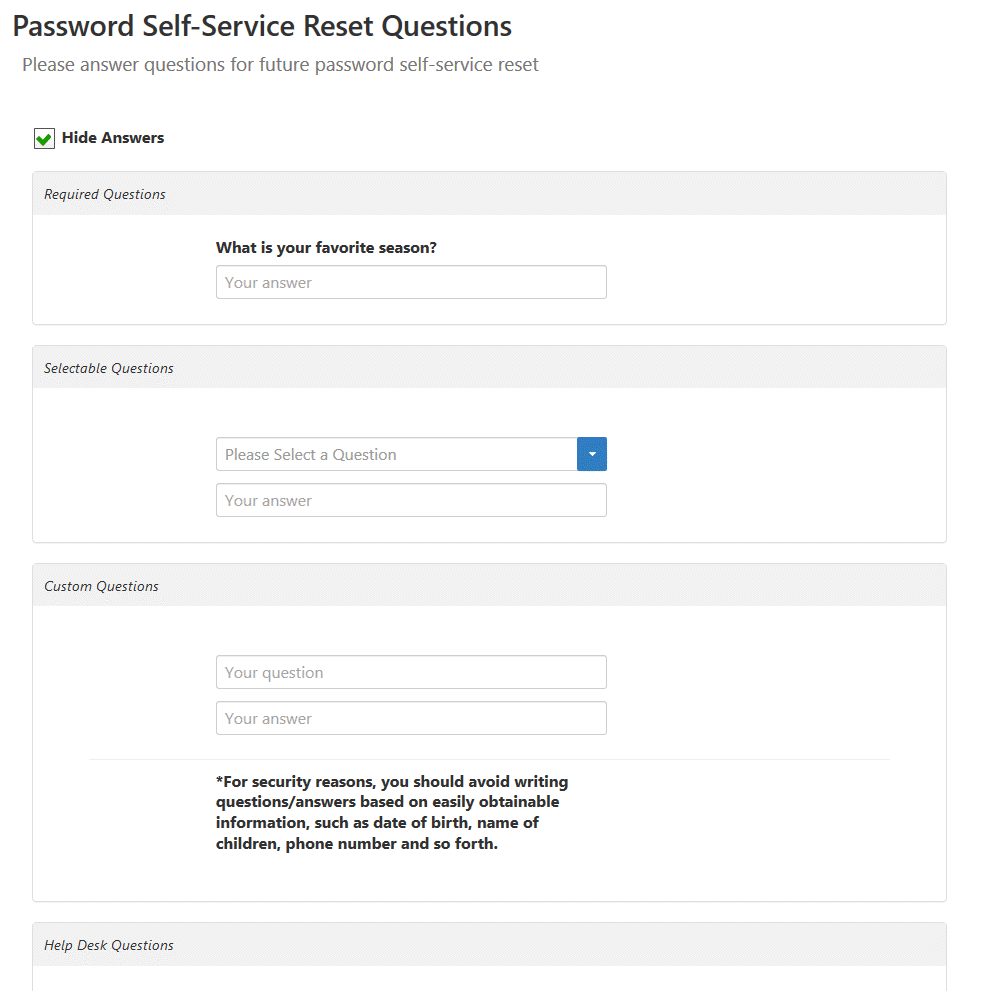
- Answer the questions and then click Submit to enroll for Password Self-Service Reset.
After successfully enrolling you should be directed to the default home page for your environment.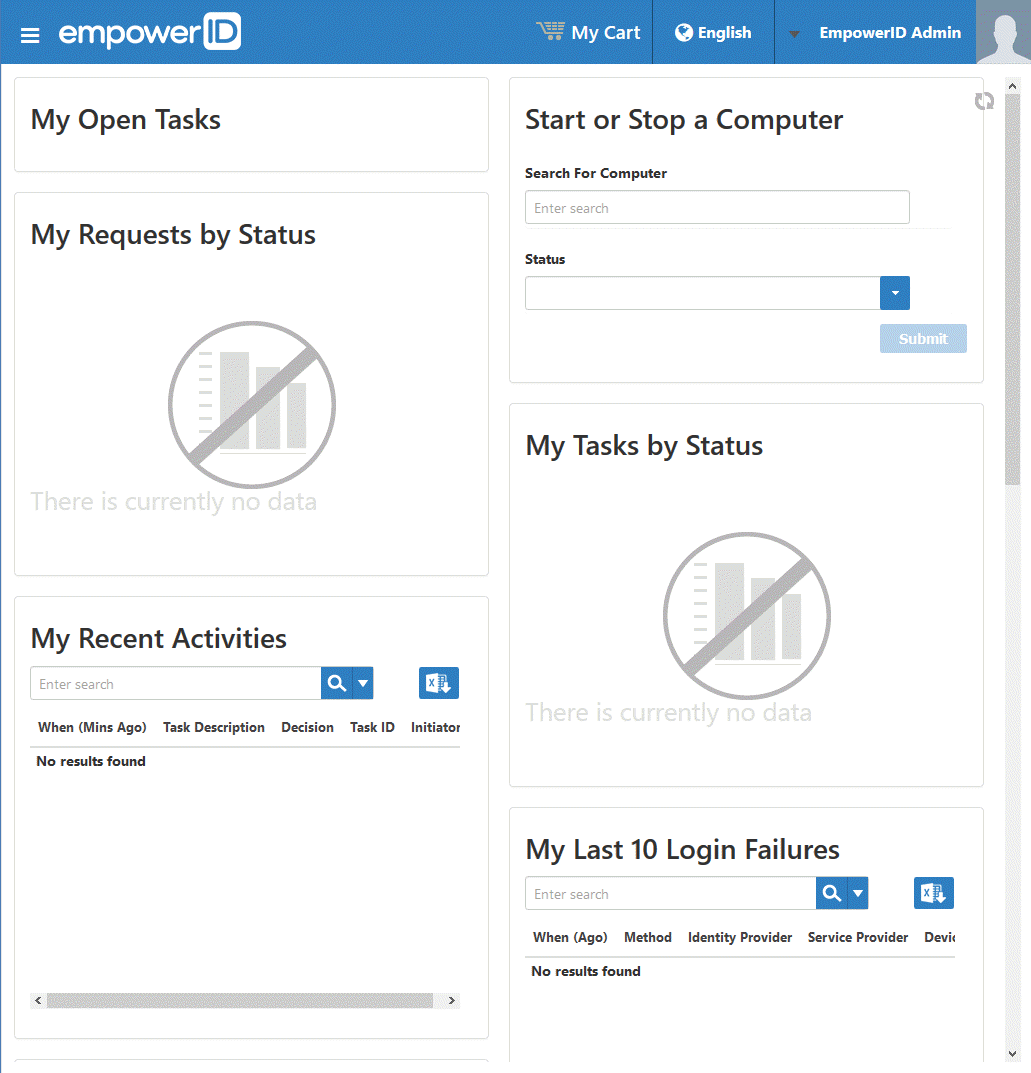
Next, change the password for the EmpowerID Admin by following the below steps.
To change the password for the EmpowerID Admin
- From the home page, click EmpowerID Admin at the top of the page and then click Change Password.
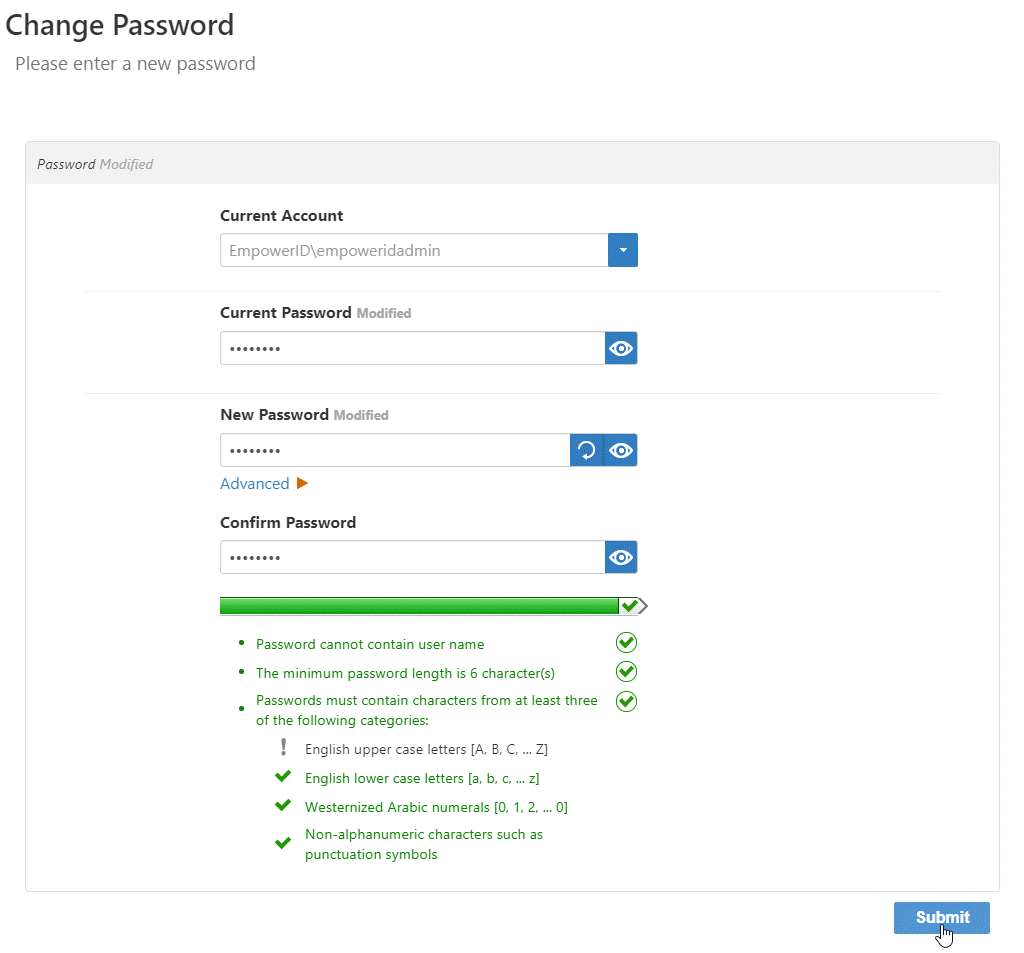
- In the Change Password form that appears do the following:
- Enter the current password in the Current Password field.
- Enter the new password in the New Password and Confirm Password fields.
- Click Submit.

Next, create the All Access Person you will use to configure EmpowerID by following the below steps.
To create the All Access Person
- From the Navigation Sidebar of the EmpowerID Web interface, expand Identities and click Person.
- Click the Create Person Advanced Action link.
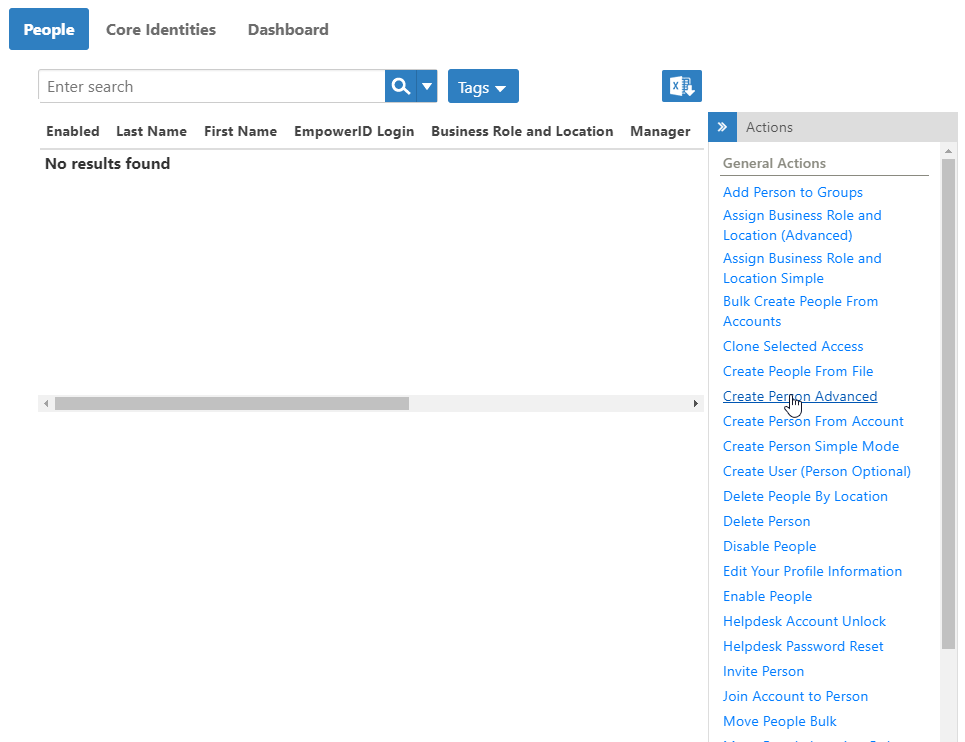
- From the General tab of the Create Person form that appears, do the following:
- Enter any relevant comments in the Comments or Justification field.
- Enter a desired first and last name in the First Name and Last Name fields, respectively.
- Enter the name that will appear for the Person in the User Interface in the Display Name field.
- Enter the login for the Person in the Login field or click the icon to have EmpowerID suggest one for you.
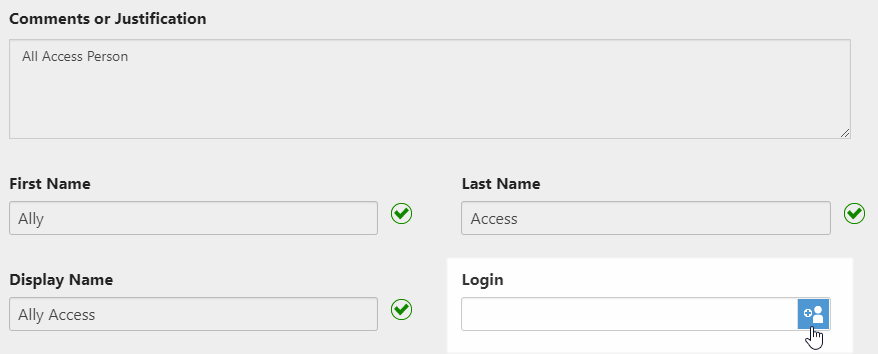
- Leave the Personal Email and Delay Creation Until fields empty.
Underneath Primary Business Role and Location, click the Select a Role and Location link.
All people in EmpowerID must have have a Business Role and Location assignment.
- In the Business Role pane of the Business Role and Selector dialog that appears, enter the name of the Business Role for the All Access Person account and then press ENTER to load the Business Role.
- From the Business Role tree that loads, click the desired Business Role to select it.
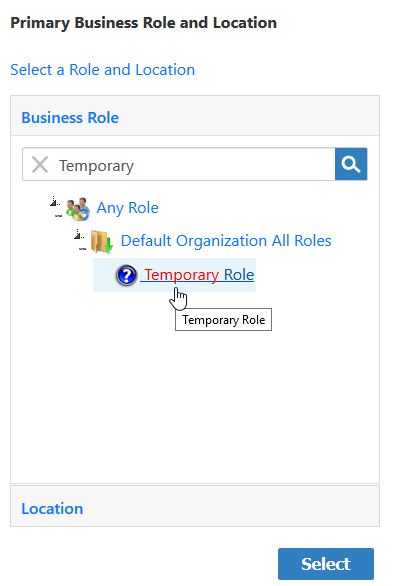
- Click Location to open the Location pane.
- Enter the name of the location for the All Access Person and then press ENTER to load the location.
- From the Location tree that loads, click the desired Location to select it.
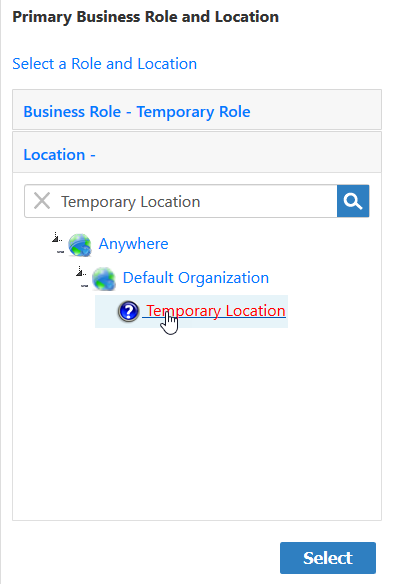
- Click Select to select the Business Role and Location and close the Business Role and Location selector.
You should see the Business Role and Location you selected appear as a link. Clicking the link opens the Business Role and Location selector, which allows you to make changes as needed. You can also delete the selection by clicking the delete button (X) to the right of it.
- In the Management Roles field, enter All Access and then click the All Access tile to select the role.

- Scroll to the bottom of the page and click Save.
Now that the All Access Person has been created, the next steps are to set the Person's password.
To set the password for the All Access Person
- From the Navigation Sidebar, enter the name of the All Access Person and then click the tile for that Person.
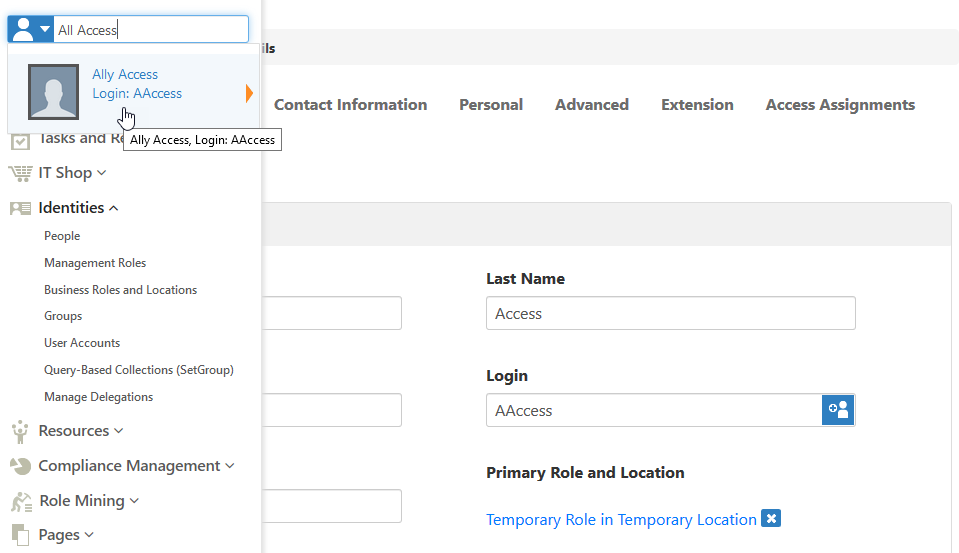
This directs you to the View page for the Person. View pages allow to view information about resources in EmpowerID and manage those resources as needed.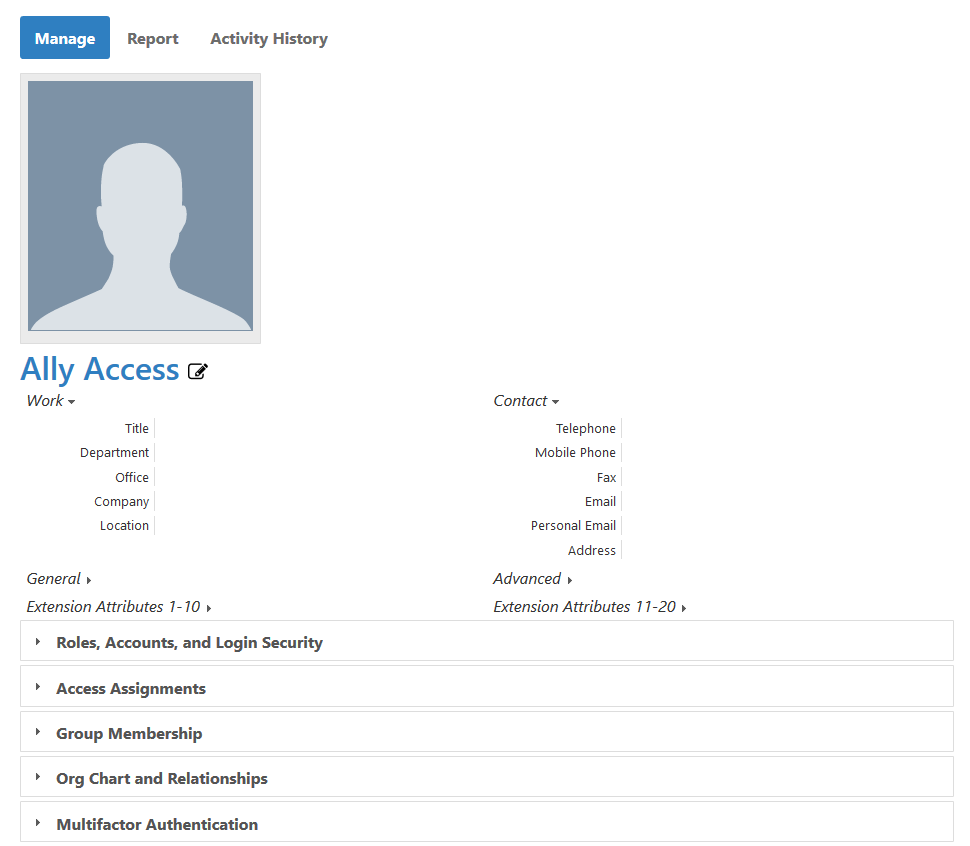
- From the View Page, click the Action accordion to expand it and then click the Reset Password tile.
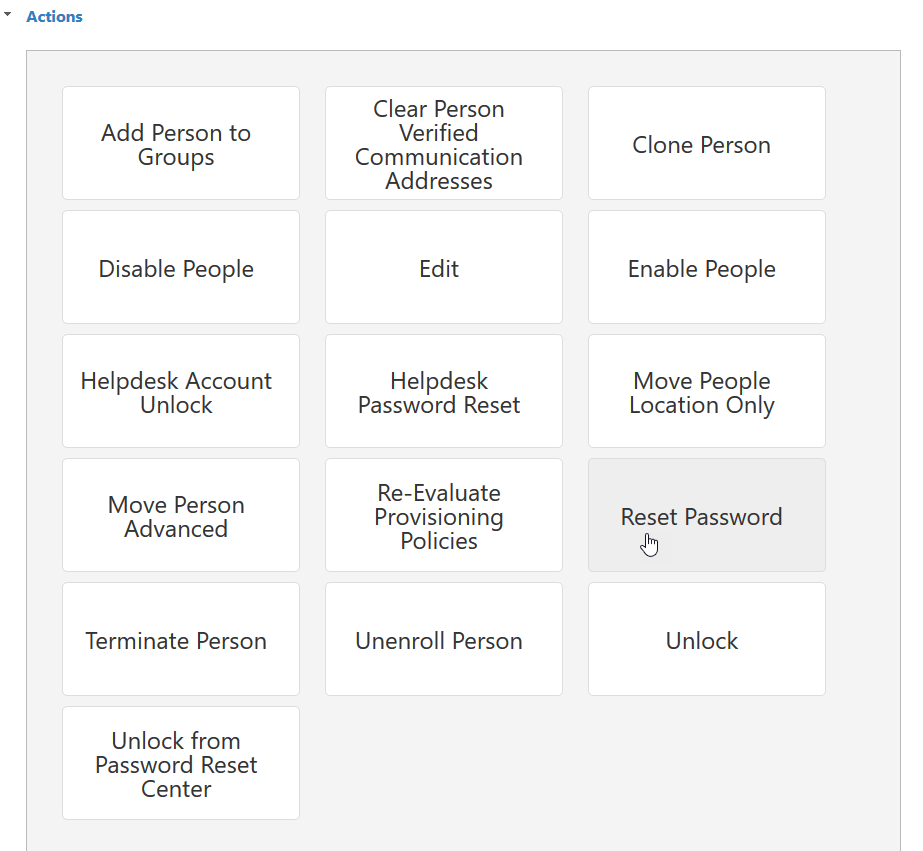
- Enter the new password in the New Password and Confirm Password fields and then click Submit.
After setting the password for the All Access Person, log in to the EmpowerID Web application and enroll the Person for Self-Service Reset as described above. Once enrolled, you should use this Person as the EmpowerID administrator.