Installing and Configuring the EmpowerID Virtual Directory Server
EmpowerID’s Virtual Directory Service (VDS) provides a robust identity virtualization service with unified, enterprise-wide security by acting as an abstraction layer between disparate data stores, including: payroll systems, HR systems, Active Directory, custom applications and other sources. EmpowerID’s VDS allows applications to interact with these data sources, without being directly connected to them.
In this topic, we used the terms "Virtual Directory Service", "VDS", and "LDAP Server" interchangeably.
The VDS is a server-side JavaScript application managed by Node.js. As such, Node must be installed on your server before the VDS can be configured for use. Additionally, the LDAP Server uses the Forever node module to keep the server up and running. The installer you received from EmpowerID checks to see if these prerequisites are installed. If they are not, installer will install them for you.
Installing and configuring the EmpowerID Virtual Directory Server involves the following:
- Creating a SQL Login on the EmpowerID database for the VDS (see prerequisite information)
- Extracting the LDAPServer.X.X.X.zip file you received from EmpowerID on your EmpowerID server and executing the LDAPServer.msi.
- Installing Node by executing the Node.X.X.X.msi included with the Virtual Directory Server.
- Installing the Forever node module. The LDAP Server uses this module to keep the server up and running.
- Editing the Config.txt file for your environment.
- Adding to the LDAP Server the SQL password for the user you set in the prerequisites above, as well as a PFX certificate and the passphrase for the certificate—if you are using TLS.
- Editing the index.js and Config.txt files for your environment.
- Saving the SQL Login password in an encrypted file.
- Starting the LDAP Server service.
SQL Login Prerequisite
As the LDAP Server authenticates users against the EmpowerID database, you need to provide it with a SQL login that has rights to the EmpowerID database. Expand the below drop-down for step-by-step directions on creating the login in SQL Server.
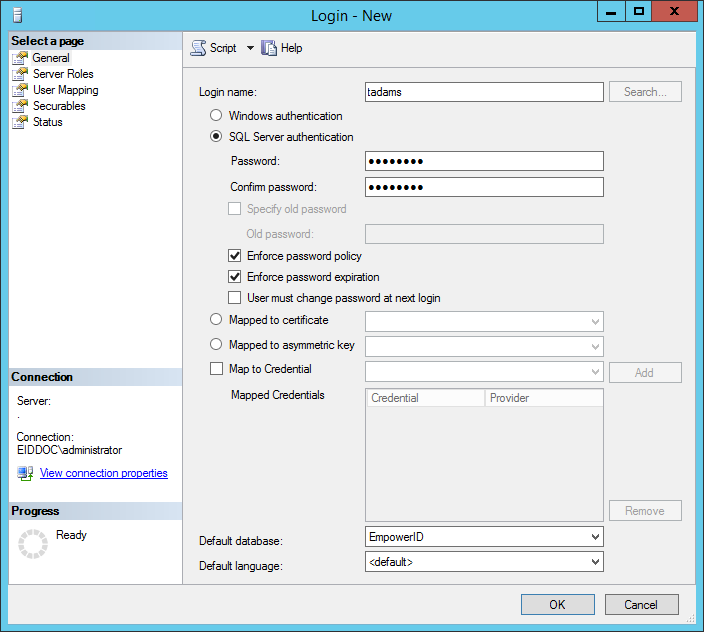
- Open SQL Server Management Studio.
- From Object Explorer, create a Login and set the Default database to the instance of the EmpowerID database in your environment. Note that SQL Serve authentication is used.
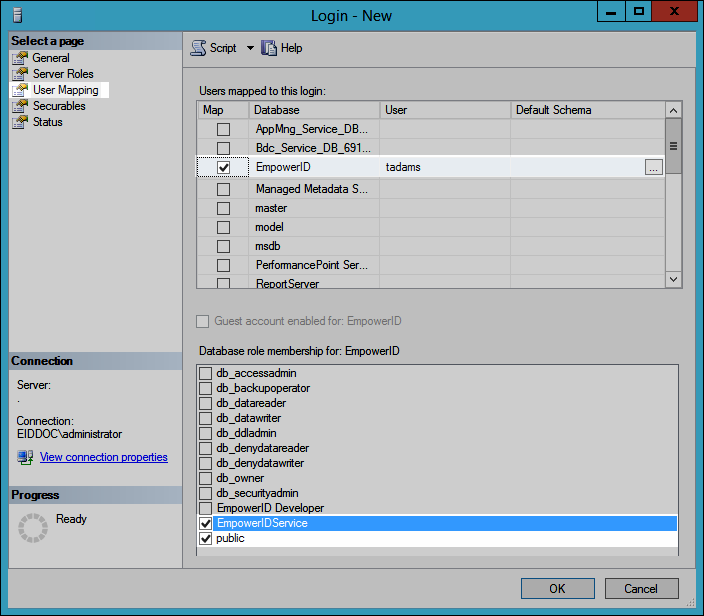
- From the Login Properties dialog, set the User Mapping to EmpowerID Service and public.
- To verify the login, open a new instance of the Connect to Server dialog, select SQL Server Authentication and enter the credentials you just created.
To install the LDAP Server
- Download the LDAPServer.X.X.X.zip file from the EmpowerID FTP site and extract the folder to a location of your choosing on your EmpowerID Web server.
- Navigate to the EmpowerID LDAP Server/LDAP Server/MSI/WiX folder in the EmpowerID installation path and locate the Virtual Directory Server.msi.
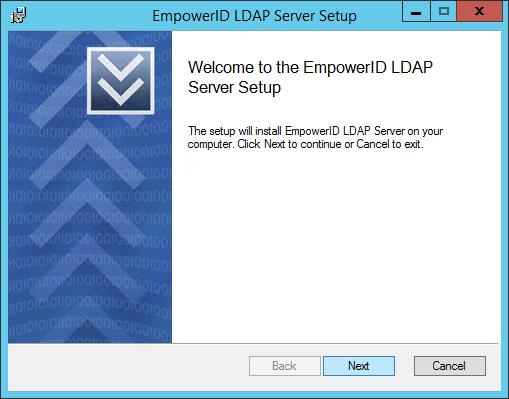
- Double-click the Virtual Directory Server.msi to open the EmpowerID LDAP Server Setup Wizard.
- From the EmpowerID LDAP Server Setup Wizard, click Next.
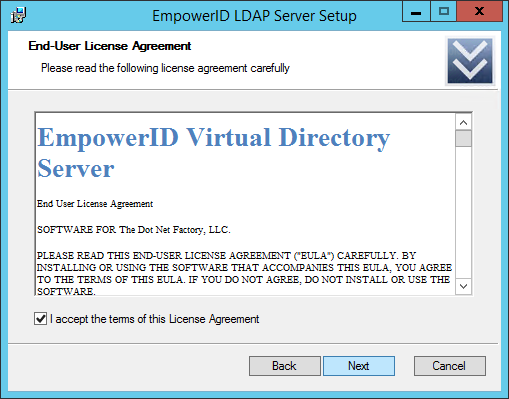
- Accept the terms of the license agreement and click Next.
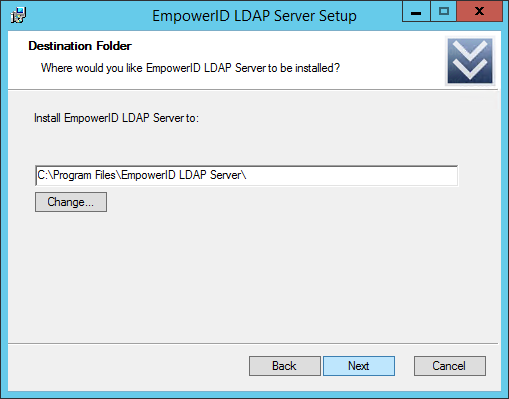
- Select the installation destination folder and click Next.
- Click Install.
- Once the wizard finishes the installation, click Finish to exit the wizard.
To install Node and the Forever module
- From Windows Explorer, navigate to the EmpowerID LDAP Server/LDAP Server/MSIs folder in the EmpowerID installation path.
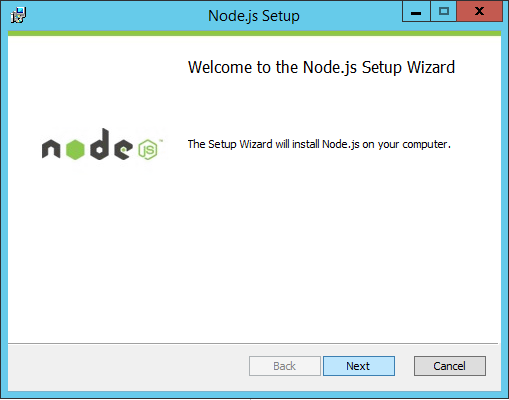
- Double-click the node installer to open the Node.js Setup Wizard.
- From the Node.js Setup Wizard, click Next.
- Accept the terms of the license agreement and click Next.
- Select the installation destination folder and click Next.
- Review the features to be installed and click Next.
- Click Install.
- Once the wizard finishes the installation, click Finish to exit the wizard.
- Verify the installation by opening a command prompt and typing node. You should see no errors and be entered in the command line mode of node.js.

- Exit the node repl by pressing the CTRL key and typing d in the command line.
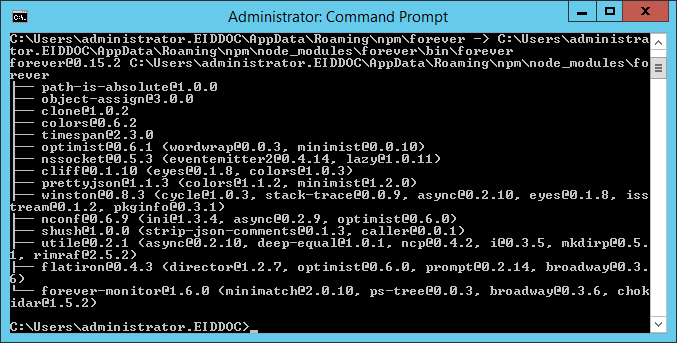
- From the command line install the Forever node module globally by typing NPM install -g forever and pressing ENTER.
To configure Config.txt for your environment
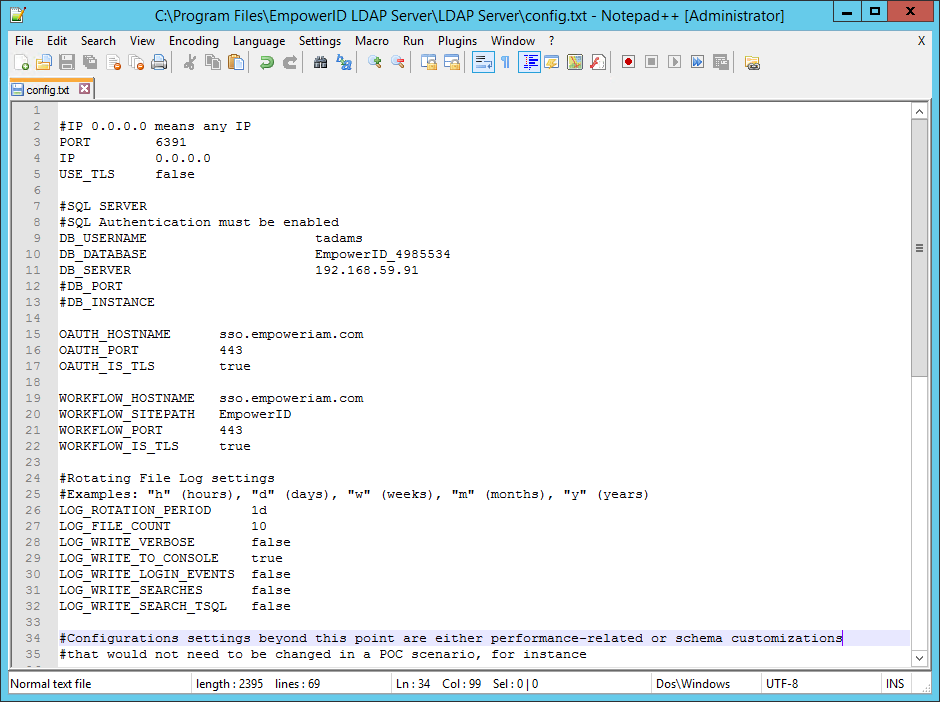
- From the LDAP Server folder, locate and open the config.txt file in any text editor.
- From config.txt specify the following values for your environment:
- Port - If you are using TLS, the standard port for LDAP is 636; if you are not using TLS, the standard port for LDAP is 389. However, you can use any port for either situation.
- IP - You can specify a specific port or set the value to 0.0.0.0.
- USE_TLS - Set to true or false based on whether you are using TLS to secure the communication between the LDAP server and the LDAP client.
- DB_USERNAME - This is the database user you set above.
- DB_DATABASE - This is the name of the EmpowerID database.
- OAUTH_HOSTNAME - This the FQDN or fully resolvable DNS to the EmpowerID Web server.
- OAUTH_PORT - Set to 443
- OAUTH_IS_TLS - Set to true
- WORKFLOW_HOSTNAME - This is the FQDN or fully resolvable DNS to the EmpowerID Web server hosting the EmpowerID Worker Role service.
- WORKFLOW_SITEPATH - Set to EmpowerID
- WORKFLOW_PORT - Set to true
- WORKFLOW_IS_TLS Set to true
- Specify the rotating log file settings. By default, the LDAP server rotates log daily, keeping a maximum of 10 logs in the LDAP Server > Logging folder. You can change these setting as needed.
- Leave the rest of the settings in this file at the default.
If you need to make changes to the config.txt file beyond those listed above, it is recommended that you contact EmpowerID support.
To add the SQL password, PFX certificate and passphrase to the LDAP Server
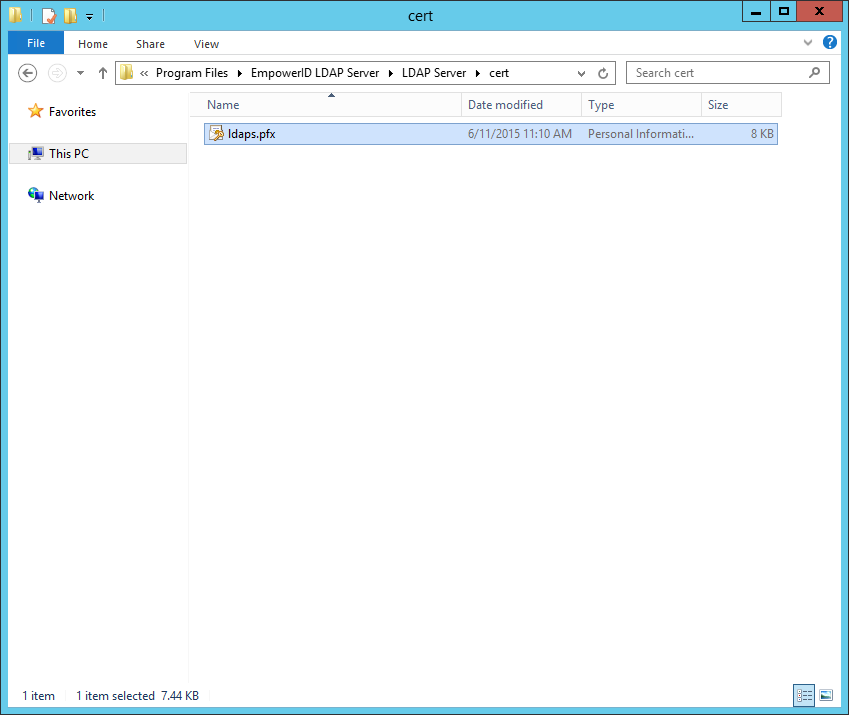
- Optional - If you are using TLS, do the following in the LDAP Server folder:
- Create a new folder named cert and then paste the appropriate PFX certificate into the folder.
- From the cert folder, rename the PFX certificate file to ldaps.pfx.
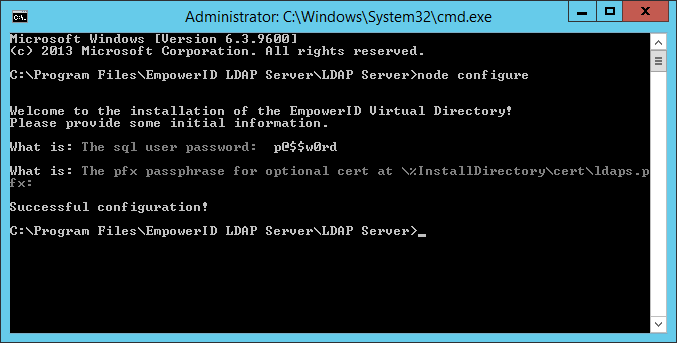
- From the LDAP Server folder, open a command prompt and type node configure in the command prompt.
- Type the SQL password for the SQL user in the command line and press ENTER.
- If you are using TLS, type the pfx passphrase for the certificate and press ENTER.
To edit the start and forever log paths
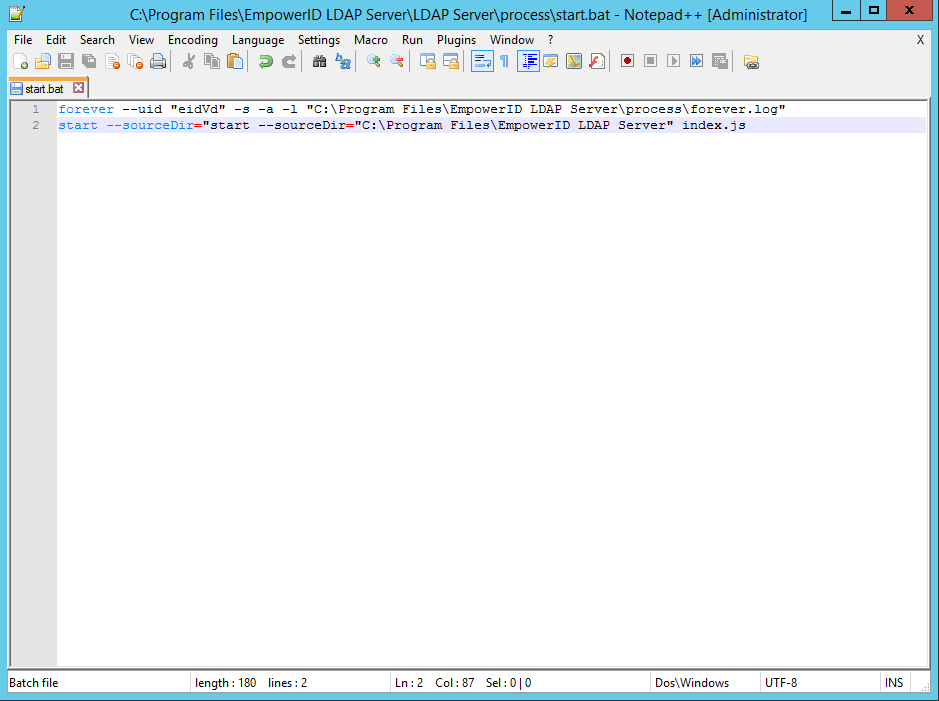
- From the LDAP Server > process folder, open start.bat in any text editor.
From the text editor, change the path for the forever log to reflect the installation location in your environment. This log shows the state of the LDAP server.
In a default installation, the path should look like the following:forever --uid "eidVd" -s -a -l "C:\Program Files\EmpowerID LDAP Server\process\forever.log
From the text editor, change the start path for the LDAP server to reflect the location of the index.js file. Node calls this file when starting the LDAP server.
In a default installation, the path should look like the following:start --sourceDir="C:\Program Files\EmpowerID LDAP Server" index.js
To start and stop the LDAP server
- From the LDAP Server folder, open a command prompt and type node index.
You should see that the LDAP server is listening at the specified port and IP you set in the config.txt file earlier.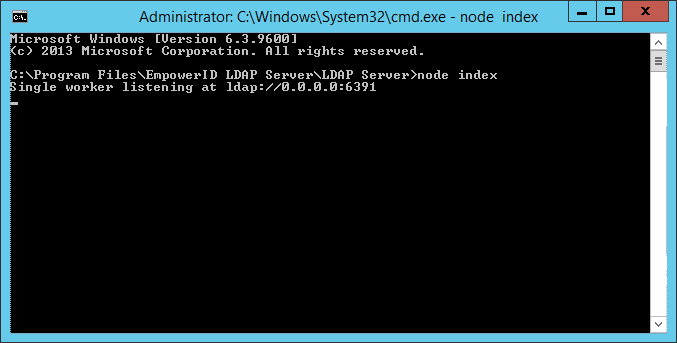
- To stop the LDAP server, press CTRL and type c in the command window.
You should see that the LDAP server stops.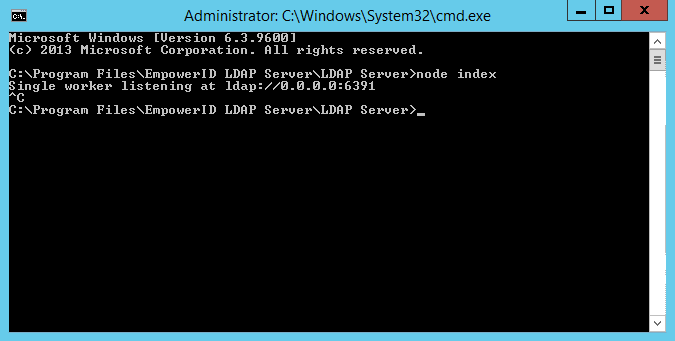
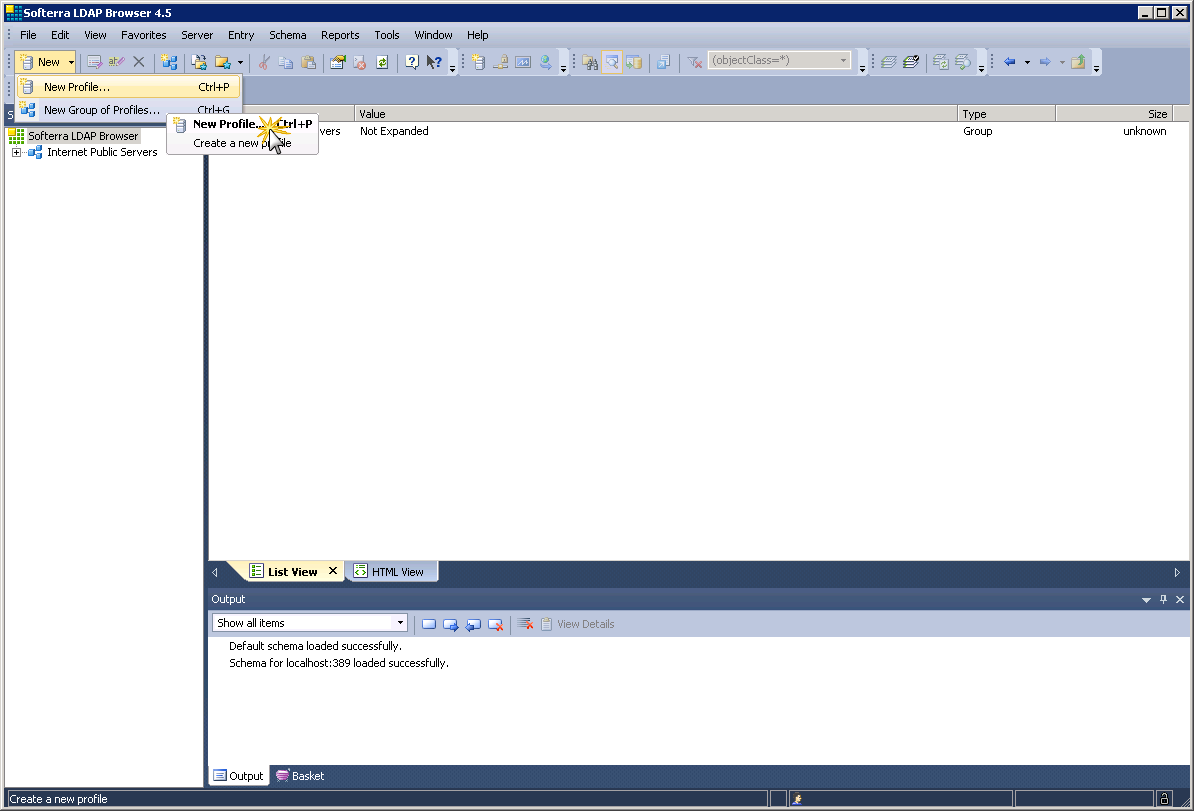
To create a profile for EmpowerID in the LDAP browser
- From your LDAP browser, click New > New Profile.
- In the Profile Creation Wizard that appears, enter a name for the profile in the Profile Name textbox and then press the ENTER key.

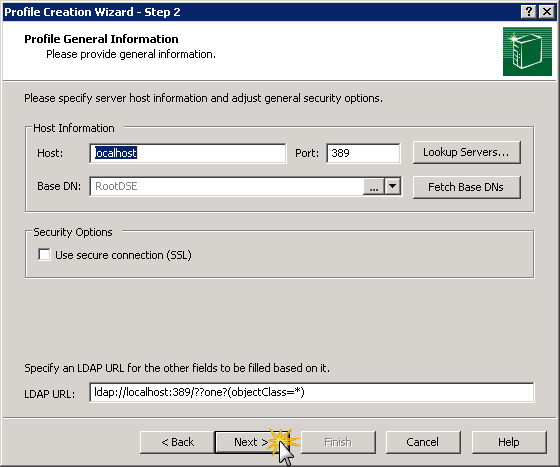
- In step 2 of the Profile Creation Wizard, verify the host information and then click Next.
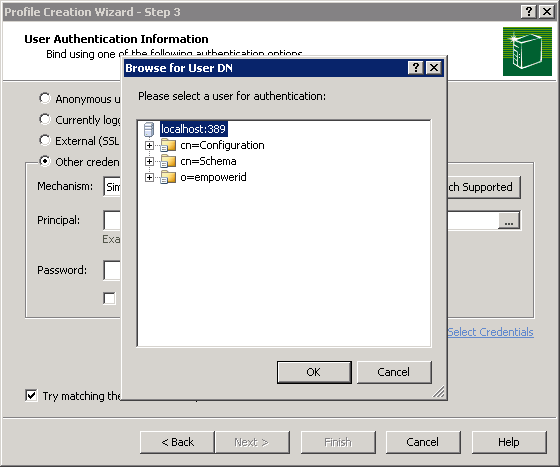
- In step 3 of the Profile Creation Wizard, click the Browse button to the right of the Principal field.

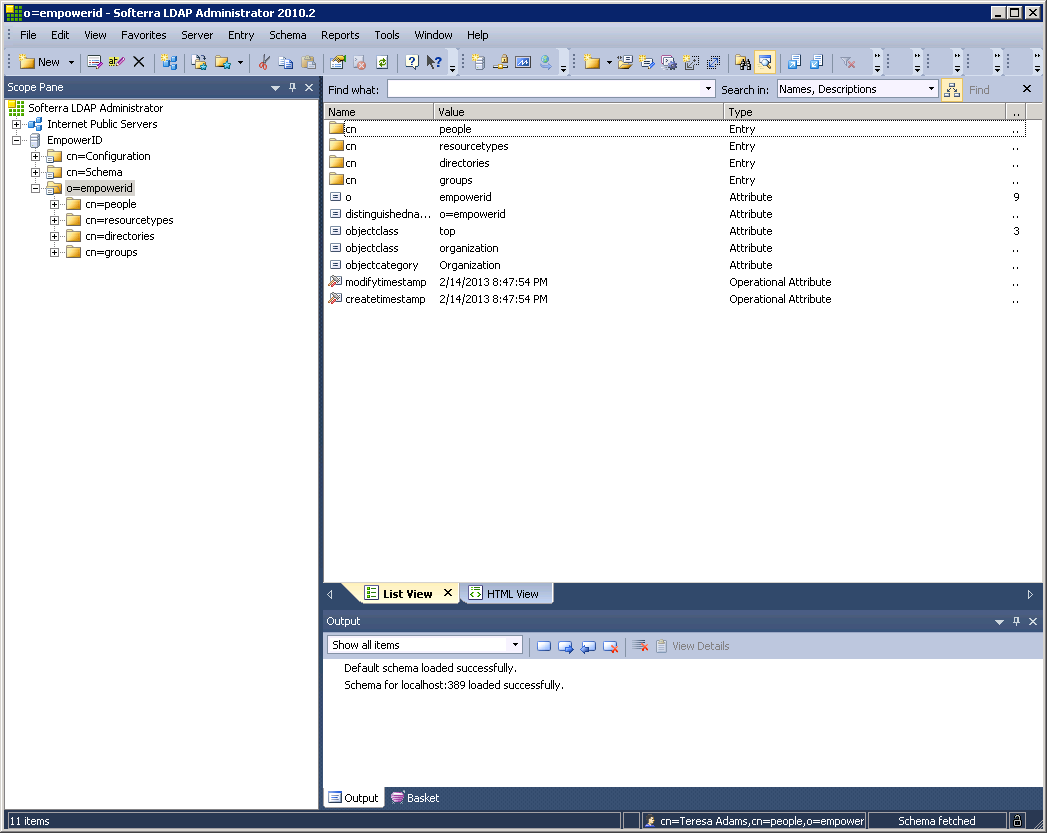
- In the Browse for USER DN dialog, expand o=empowerid > cn=people, select the appropriate EmpowerID Person, and click OK to close the dialog.
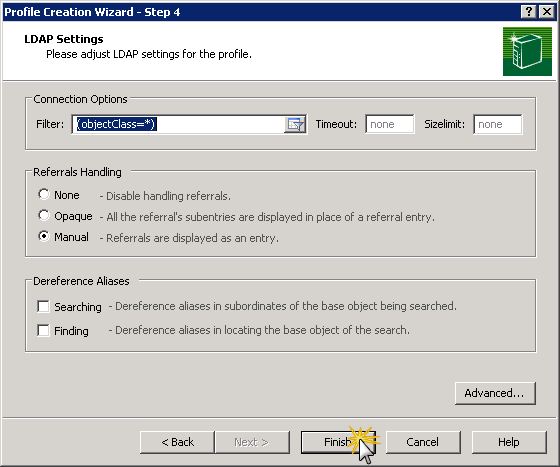
- In the Profile Creation Wizard, click Next to continue.
- Verify the LDAP settings for the profile and then click Finish to add the profile to the LDAP browser.
You should now see a virtual directory for the default view of the EmpowerID database as determined by the LDAP Server configuration file. If desired, you can customize this file to return more or less data.