Overview of the IT Shop
- Universal Importer for Confluence
- Phillip Hanegan
- Kim Landis (Unlicensed)
The IT Shop makes requesting access to resources easy for your users. Instead of navigating throughout the Web application looking for a specific resource, such as an application, a role, a group, or a hard asset like a laptop, users can go to the IT Shop.
The IT Shop allows people to quickly see what they currently have access to and shop for more, both for themselves and for others, all from one page. Users search for what they want and put it in their cart. Once an item is placed in the cart, it stays in the cart until the user checks out or removes it. This way, people can go about their business, navigating away from the IT Shop and even logging out of the Web application without losing the contents of their carts. When they are ready to checkout (submit their access requests), they review the items in their carts, add a justification for those items and click Submit. The access requests then route for approval, first to managers and then to those with the RBAC delegations needed to make the final decision.

IT Shop Pages
The IT Shop contains the following four pages:
Find Resources
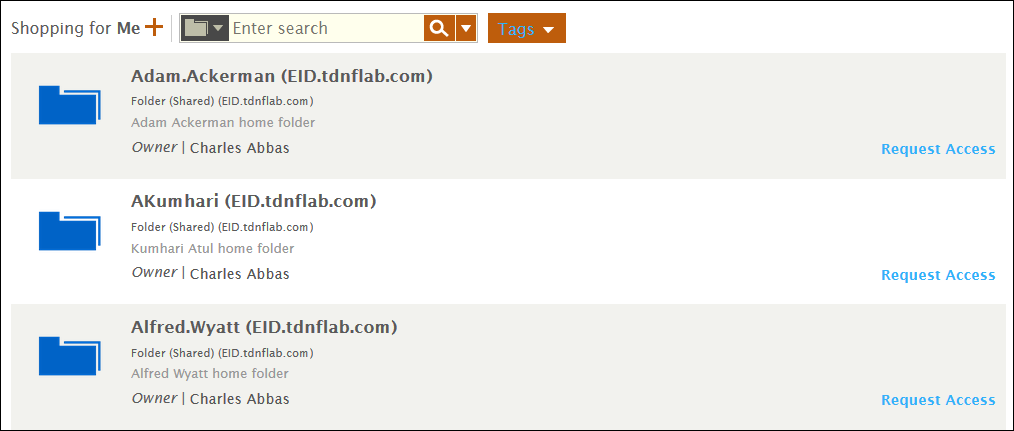
The Find Resources page (shown in the above image) contains all resources that have been published to the IT Shop. This page is the page users navigate to when shopping for resources. Once on the page, users can search for and request access to any resource items listed in the shop by adding those item to their carts. Once items have been added to a user's cart, they simply submit those items when ready. Once submitted, EmpowerID checks to see if the user making the request has the delegations needed to access those resources. If the user has the delegations, access to those resources is granted. If the user does not have the delegations, EmpowerID routes each request to the appropriate Person for approval.
Resources in the IT Shop are divided by resource type to allow users to filter the items for which they are shopping. Users can tell which filter is being applied to the IT Shop by the image associated with the Search field. Changing the filter is a matter of simply selecting the appropriate image, which users can do by clicking the image and selecting the desired one. These filters are shown in the drop-down table below.
| Filter | Description |
|---|---|
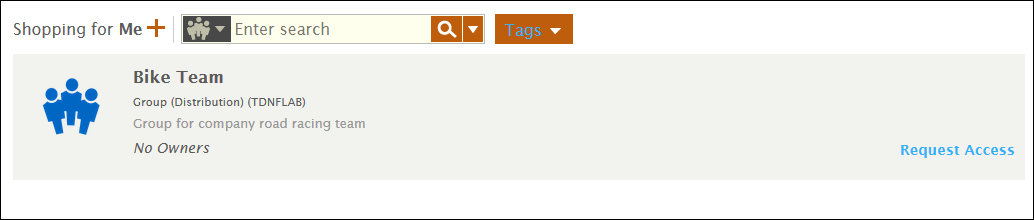
Unfiltered | This is the default view of the IT Shop. Searches with this filter return all published resources with the searched-for parameter. Thus, if a user enters "Bike Team" as their search parameter and there is a shared folder named "Bike Team," a mailbox named "Bike Team," and a group named "Bike Team," all three resource items are returned. 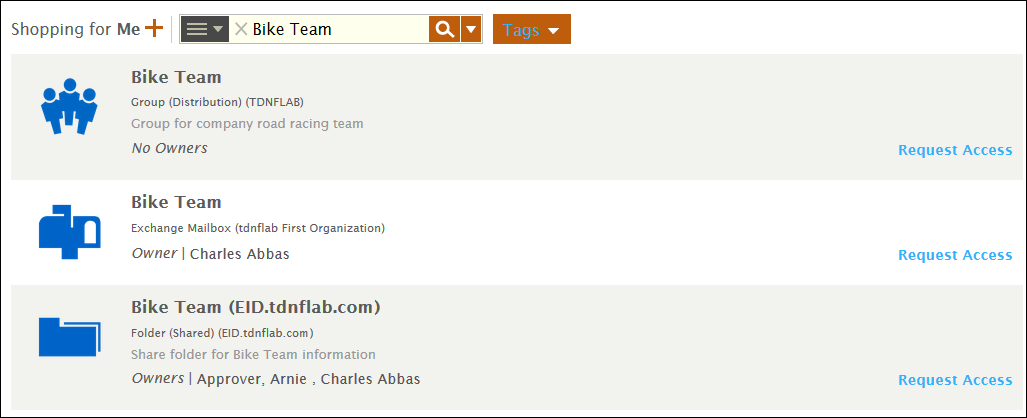 |
Application | Searches with this filter return only published applications.
|
Asset | Searches with this filter return only published assets.
|
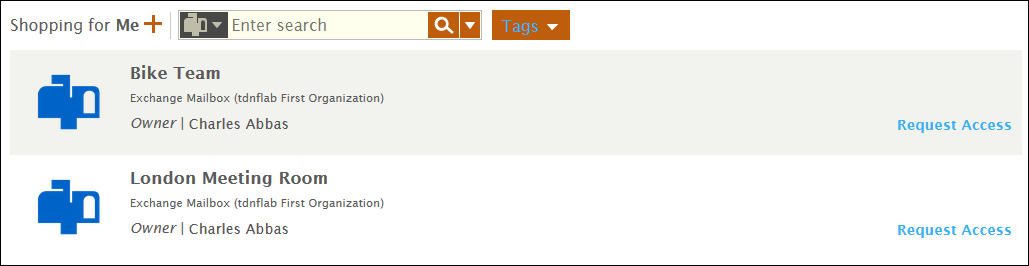
Mailbox | Searches with this filter return only published mailboxes.
|
Group | Searches with this filter return only published groups.
|
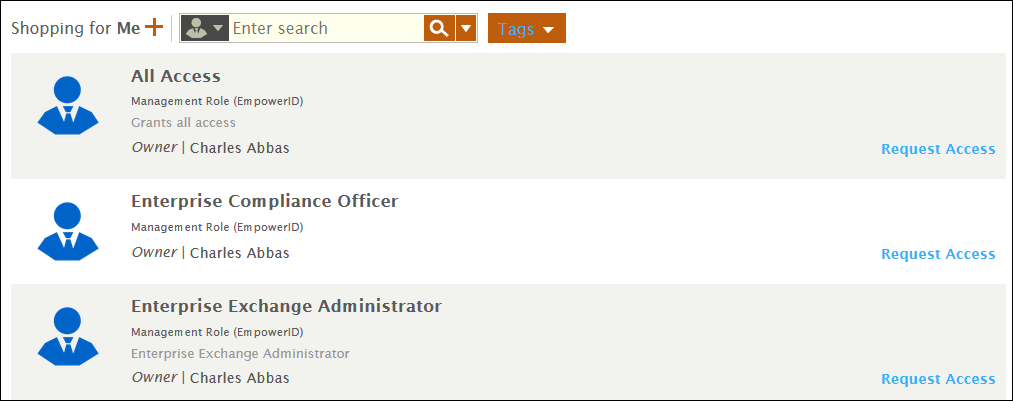
Management Role | Searches with this filter return only published Management Roles.
|
Shared Folder | Searches with this filter return only published shared folders.
|


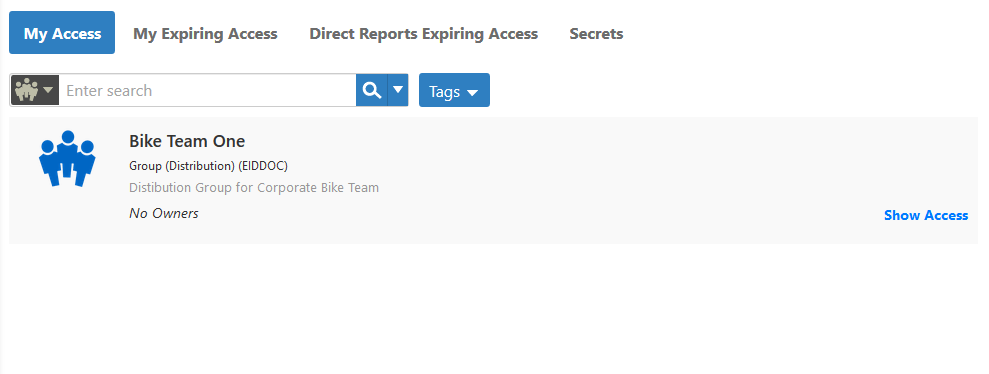
My Resources
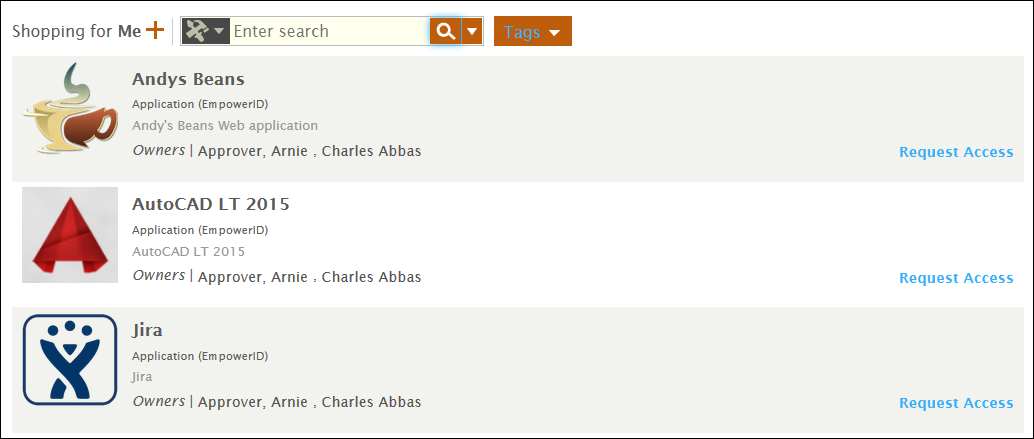
The My Resources page provides a central location for users to see all the resources to which they currently have access, as well as the type of access to those resources they have. Similar to the Find Resources page, the My Resources page can be filtered to show resources by resource type. The below image shows the My Resources page with the application filter applied.
Resources I Manage
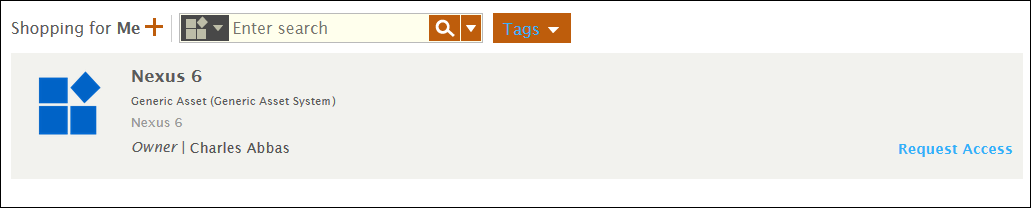
The Resources I Manage page provides a central location for users to see and manage all the resources for which they are resource owners. In EmpowerID, resource owners are delegated with the ability to grant other users access to those resources. As with the Find Resources and My Resources pages, the Resources I Manage page can be filtered by resource type. The below image shows the Resources I Manage page with the Exchange Mailbox filter applied.
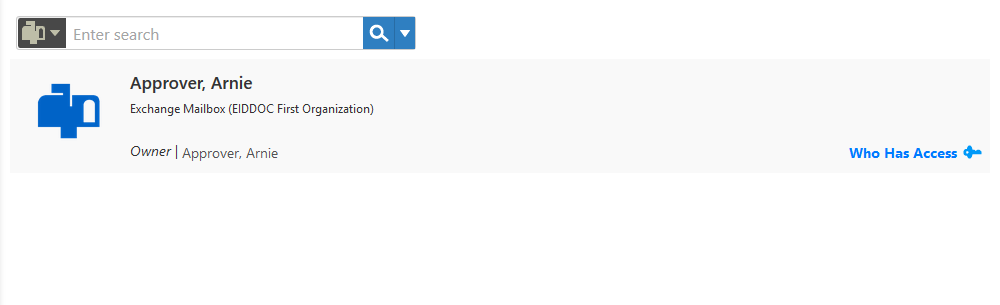
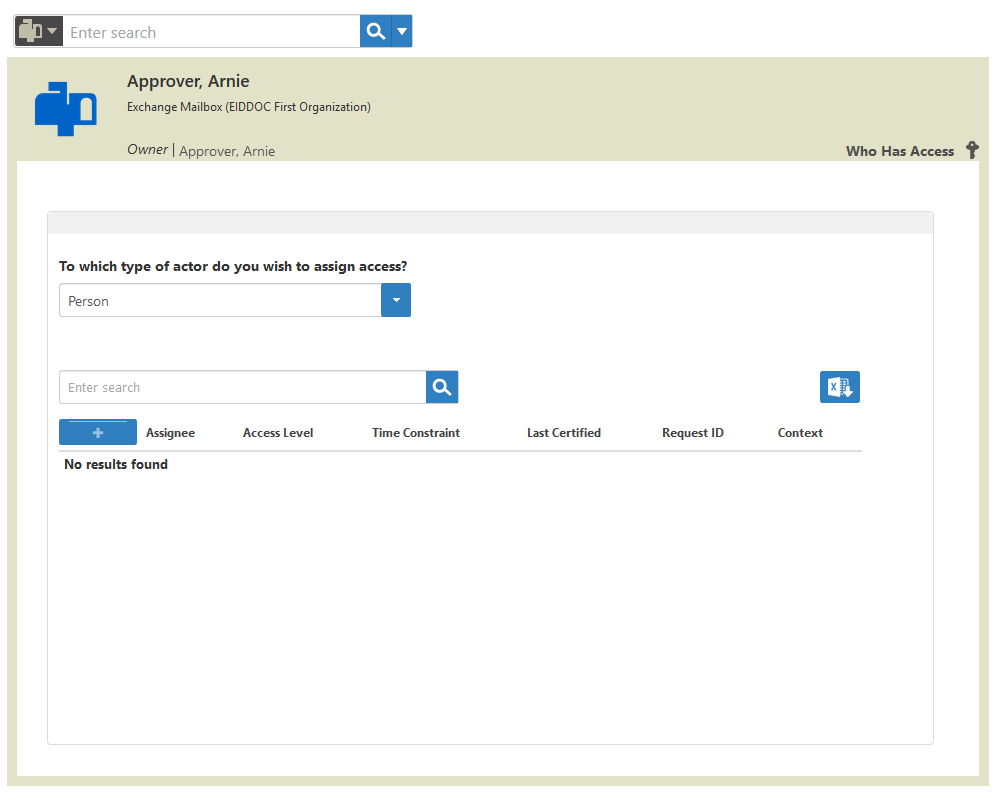
As shown in the above image, each resource item record contains a Who Has Access link. When clicked, this link opens an Assignee pane, which allows the resource owner to see who currently has access to the resource and the type of access they have, and well as provides them with the ability to grant new access assignments against the resource.
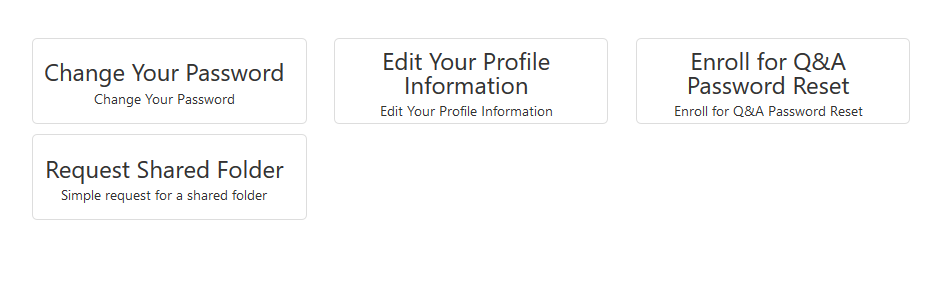
Workflows
The Workflows page provides a central location for users to access any self-service workflow to which they are entitled, such as the Change Your Password and Edit Your Profile Information workflows. The more access a user has, the more workflows they will see on this page.