Extending EmpowerID Components
Organizations needing to store and maintain attributes not defined for a given object in the object tables of the EmpowerID Identity Warehouse, can extend those objects as needed by overriding the class definition or schema for those objects with each new attribute. Doing so is preferable to using extension attributes in that extending an object's class definition makes any custom attributes you add to that definition available to your workflows and user interfaces as actual component properties that can be edited and updated in the same way as the stock component properties.
Overriding the class definition for EmpowerID components involves creating a class library project that contains an edited version of a file called GeneratedComponents.cs for the each component you wish to customize. This file contains references pointing to the default WCF data contracts for each EmpowerID component. Because this file changes frequently, you must contact EmpowerID for the correct version for this file before you can customize objects. This ensures that you have the latest version of the file for your build.
In this topic, we demonstrate how to add a custom attribute to an EmpowerID component by adding an attribute named "Clearance Level" to the Person component. Doing so involves the following:
- Adding custom attributes to objects by extending EmpowerID component definitions
- Extending the EditPersontMultiOperations Operation Activity to allow delegated users the ability to edit the new attribute
- Adding the custom attribute to the PersonEditFullForm form so that delegated users editing a person can make changes to the attribute
- Creating a Localized Text Key in the EmpowerID Management Console so that we can have the attribute appear to users in a friendlier format (in our case, as "Clearance Level"). If we do not do this, the attribute will be displayed by its Name value, which is "ClearanceLevel."
- Overriding the appropriate Web application pages to allow the new attribute to appear in the Web UI
Adding custom attributes to EmpowerID Components
In this example, we create a class library project named EIDComponents with a custom definition for the Person component that when published to the GAC places a record in the GACReferenceLibrary table of the EmpowerID Identity Warehouse. This tells EmpowerID to ignore the stock EIDComponents.dll that ships with EmpowerID and look instead at this assembly for the attributes available for each EmpowerID component. This project contains four classes, the EIDComponents class, which contains a customized version of the GeneratedComponents.cs file you received from EmpowerID, the AccountStoreIdentityEntry class, and the Person and PersonView classes, which is where we will add code to define the custom attributes.
To add the custom attribute to the Person component, we will do the following:
- Create a class library named EIDComponents, adding the contents of the GeneratedComponents.cs file to it
- Add a Person class to the class library that defines the custom attribute
- Add a PersonView class to the class library that defines the custom attribute
- Publish and compile the class library to make the new custom attribute available to EmpowerID
When creating the custom attributes for the Person and PersonView classes, we write code to inherit those classes from the base PersonCore and PersonViewCore objects, respectively. This makes all the properties and methods of the default Person and PersonView objects available to our customized components. Additionally, we implement the CustomizedComponentHelper.ICustomizedComponent interface while declaring those objects. This interface requires us to add a public property named CustomData of type CustomizedComponentHelper.ICustomizedComponent, which is a helper variable used for storing custom information. We then write code to get and set the value for one primitive property, ClearanceLevel . Additionally, we decorate the classes with the [CreateRbacProperty], [System.Runtime.Serialization.IgnoreDataMemberAttribute], and the [TheDotNetFactory.Framework.People.Components.Serialization.CustomSerializationAttribute] decorators. These decorators instruct EmpowerID to make any decorated properties (primitives only) available to forms, lookups, reports and Web pages once the class library project is compiled and published to the Identity Warehouse.
Create a new EIDComponents class library
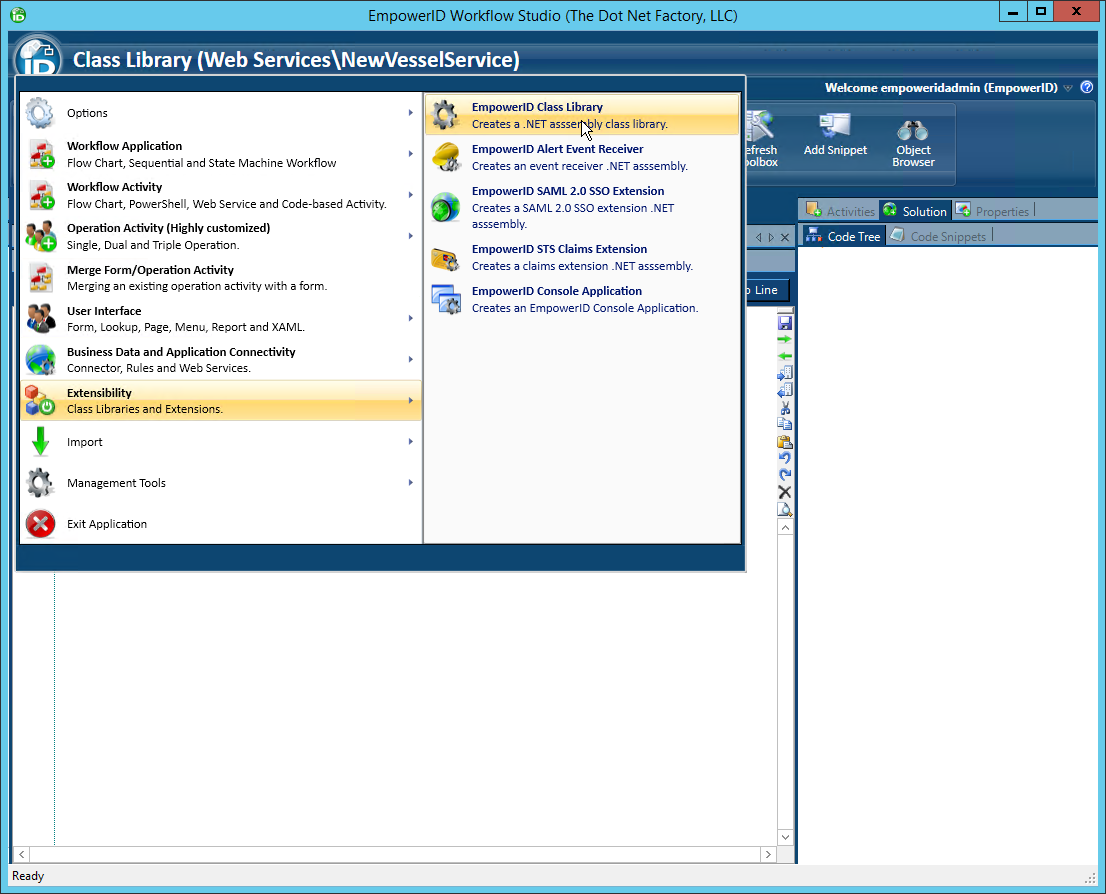
- In Workflow Studio, start a new class library project by clicking the Workflow Studio application icon and selecting Extensibility > EmpowerID Class Library from the context menu.
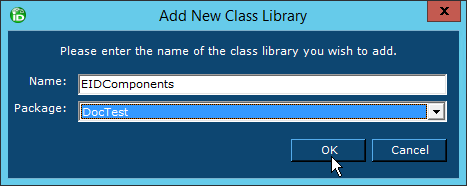
- In the Add New Class Library dialog that appears, type EIDComponents in the Name field, select a Package from the Package drop-down and click OK.
Workflow Studio creates the class library in the specified Package and opens the object in the C# Editor.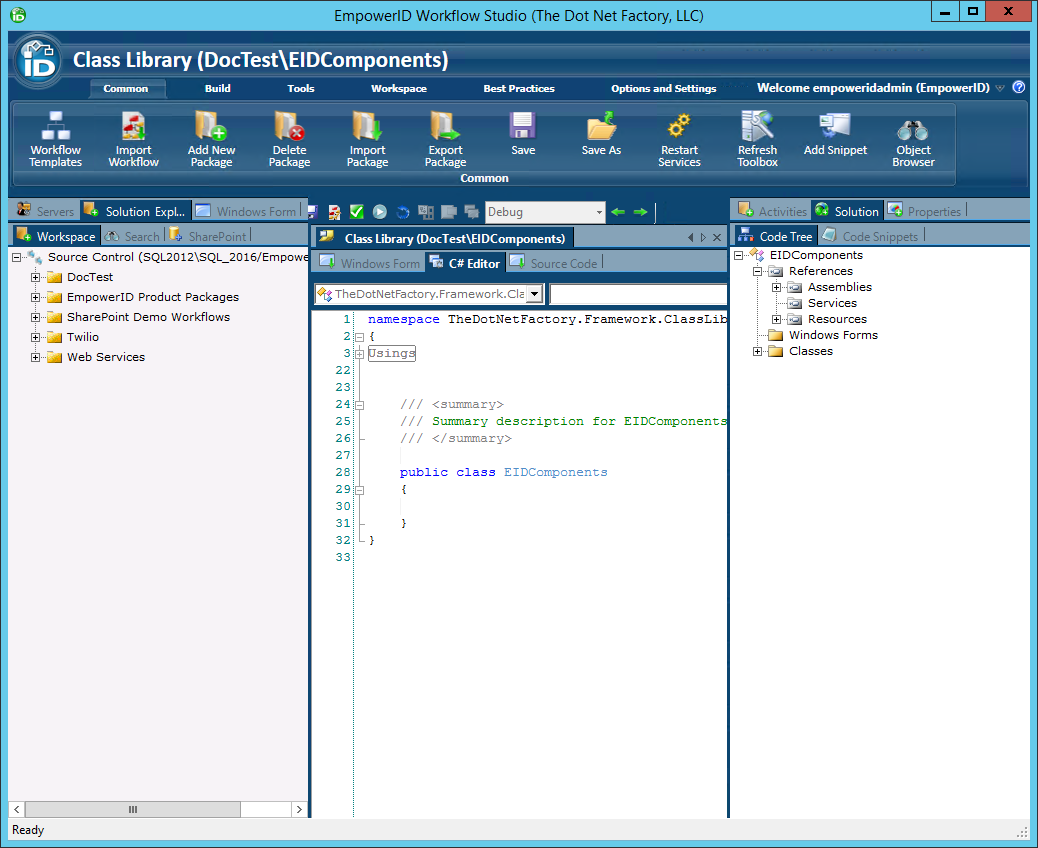
- From the C# Editor, delete all of the generated code for the EIDComponents class.
Locate the GeneratedComponents.cs file sent to you by EmpowerID and copy and paste the contents of the file into the C# Editor for the EIDComponents class.
Reorder the using and namespace statements so that the using statements are contained within the namespace statement.
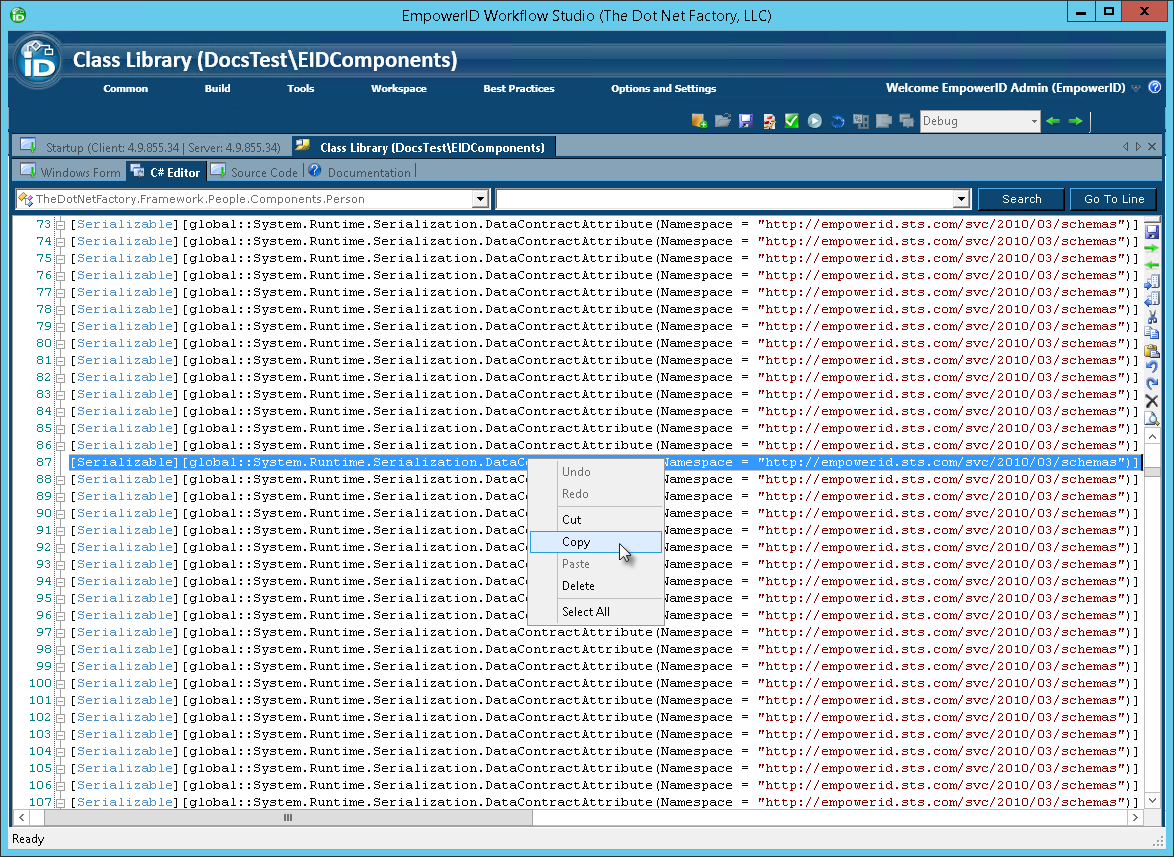
namespace TheDotNetFactory.Framework.People.Components
{
    using System;
    using System.Collections.Generic;
    using System.Linq;
    using System.Text;

    [Serializable][global::System.Runtime.Serialization.DataContractAttribute
    (Namespace = "http://empowerid.sts.com/svc/2010/03/schemas")] public class MultivalueAttribute :   	TheDotNetFactory.Framework.People.Components.Core.MultivalueAttributeCore { }
    [Serializable][global::System.Runtime.Serialization.DataContractAttribute
    (Namespace = "http://empowerid.sts.com/svc/2010/03/schemas")] public class ResourceGroup : TheDotNetFactory.Framework.People.Components.Core.ResourceGroupCore { }
    [Serializable][global::System.Runtime.Serialization.DataContractAttribute
    (Namespace = "http://empowerid.sts.com/svc/2010/03/schemas")] public class CommunicationZone : TheDotNetFactory.Framework.People.Components.Core.CommunicationZoneCore { }
    ...
}
In the C# Editor locate the line of code for the class you wish to extend and comment it out. In our case, we are extending the Person object, so we have commented out the lines specifying the attributes for the default Person and PersonView classes.
The quickest way to search for the line of code pertaining to the Person class is to click on the Search button above the C# Editor and type public partial class Person : in the Find what: field.
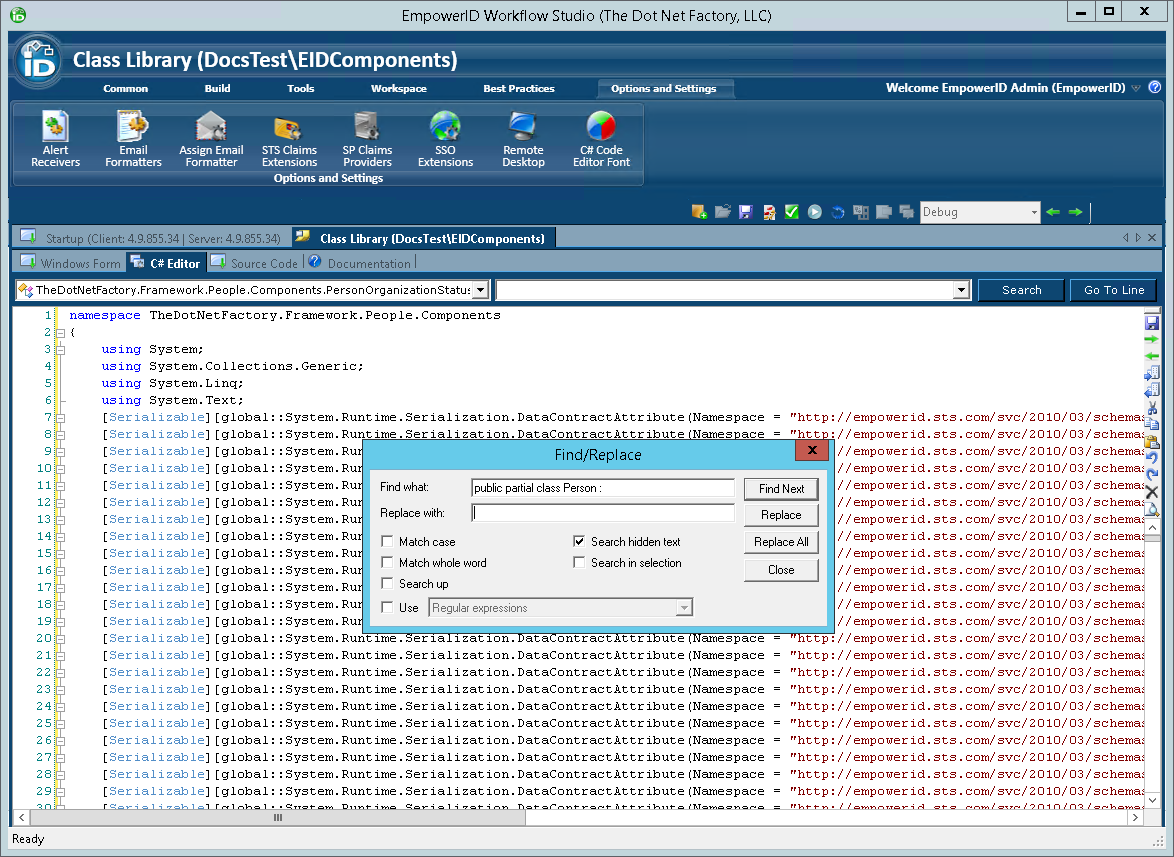
To find the PersonView class, search for public partial class PersonView :
- Save your changes.
- Add a new class to the class library by right-clicking the Classes folder in the Code Tree to the right of the C# Editor and selecting Add Visual C# Source Item > Add Class Source from the context menu.
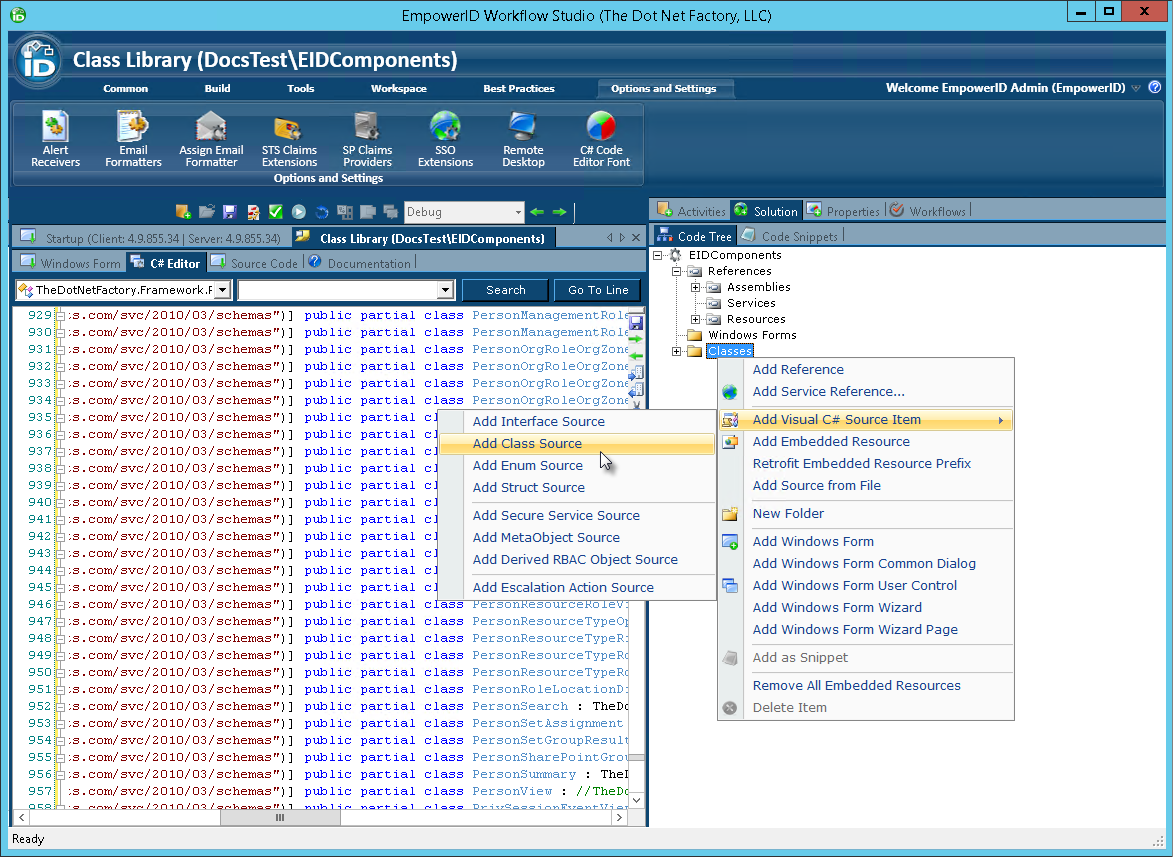
- In the Add New Class dialog that appears type OtherComponents in the Name field and then click OK to close the dialog.
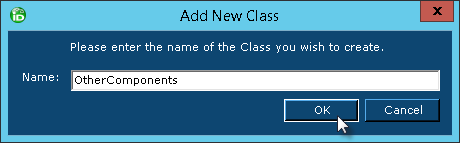
Workflow Studio creates the class and opens it in the C# Editor.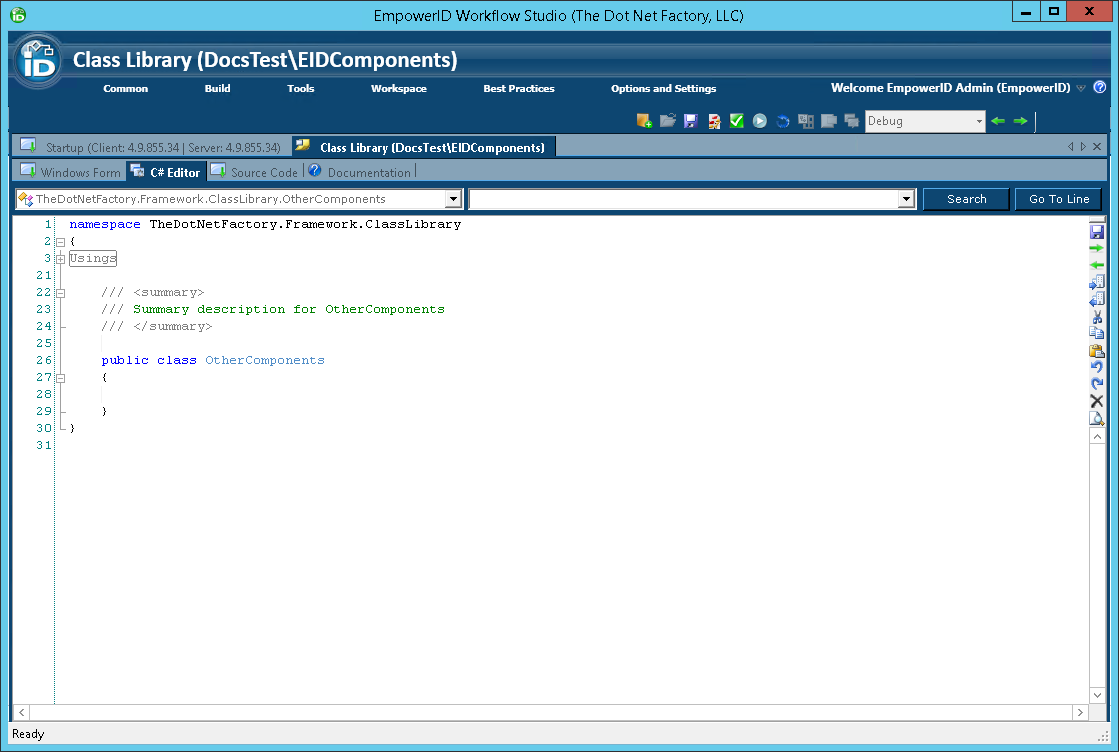
- From the C# Editor, delete all of the generated code for the OtherComponents class.
- Locate the OtherComponents.cs file sent to you by EmpowerID and copy and paste the contents of the file into the C# Editor for the OtherComponents class.
- Reorder the using and namespace statements so that the using statements are contained within the namespace statement, as shown by the below image.
- Save your changes.
Add a new Person class to the EIDComponents class library
- Add a new class to the class library by right-clicking the Classes folder in the Code Tree to the right of the C# Editor and selecting Add Visual C# Source Item > Add Class Source from the context menu.
.png?version=1&modificationDate=1527689514822&cacheVersion=1&api=v2)
- In the Add New Class dialog that appears type Person in the Name field and then click OK to close the dialog. The name of the class must match the name of the component you are extending.

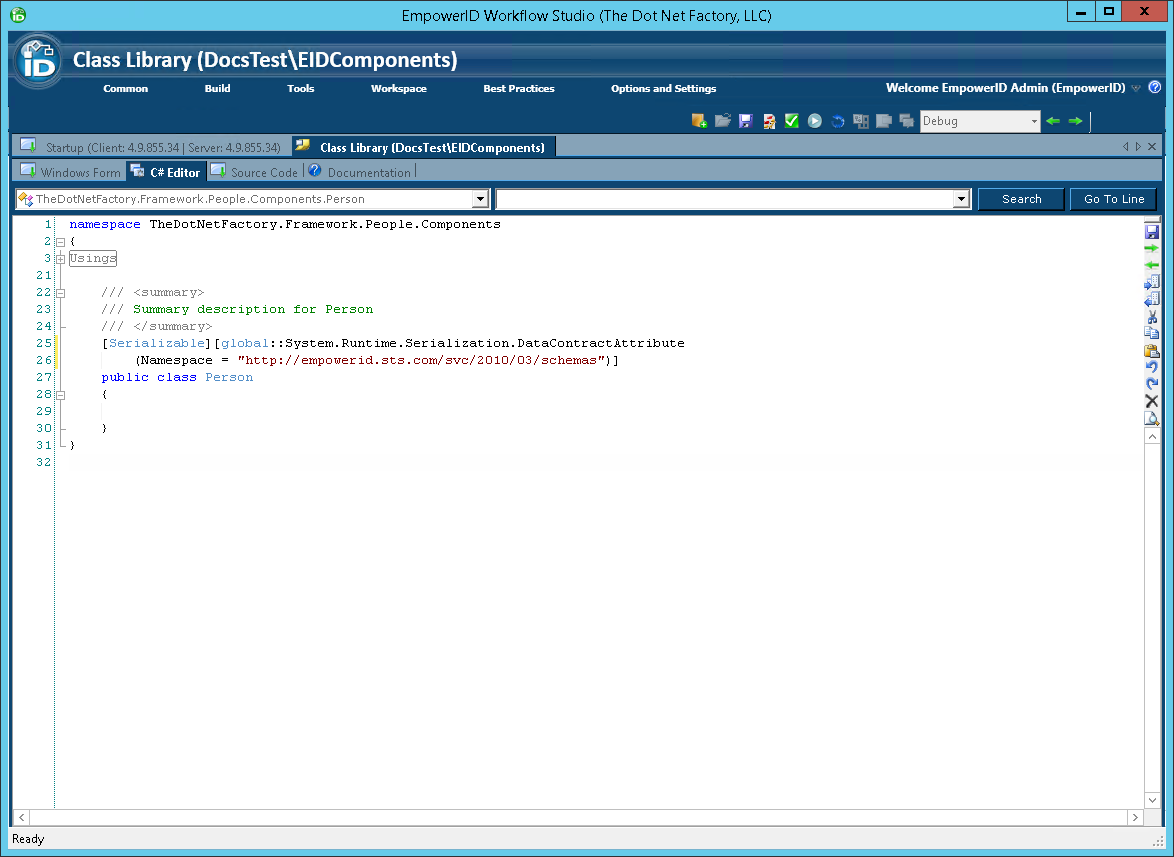
Workflow Studio creates the class and opens it in the C# Editor.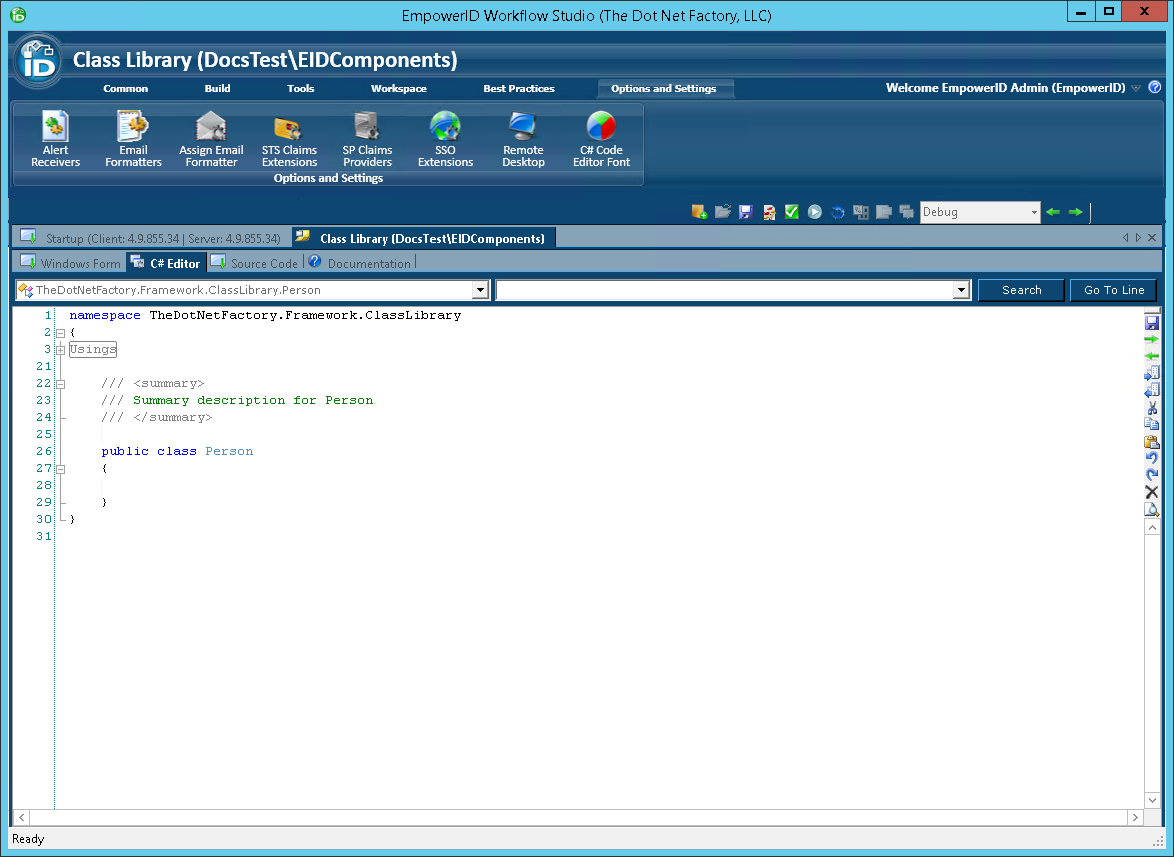
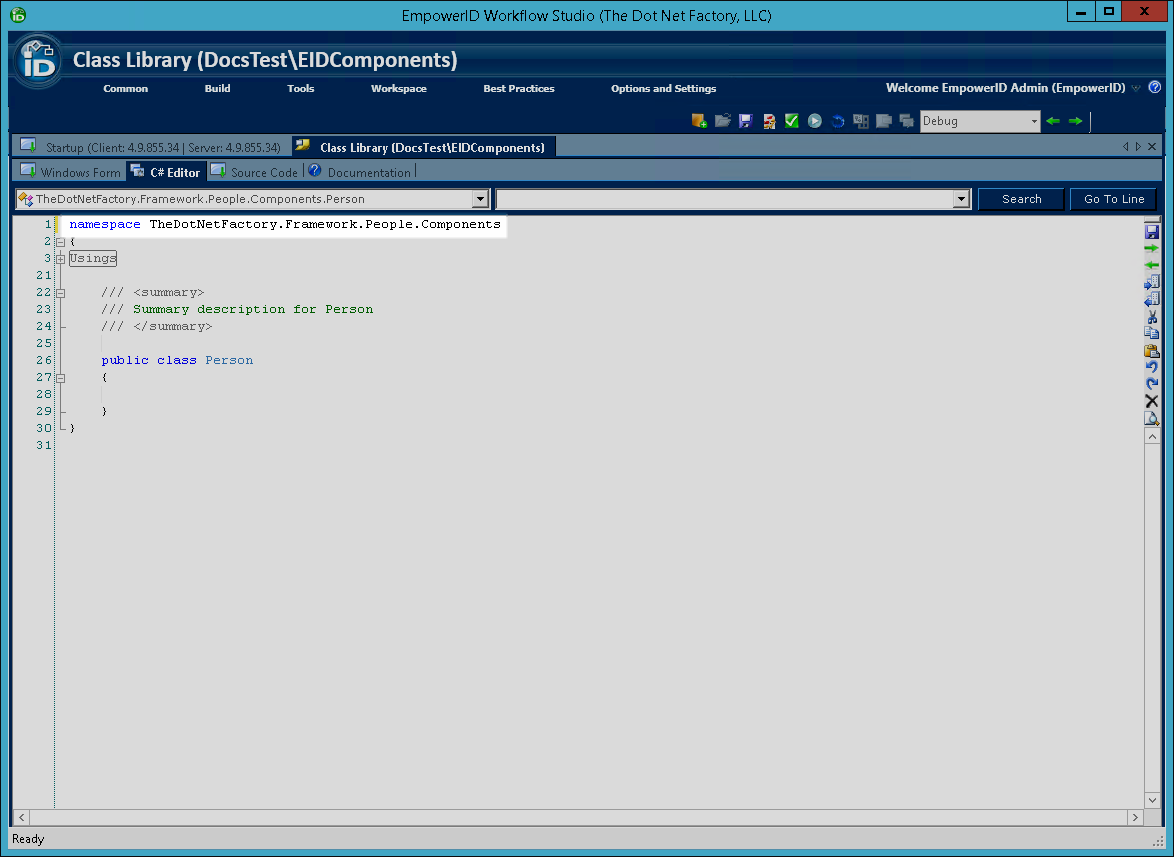
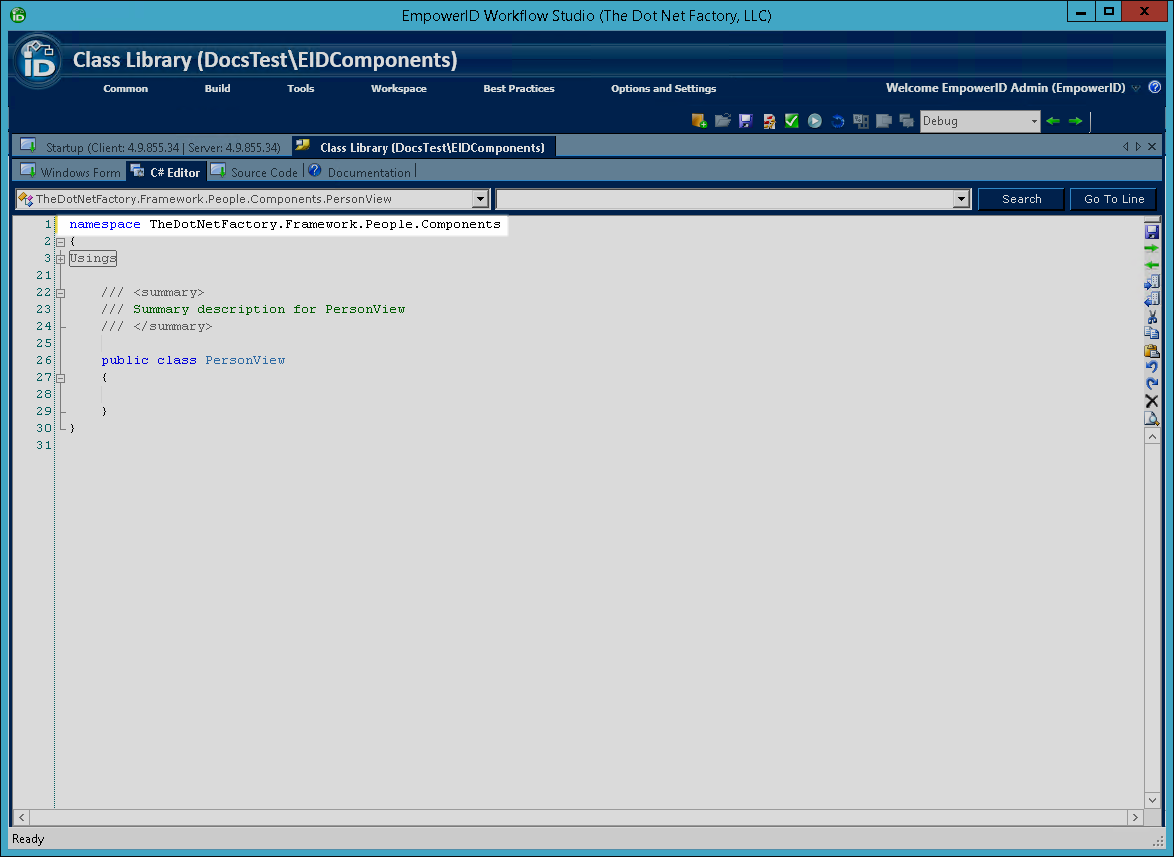
- In the C# Editor for the Person class, change the namespace from TheDotNetFactory.Framework.ClassLibrary to TheDotNetFactory.Framework.People.Components.
- From the Code Tree, expand the Classes node and then double-click the EIDComponents.cs file to open the class in the C# Editor.
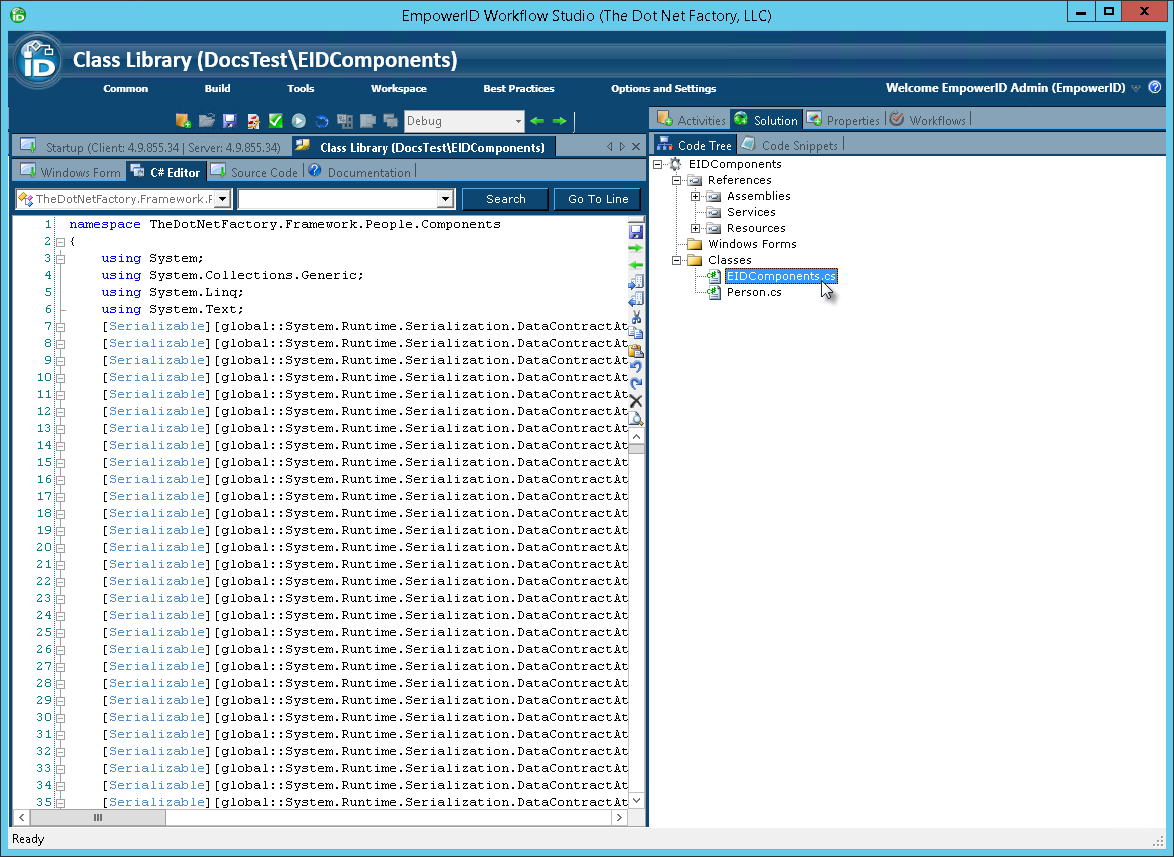
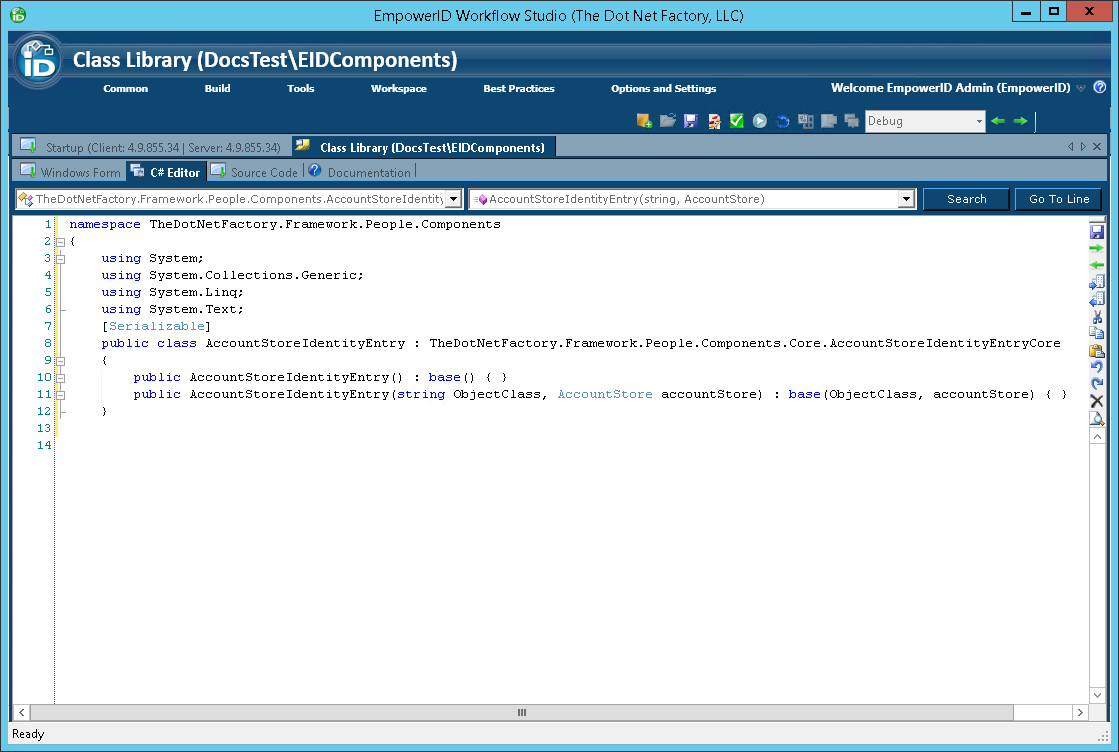
- From the C# Editor for the EIDComponents class, locate and copy the Serializable portion of the Data Contract for the Person component you commented out previously.
- From the Classes node of the Code Tree, open the Person.cs class file and then paste the line of code you just copied into the C# Editor, placing it just above the class statement.
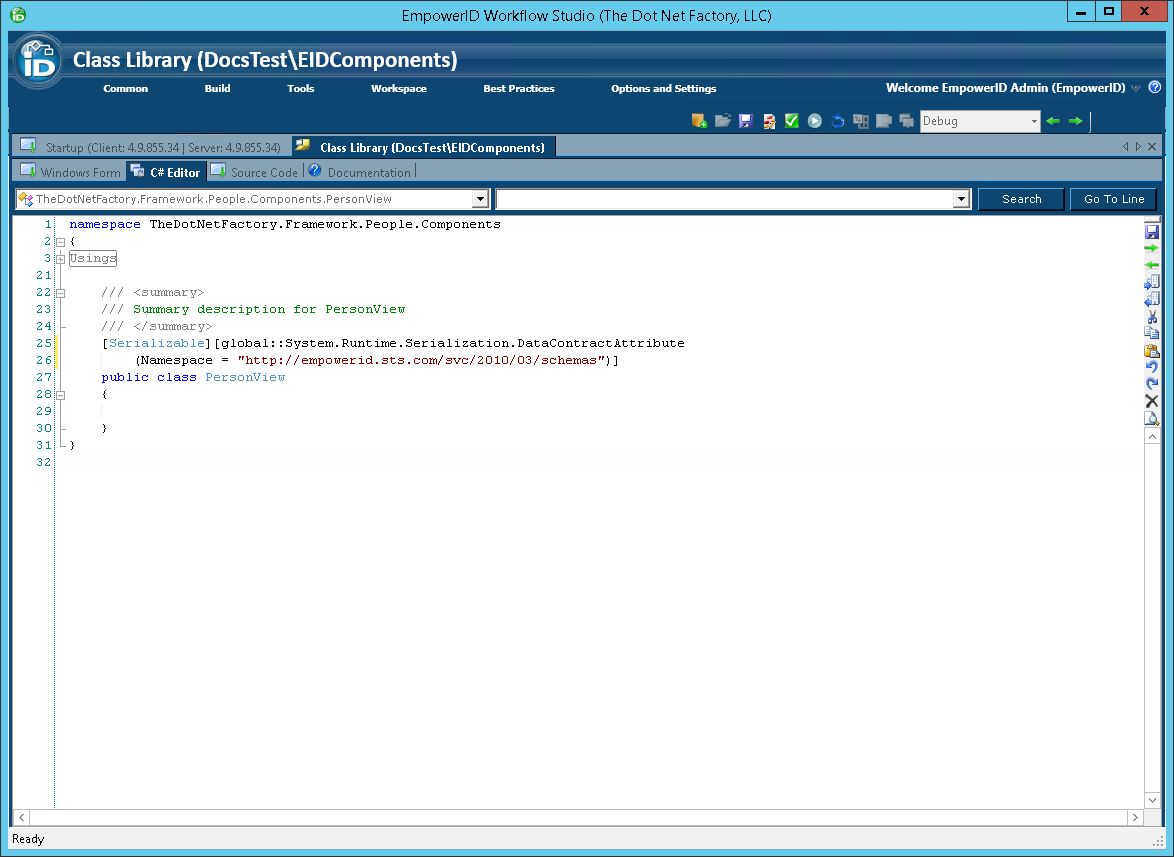
Add code to inherit the Person class from the base PersonCore object, as well as the CustomizedComponentHelper.ICustomisedComponent interface.
[Serializable][global::System.Runtime.Serialization.DataContractAttribute(Namespace = "http://empowerid.sts.com/svc/2010/03/schemas")] public class Person : TheDotNetFactory.Framework.People.Components.Core.PersonCore, CustomizedComponentHelper.ICustomizedComponent { }- In the C# Editor, add code to the Person class to do the following:
- Decorate the class with the [System.Runtime.Serialization.IgnoreDataMemberAttribute] decorator.
- Implement the CustomData property of type CustomizedComponentHelper.ConfigurationXmlWrapper
Create a property for the custom attribute, decorating it with the [CreateRbacProperty], [DataMember] and [TheDotNetFactory.Framework.Components.Serialization.customPropertySerializationAttribute] decorators and using the GetExtendedAttribute() method of the CustomizedComponentHelper class to get and set its value. When getting the value of the attribute, you pass in parameters for the customized component, the name of the custom attribute, and a boolean for xml serialization. When setting the value of the property, you pass in the same parameters with the addition of value.
The following shows what the code for the above looks like:
[Serializable][global::System.Runtime.Serialization.DataContractAttribute(Namespace = "http://empowerid.sts.com/svc/2010/03/schemas")]
public class Person : TheDotNetFactory.Framework.People.Components.Core.PersonCore, CustomizedComponentHelper.ICustomizedComponent
{
    [System.Runtime.Serialization.IgnoreDataMemberAttribute]
    public CustomizedComponentHelper.ConfigurationXmlWrapper CustomData {get; set;}
    [CreateRbacProperty]
	[DataMember]
    [TheDotNetFactory.Framework.People.Components.Serialization.CustomPropertySerializationAttribute]
     public string ClearanceLevel
     {
        get
        {
            return CustomizedComponentHelper.GetExtendedAttribValue<string>(this, "Person", "ClearanceLevel", true);
        }
        set
        {
            CustomizedComponentHelper.SetExtendedAttribValue<string>(this, "Person", "ClearanceLevel", value, true);
        }
	}
Save your changes.
When completed, the code for the Person class should look similar to the following code.namespace TheDotNetFactory.Framework.People.Components { usings [Serializable][global::System.Runtime.Serialization.DataContractAttribute(Namespace = "http://empowerid.sts.com/svc/2010/03/schemas")] public class Person : TheDotNetFactory.Framework.People.Components.Core.PersonCore, CustomizedComponentHelper.ICustomizedComponent { [System.Runtime.Serialization.IgnoreDataMemberAttribute] public CustomizedComponentHelper.ConfigurationXmlWrapper CustomData {get; set;} [CreateRbacProperty] [DataMember] [TheDotNetFactory.Framework.People.Components.Serialization.CustomPropertySerializationAttribute] public string ClearanceLevel { get { return CustomizedComponentHelper.GetExtendedAttribValue<string>(this, "Person", "ClearanceLevel", true); } set { CustomizedComponentHelper.SetExtendedAttribValue<string>(this, "Person", "ClearanceLevel", value, true); } } } }
Add a new PersonView Class to the class library
- Add a new class for the PersonView component to the class library by right-clicking the Classes folder in the Code Tree to the right of the C# Editor and selecting Add Visual C# Source Item > Add Class Source from the context menu.
.png?version=1&modificationDate=1527690640392&cacheVersion=1&api=v2)
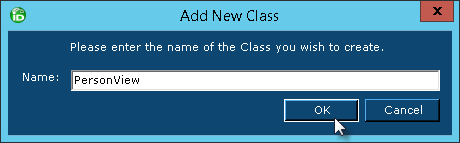
- In the Add New Class dialog that appears type PersonView in the Name field and then click OK to close the dialog. The name of the class must match the name of the component you are extending.
Workflow Studio creates the class and opens it in the C# Editor.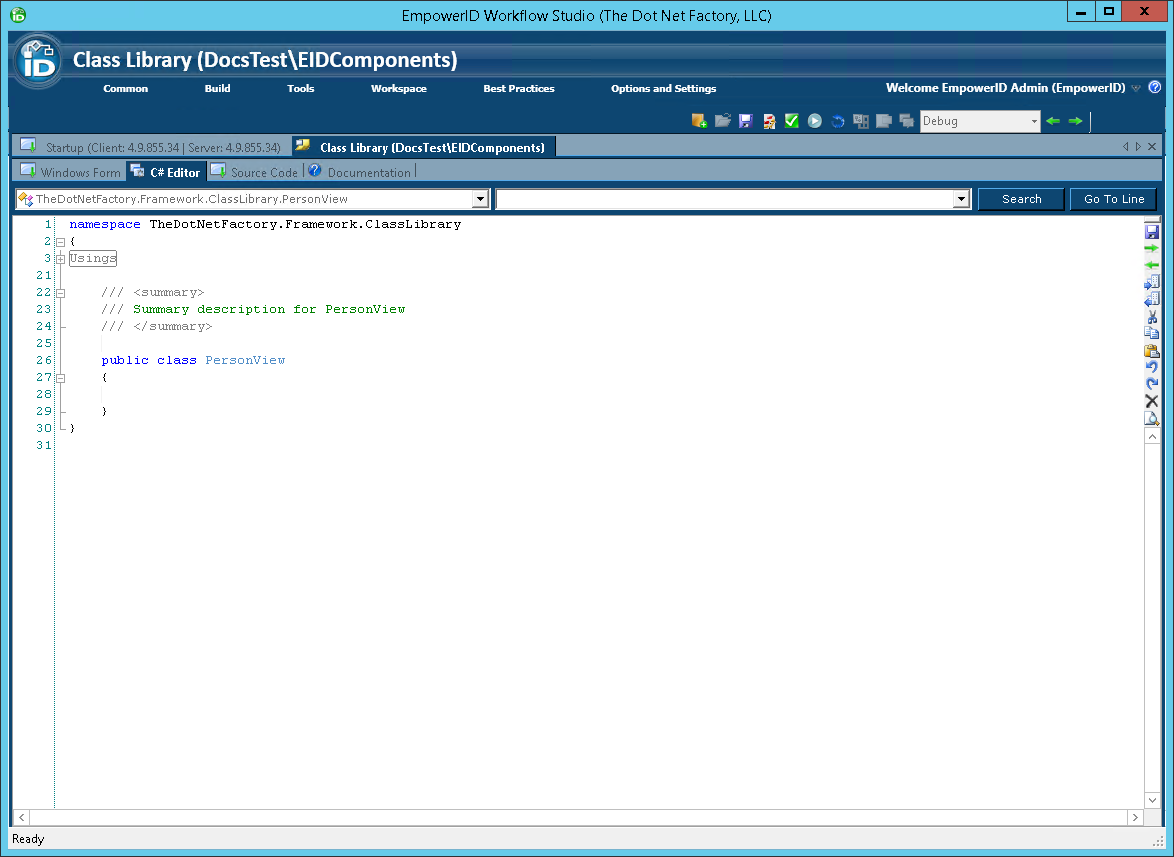
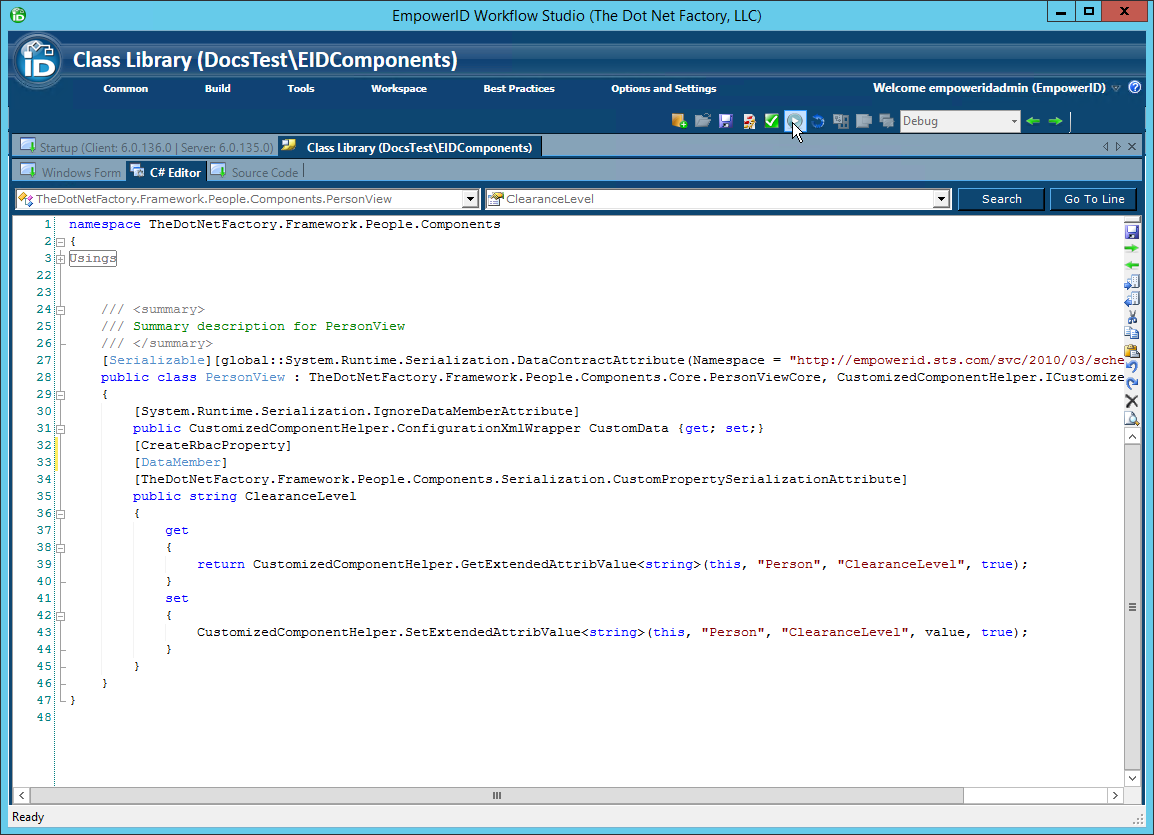
- In the C# Editor for the PersonView class, change the namespace from TheDotNetFactory.Framework.ClassLibrary to TheDotNetFactory.Framework.People.Components.
- From the Code Tree, under the Classes node, double-click the EIDComponents.cs file to open the class in the C# Editor.
- From the C# Editor for the EIDComponents class, locate and copy the Serializable portion of the Data Contract for the PersonView component you commented out previously.
.png?version=1&modificationDate=1527690927669&cacheVersion=1&api=v2)
- From the Classes node of the Code Tree, open the PersonView.cs class file and then paste the line of code you just copied into the C# Editor, placing it just above the class statement.
Add code to inherit the PersonView class from the base PersonViewCore object, as well as the CustomizedComponentHelper.ICustomisedComponent interface.
[Serializable][global::System.Runtime.Serialization.DataContractAttribute(Namespace = "http://empowerid.sts.com/svc/2010/03/schemas")] public class PersonView : TheDotNetFactory.Framework.People.Components.Core.PersonViewCore, CustomizedComponentHelper.ICustomizedComponent { }- In the C# Editor, add code to the PersonView class to do the following:
- Decorate the class with the [System.Runtime.Serialization.IgnoreDataMemberAttribute] decorator.
- Implement the CustomData property of type CustomizedComponentHelper.ConfigurationXmlWrapper.
Create a property for the custom attribute, decorating it with the [CreateRbacProperty], [DataMember] and [TheDotNetFactory.Framework.Components.Serialization.customPropertySerializationAttribute] decorators and using the GetExtendedAttribute() method of the CustomizedComponentHelper class to get and set its value. When getting the value of the attribute, you pass in parameters for the customized component, the name of the custom attribute, and a boolean for xml serialization. When setting the value of the property, you pass in the same parameters with the addition of value.
The following shows what the code for the PersonView class should look like when you have completed the above steps.[Serializable][global::System.Runtime.Serialization.DataContractAttribute(Namespace = "http://empowerid.sts.com/svc/2010/03/schemas")] public class Person : TheDotNetFactory.Framework.People.Components.Core.PersonCore, CustomizedComponentHelper.ICustomizedComponent { [System.Runtime.Serialization.IgnoreDataMemberAttribute] public CustomizedComponentHelper.ConfigurationXmlWrapper CustomData {get; set;} [CreateRbacProperty] [DataMember] [TheDotNetFactory.Framework.People.Components.Serialization.CustomPropertySerializationAttribute] public string ClearanceLevel { get { return CustomizedComponentHelper.GetExtendedAttribValue<string>(this, "Person", "ClearanceLevel", true); } set { CustomizedComponentHelper.SetExtendedAttribValue<string>(this, "Person", "ClearanceLevel", value, true); } } }
- Save your changes.
The next step is to add an assembly for the new EIDComponents class library to the GAC. This is accomplished by compiling and publishing the class library. We demonstrate this below.
Compile and publish the EIDComponents class library
- From the toolbar located just above the C# Editor, click the Compile button. Compiling the class library allows you to see if there are any code errors in the class library before attempting to publish it.

After the compilation completes, you should see an Operations Log appear with a status of Succeeded. If the compilation failed, locate and fix the errors as specified in the log and then recompile the class library.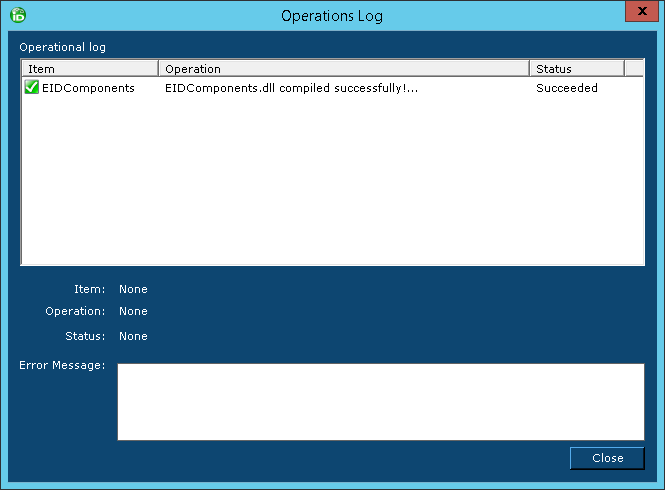
- Click Close to close the Operations Log.
- Next, publish the class library by clicking the Compile and Publish button located just above the C# Editor.
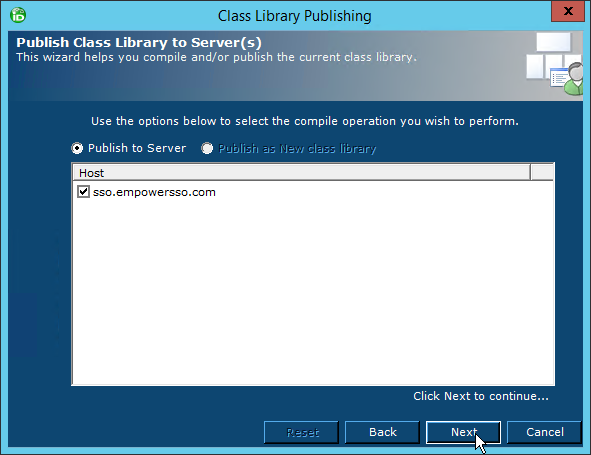
- From the Class Library Publishing wizard that appears, click Next.

Select an EmpowerID server as the publishing location and then click Next.
When the wizard has completed publishing, you will be promoted to restart one or more services. Restarting the services allows EmpowerID to pick up your changes as well as make the underlying assembly for the class library available to the local GAC of those services.
- Click Yes when prompted to restart the services.
- In the Active Services dialog that appears, select the services to be restarted and then click Restart.

Update existing RBAC object data
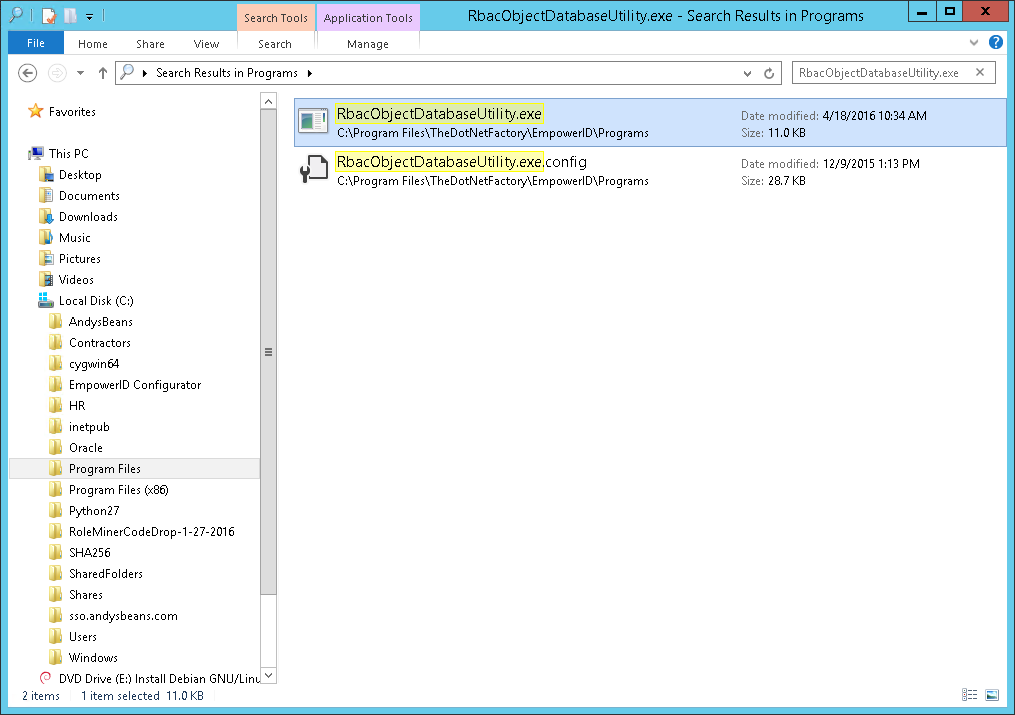
- Navigate to the EmpowerID > Programs folder on your EmpowerID server and locate the RbacObjectDatabaseUtility.exe file.
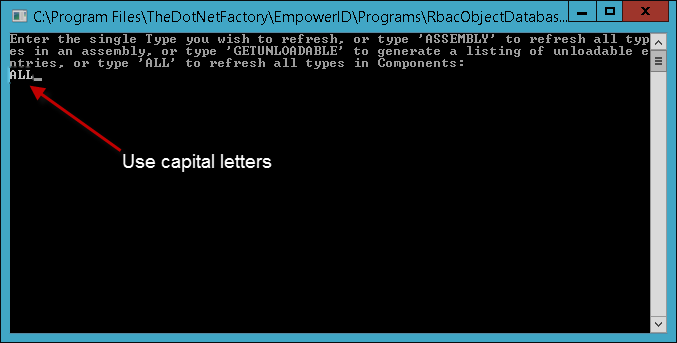
- From the the Programs folder, double-click the executable and in the command prompt that appears, then type ALL (all caps) and then press ENTER.
- Wait for the utility to complete updating the RBAC object data and then restart the EmpowerID services and reset IIS.
- Close and restart Workflow Studio.
Now that the RBAC object data is updated, the new attribute can be used in existing workflows, activities and forms. We demonstrate this next by adding code to the Edit Person Multi Operations operation to allow delegated users the ability to edit the custom attribute.
Adding code to extend the EditPersonMultiOperations Operation Activity
- From the Workflow Studio Solution Explorer, search for the EditPersonMultiOperations Operation activity.
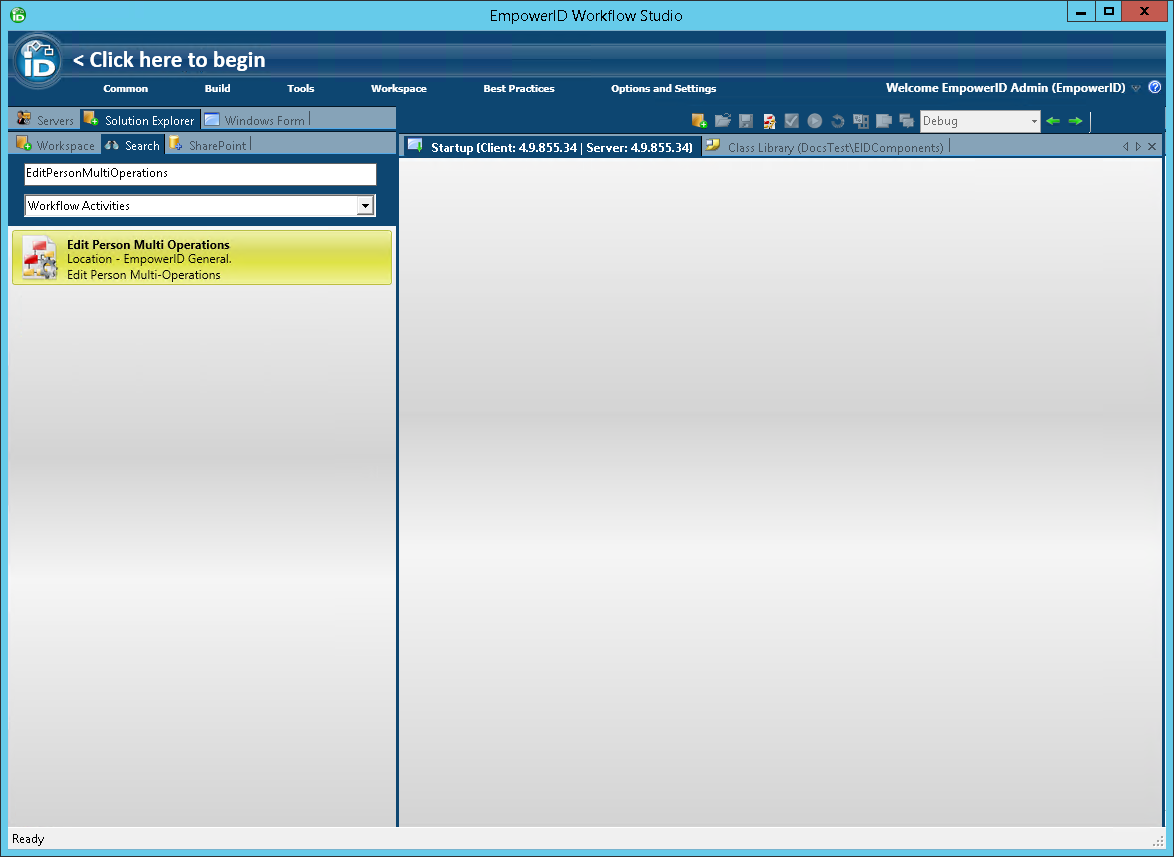
- Double-click the activity to open it in the Workflow Studio Activity Designer.
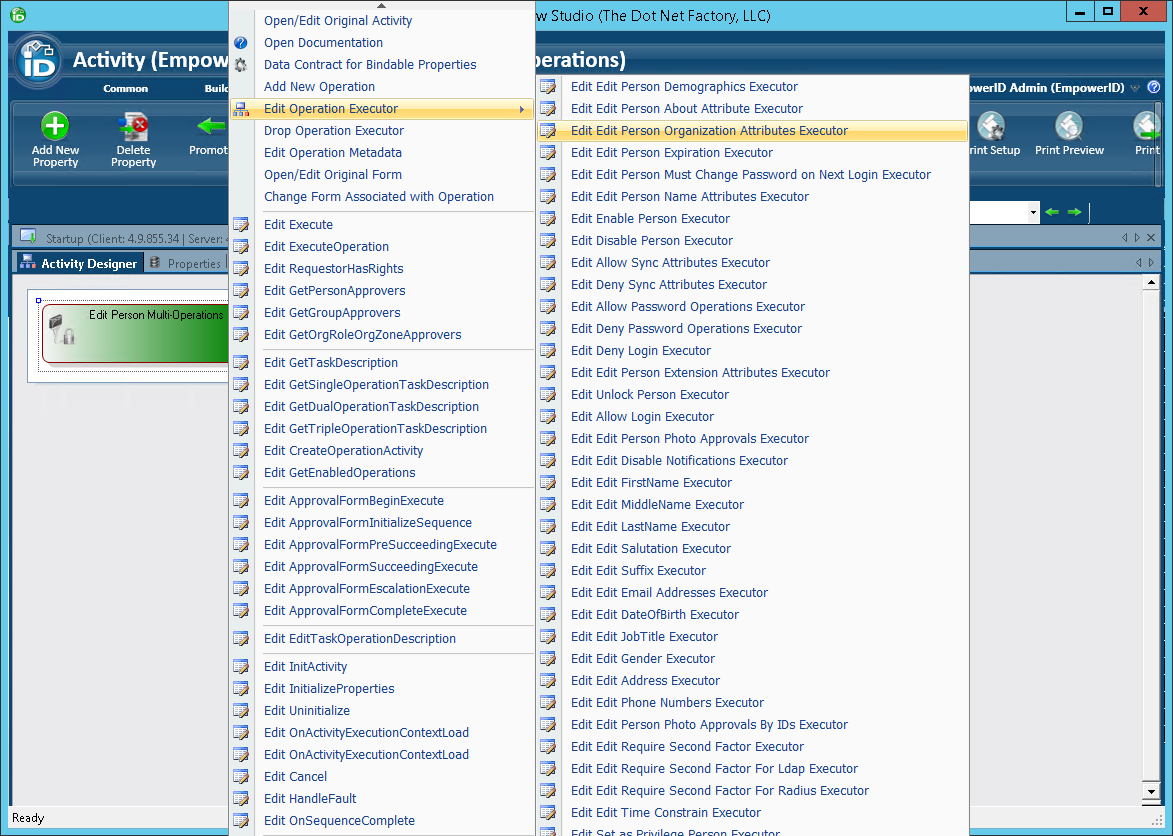
- From the Workflow Designer, right-click on the Operation activity and select Edit Operation Executor > Edit Edit Person Organization Attributes Executor from the context menu.
In the C# Editor for the EditPersonOrganizationAttributes operation that opens, add code to the ExecuteOperation() method to set the ClearanceLevel property for each person being edited to the value entered in the Clearance Level field of the workflow form.
person.ClearanceLevel = CurrentWorkflow.Form_TargetPerson.ClearanceLevel;
The below image shows what the above code looks like in the C# Editor.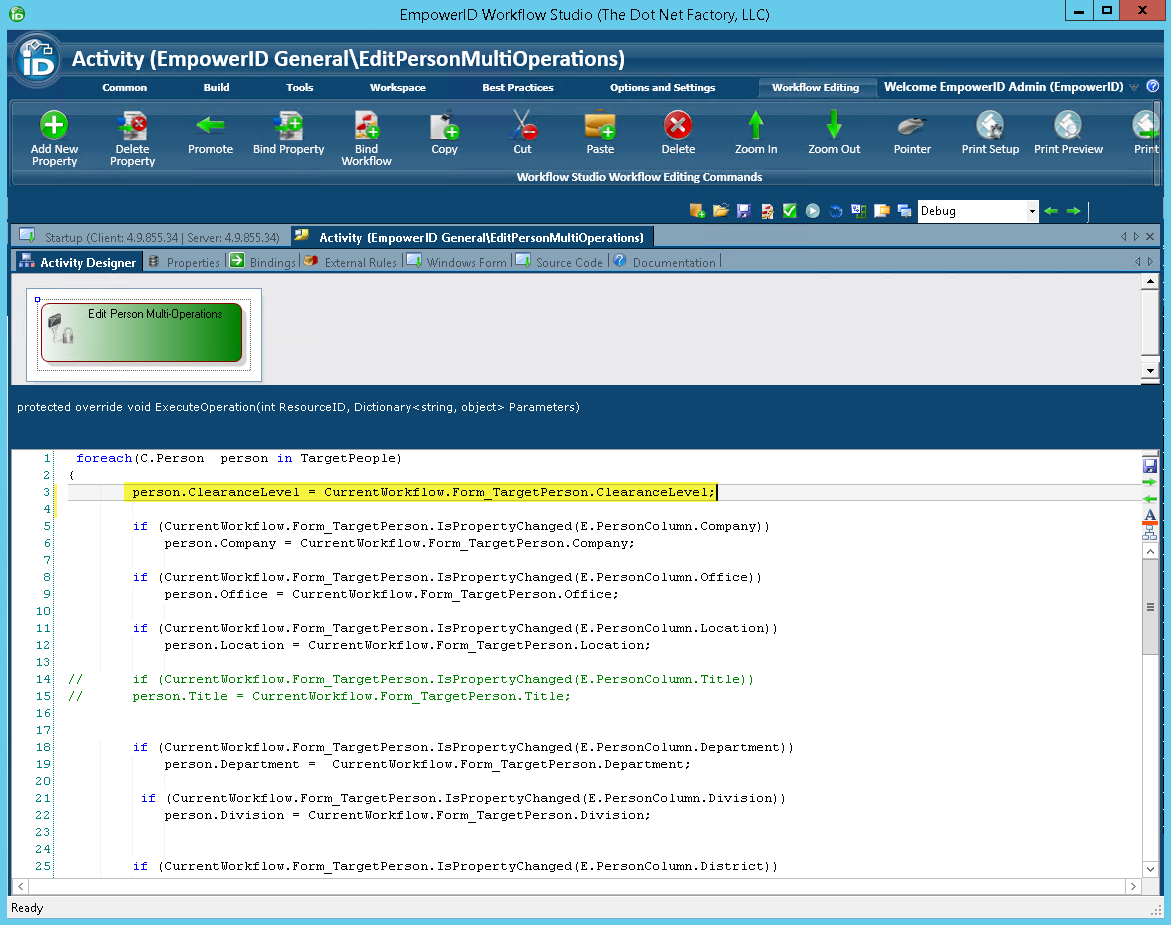
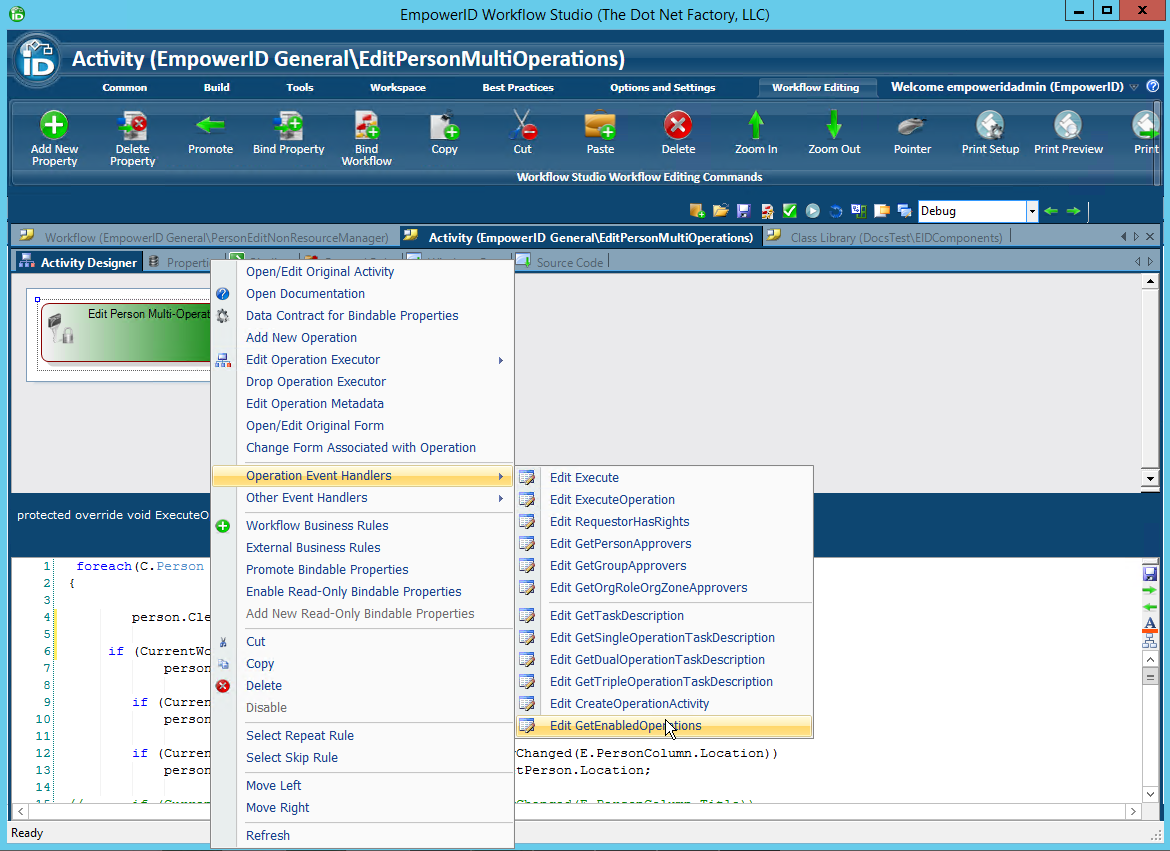
- From the Workflow Designer, right-click on the Operation activity again and select Operation Event Handlers > Edit GetEnabledOperations from the context menu.
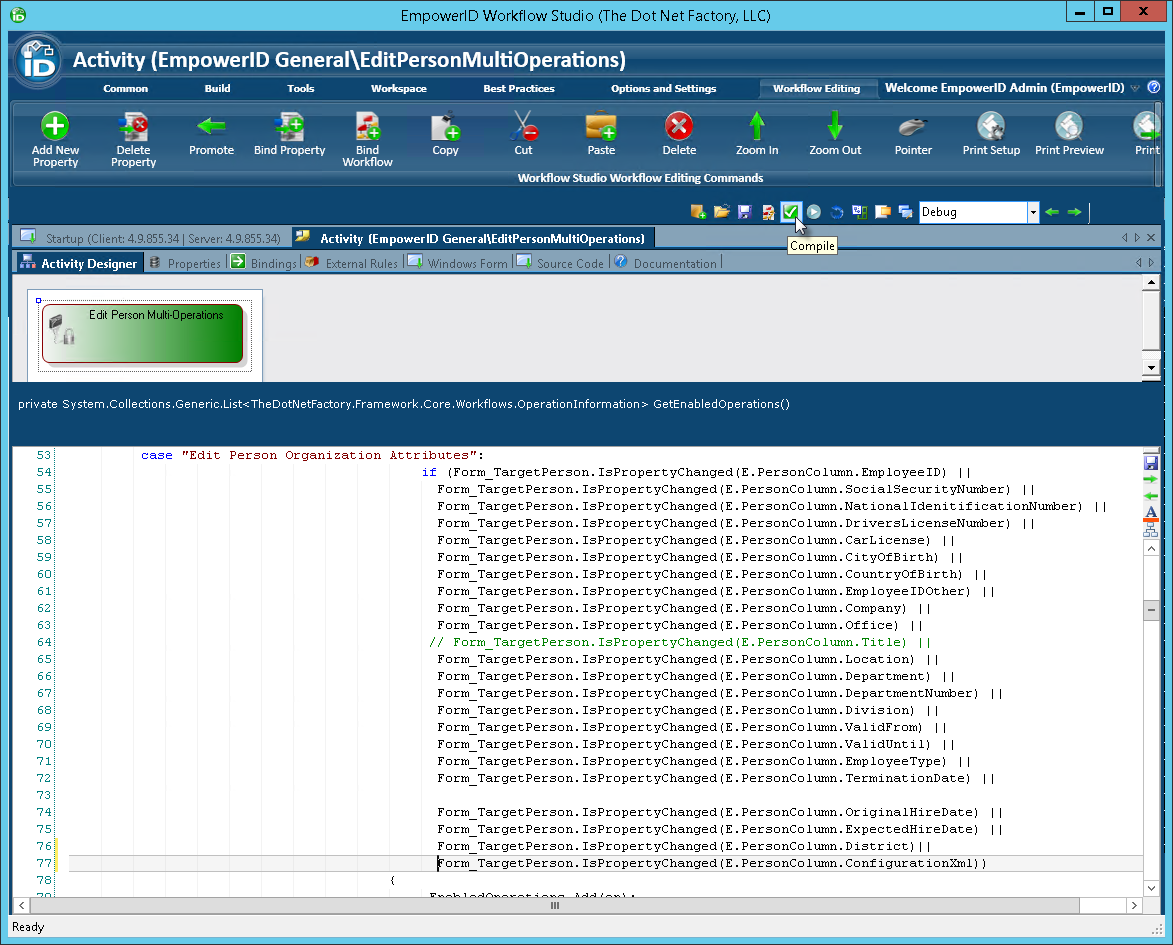
In the C# Editor for the GetEnabledOperations() method that opens, navigate to the case statement for "Edit Person Organization Attributes" and add the following code to the end of the case's if statement to enable the change entered in the form field to be persisted to the database.
|| Form_TargetPerson.IsPropertyChanged(E.PersonColumn.ConfigurationXml)
EmpowerID stores custom attributes in the ConfigurationXml column of the EmpowerID Identity Warehouse.
The following image shows what the above code looks like in the C# Editor.
- Save your changes.
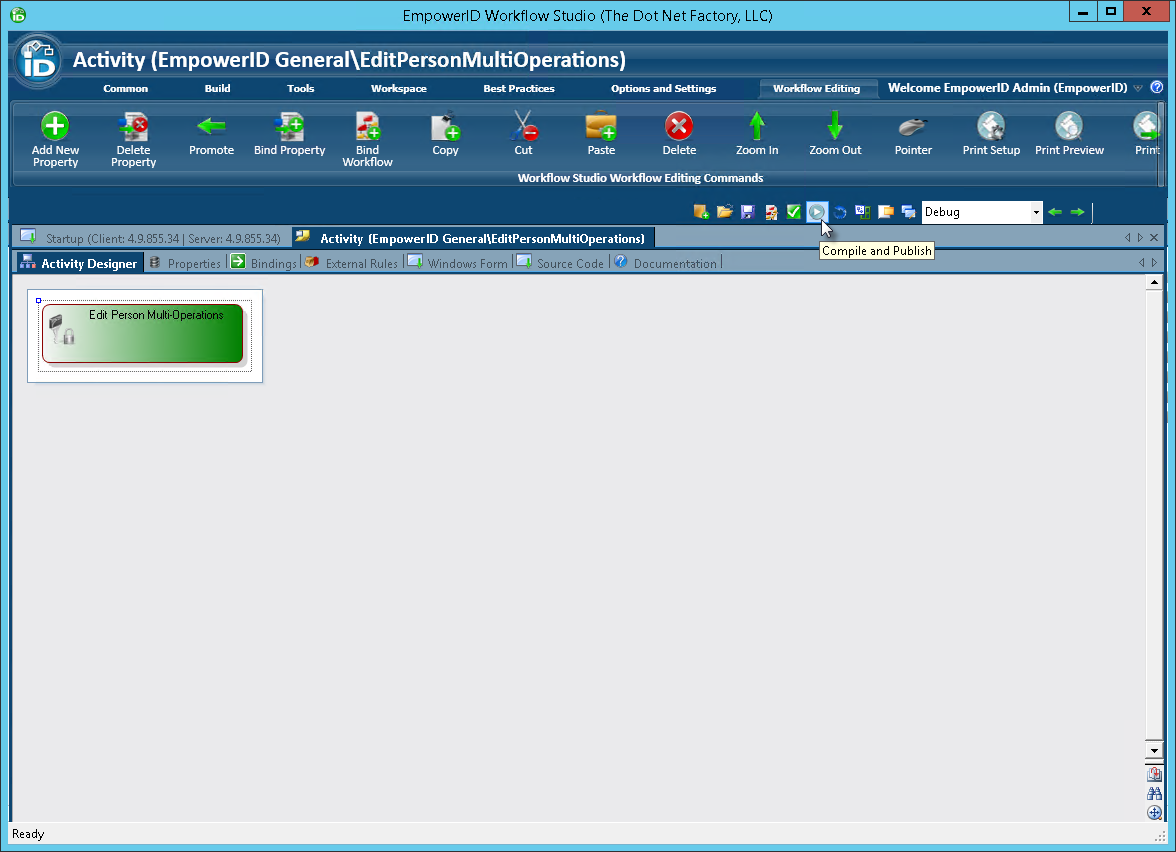
- From the toolbar located just above the Activity Designer, click the Compile button. Compiling the activity allows you to see if there are any code errors in the activity before attempting to publish it.
After the compilation completes, you should see an Operations Log appear with a status of Succeeded. If the compilation failed, locate and fix the errors as specified in the log and then recompile the operation.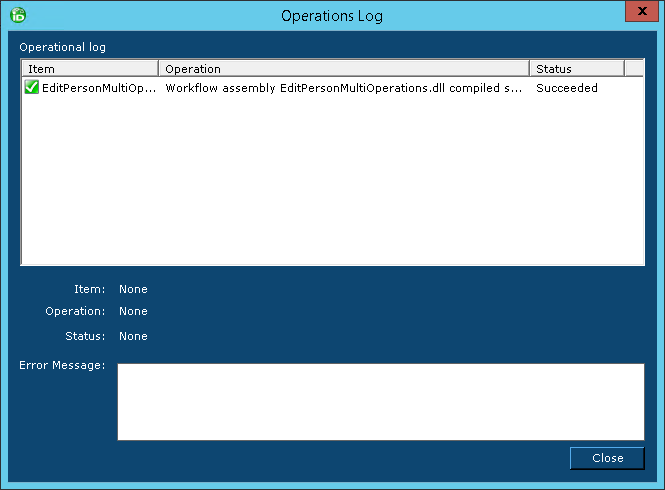
- Click Close to close the Operations Log.
- Next, publish the activity by clicking the Compile and Publish button located just above the Activity Designer.
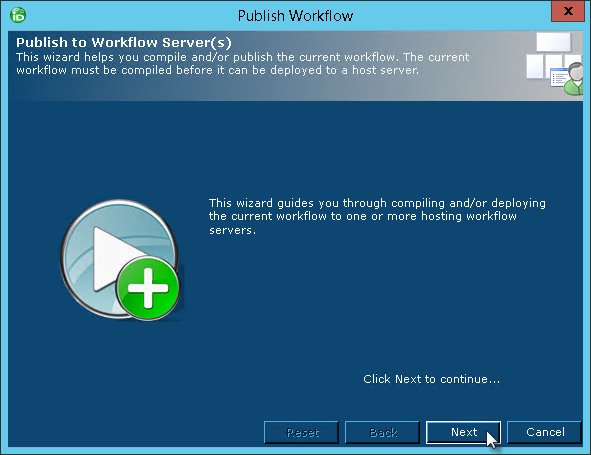
- From the Publish Workflow wizard that appears, click Next.
- Select the host EmpowerID server and click Next.
- Click Yes when prompted to replace the activity.
- Click Yes when prompted to restart the services.
- In the Active Services dialog that appears, select the services to be restarted and then click Restart.
- Click No when prompted to restart Workflow Studio.
Next, add the custom attribute to any applicable workflow forms so that it shows as a form field to delegated users running connected workflows. In our case, we are going to add the attribute to the PersonEditFullForm form. This form appears when editing people.
Adding the Custom attribute to the form
- From the Workflow Studio Solution Explorer, search for the PersonEditFullForm form.
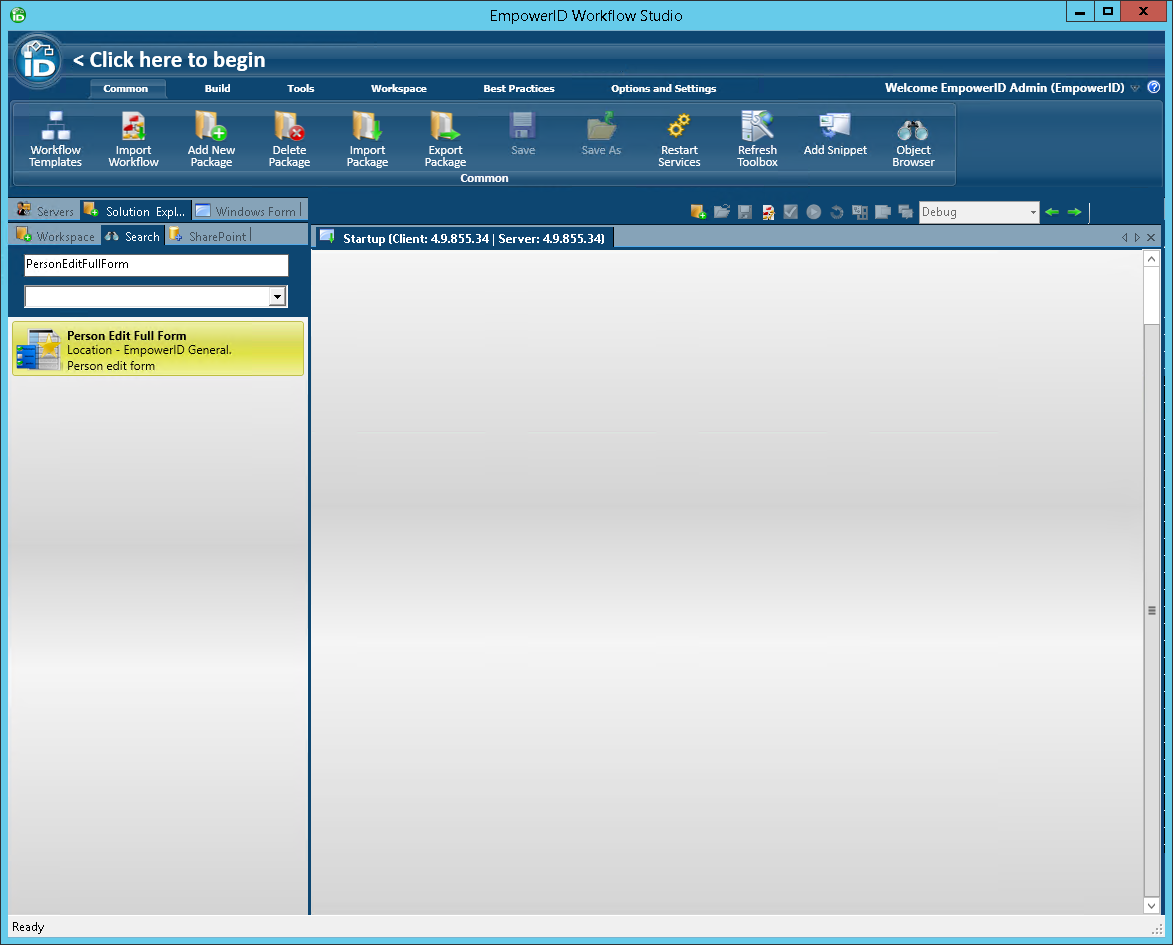
- Double-click the form to open it in the Workflow Studio Form Designer.
From the Components tree of the Form Designer, expand the Resource node and locate the ClearanceLevel attribute you created earlier.
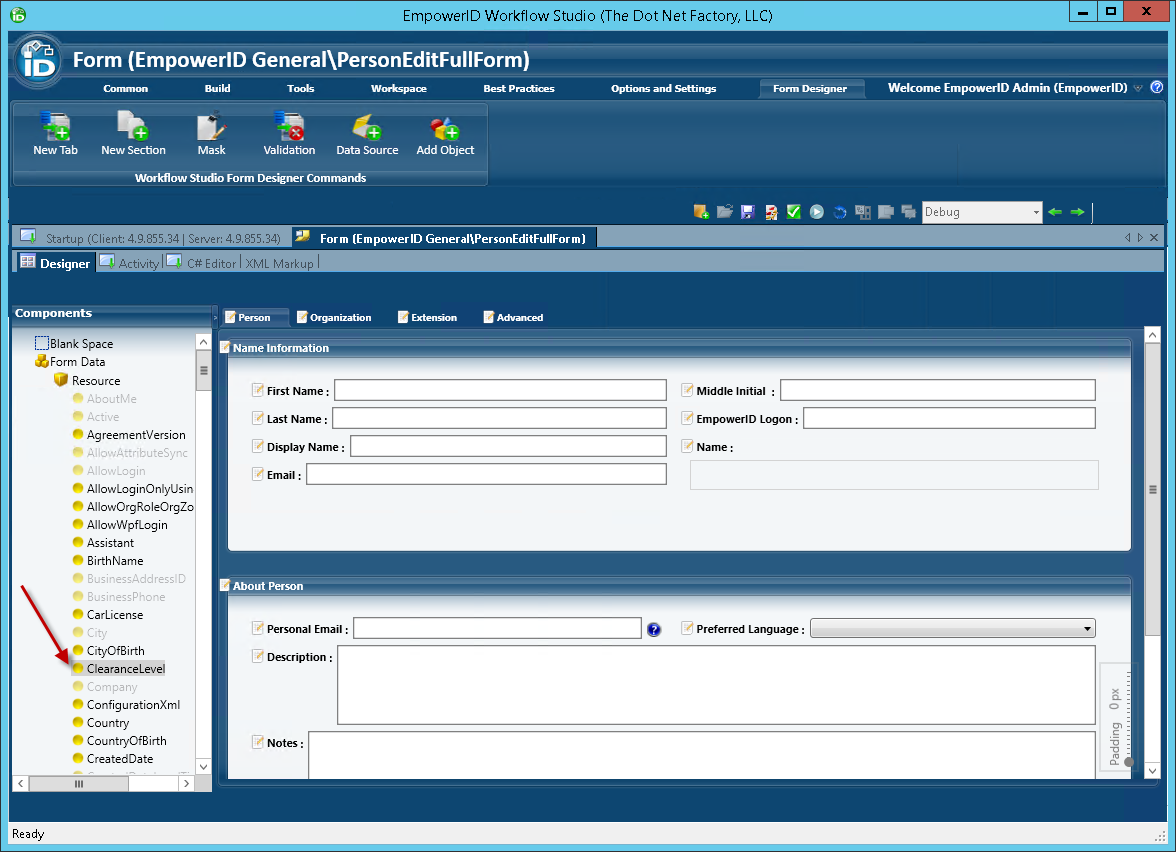
Because we added the attribute to the Edit Person Organization Attributes Executor for the EditPersonMultiOperations Operation activity, we need to add the attribute to the Organization tab of the form.
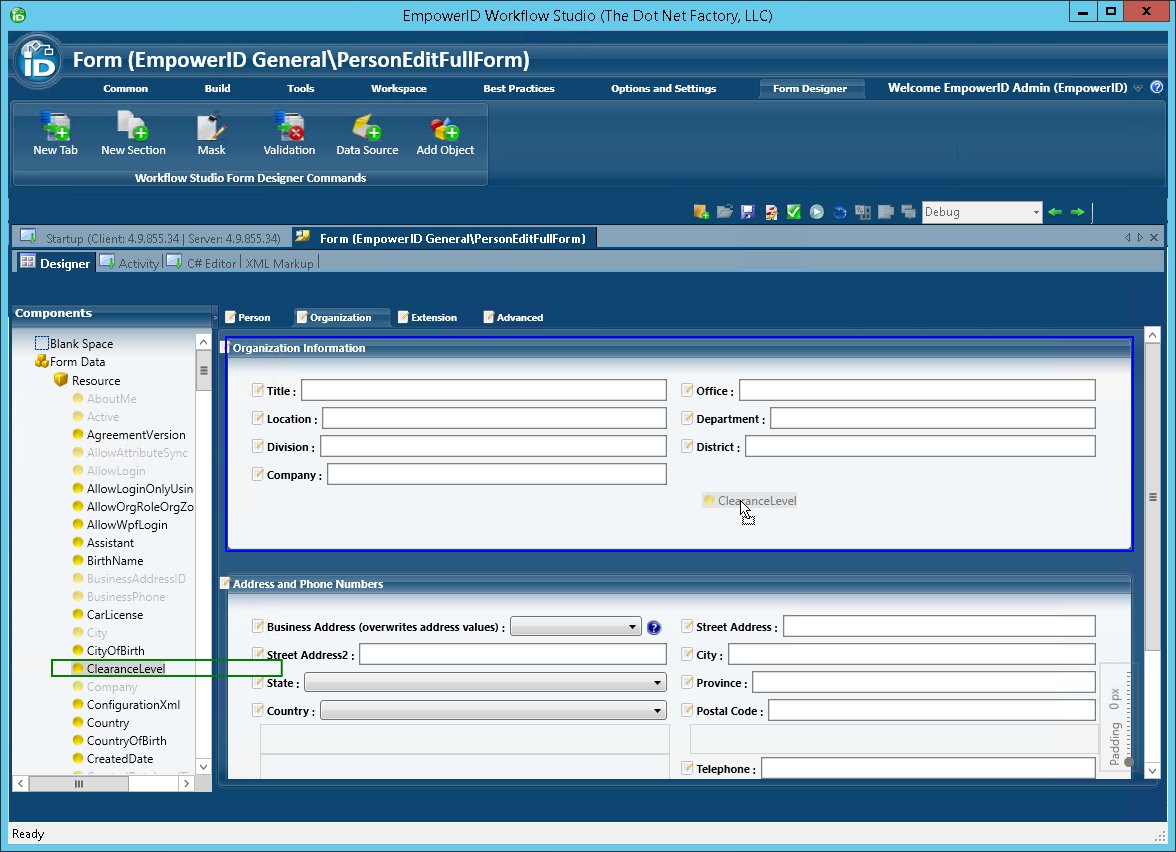
- From the Form Designer, click the Organization tab and then drag the ClearanceLevel attribute from the Components tree onto the design surface of the form. To drag the attribute onto the form, click it to select it and hold the left mouse button down while placing the attribute onto the form.
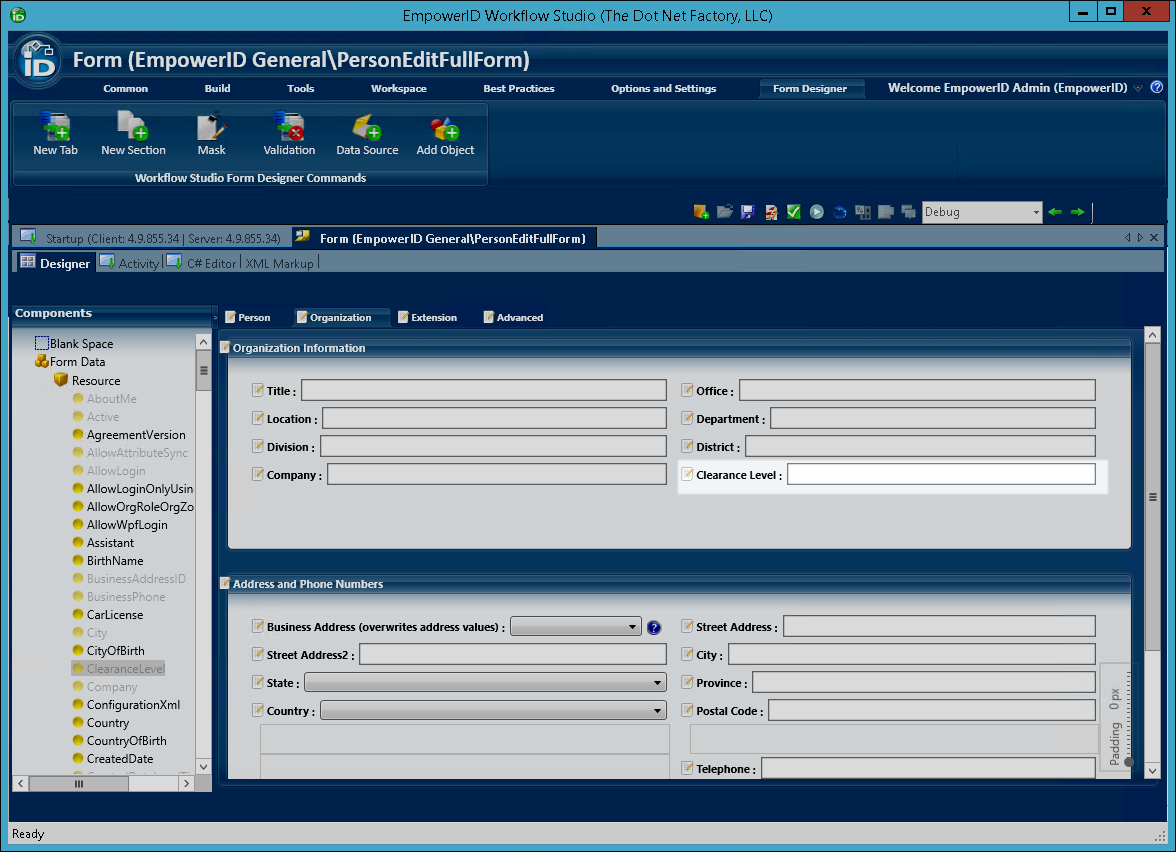
- From the Organization tab of the form, double-click the text for the ClearanceLevel attribute and change the wording from ClearanceLevel to Clearance Level. In this way, the attribute appears in a more friendly format to users performing an edit on a person.
- From the Form Publishing wizard that appears, click Next.

- Select the host EmpowerID server and click Next.
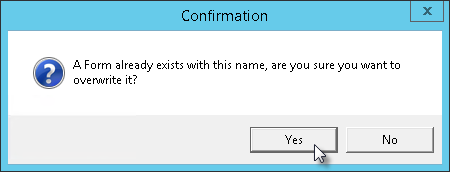
- Click Yes when prompted to replace the form.
- Click Yes when prompted to restart the services.
- In the Active Services dialog that appears, select the services to be restarted and then click Restart.
- Click No when prompted to restart Workflow Studio.
- Close the form.
Next, create a Localized Text Key for the custom attribute to allow end users to see the attribute's friendly when viewing it in the various EmpowerID Web user interfaces.
Creating a localized key entry
- In the Navigation Sidebar of the EmpowerID Web interface, expand Admin > Miscellaneous and click Localized Text.
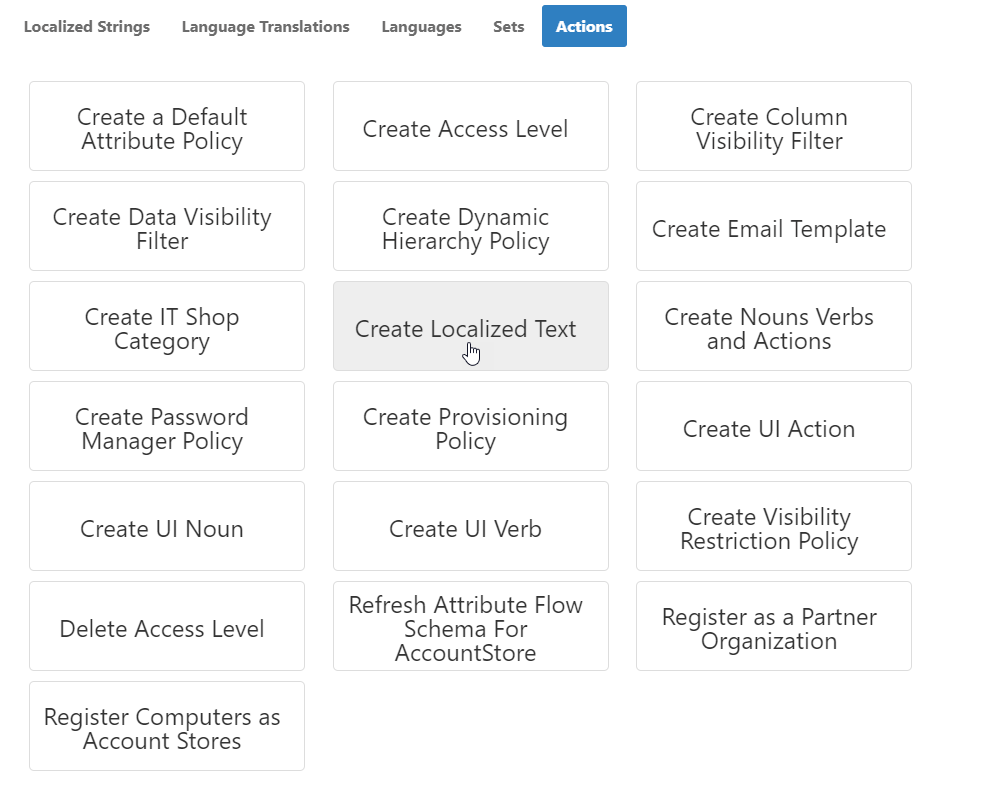
- On the Locale Key Entry page that appears, click the Actions tab and then click Create Localized Text.
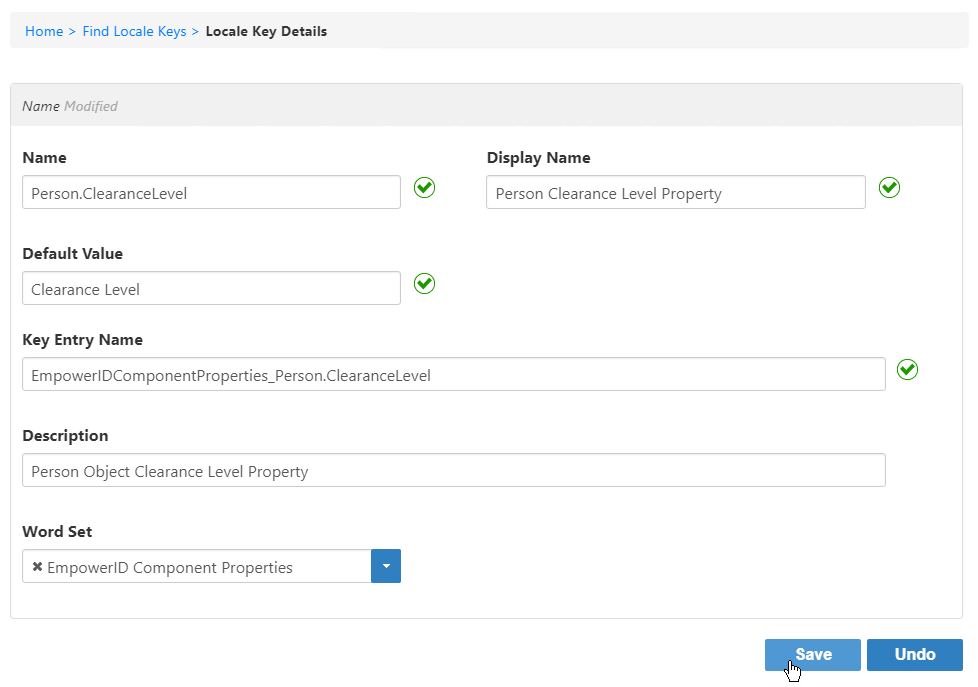
- In the Locale Key Details form that appears, do the following:
- Type Person.ClearanceLevel in the Name field. This is a concatenation of the component and the custom attribute. When adding locale key entries for EmpowerID components, this naming convention must be followed.
- Type Person Clearance Level Property in the Display Name field.
- Type Clearance Level in the Default Value field. This sets how the attribute appears to users with no language preference set on their Person.
- Type EmpowerIDComponentProperties_Person.ClearanceLevel in the Key Entry name field. This is a concatenation of the Word Set (EmpowerIDComponentProperties), the component and the attribute. When specifying key entry names for components, this naming convention must be followed.
- Type a description, such as Person Object Clearance Level Property in the Description field.
- Select EmpowerID Component Properties from the Word Set drop-down.
- Click Save.
- Repeat for the PersonView object.
Next, the attribute needs to be added to the Person View and Edit pages in the Web so delegated users can see and edit the attribute for a given person. We demonstrate how to do this next.
Adding the custom attribute to Web pages
When customizing Web pages, it is recommended that you use EmpowerID's Override technology rather than modifying the original pages. This allows you to quickly revert back to the original pages if the custom pages are no longer needed. To use the Override technology, you create an Overrides structure in the EmpowerID Web Sites directory and place your custom pages within that directory. For this exercise, we are going to override the ViewOne and EditOne pages for a person by placing the Clearance Level attribute on each of those pages. This allows delegated users the ability to see and edit the attribute on an existing person, as well as providing a value for the attribute when creating new people.
Create Override Directories
From your EmpowerID Web server, navigate to EmpowerID > Web Sites directory and open a command prompt. From the command prompt type a command to create the EmpowerID.Web.Overrides directory with all needed sub-directories to override the EditOne page.
If the directory already exists then you do not need to issue the command.
If you are in the EmpowerID > Web Sites directory, the command should look as follows.mkdir EmpowerID.Web.Overrides\Areas\Common\Views\EditOne
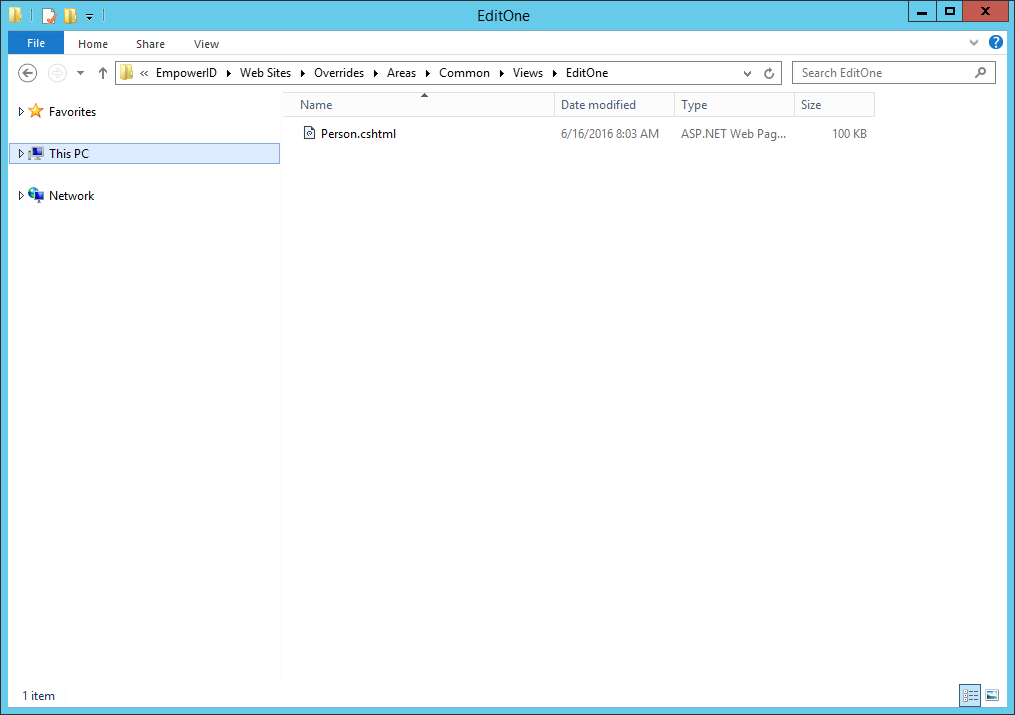
- After creating the overrides structure, open the EmpowerID.Web.PortableAreas.Common > Views > EditOne folder and then locate and copy the Person.cshtml file.
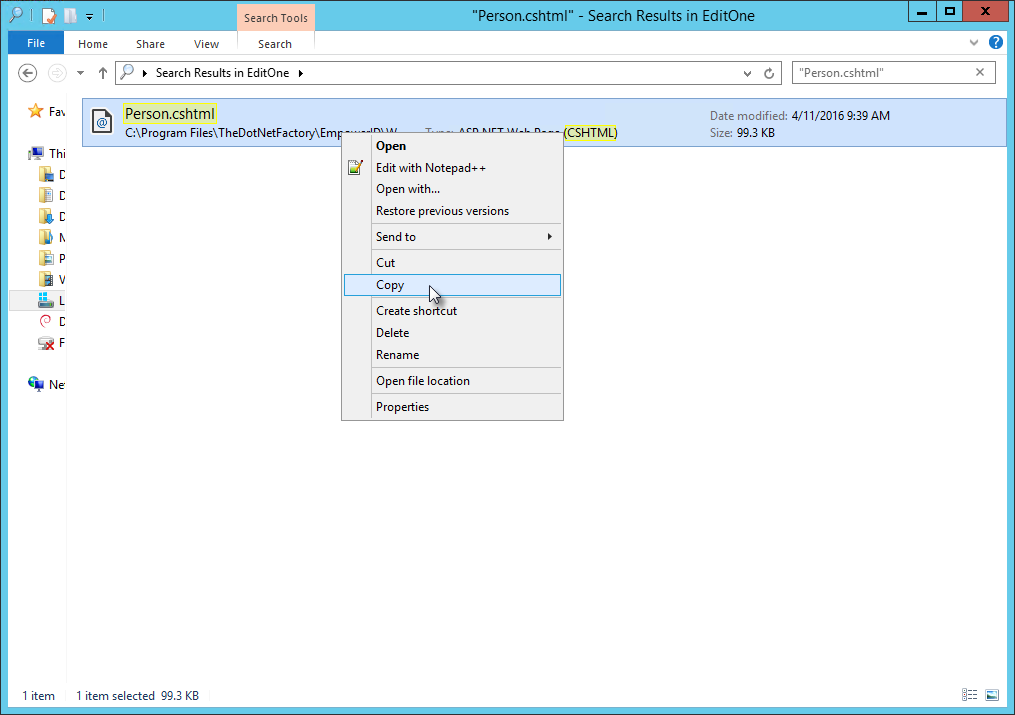
- Paste Person.cshtml into the EditOne folder in your EmpowerID.Web.Overrides > Areas > Common > Views > EditOne directory.
Override the EditOne page
The relevant code section is located at or near line 242 and looks as follows:
<div data-bind="eidFormTab: { Title: '@EidResx("Organization", true)' }">
                            <div data-bind="eidFormSection: { Title: '@EidResx("Organization Information", true)' }">
                                <div data-bind='eidFormField: { Label: "@EidResx("Title", EscapeMode.HtmlAttribute)", DataFieldName: "Title" }'></div>
                                <div data-bind='eidFormField: { Label: "@EidResx("Location", EscapeMode.HtmlAttribute)", DataFieldName: "Location" }'></div>
                                <div data-bind='eidFormField: { Label: "@EidResx("Department", EscapeMode.HtmlAttribute)", DataFieldName: "Department" }'></div>
                                <div data-bind='eidFormField: { Label: "@EidResx("Department Number", EscapeMode.HtmlAttribute)", DataFieldName: "DepartmentNumber" }'></div>
                                <div data-bind='eidFormField: { Label: "@EidResx("Division", EscapeMode.HtmlAttribute)", DataFieldName: "Division" }'></div>
                                <div data-bind='eidFormField: { Label: "@EidResx("Company", EscapeMode.HtmlAttribute)", DataFieldName: "Company" }'></div>
                                <div data-bind='eidFormField: { Label: "@EidResx("District", EscapeMode.HtmlAttribute)", DataFieldName: "District" }'></div>
                                <div data-bind='eidFormField: { Label: "@EidResx("Office", EscapeMode.HtmlAttribute)", DataFieldName: "Office" }'></div>
                            </div>


                        </div>
To add a field for the new Clearance Level attribute to the form, add the following line of code, placing it after the line of code for the District field.
<div data-bind='eidFormField: { Label: "@EidResx("Clearance Level", EscapeMode.HtmlAttribute)", DataFieldName: "ClearanceLevel" }'></div>- Save your changes, but keep the page open as we will be modifying it for editing people.
Next, override the Edit Person form section of the page to allow delegated users the ability to see and change the value of the attribute when editing other people.
From your text editor, locate the section of the page that is used for editing other people (around line 389). The code that begins this section looks as follows:
@*BEGIN EDIT MODE FORM ################################*@

@if (Model.IsEditMode && EidContext.PersonId != (int)Model.Data.PersonID && EidAuthenticationHandler.HasAccessToPage(new Guid("00bacc31-b2ee-4305-876c-383a03f8796e")))
Within this section, modify the code so that a field for the custom attribute appears on the Organization tab of the Edit Person form.
In this example, we are only adding the field to the form when the person being edited by another user. The field will not appear when users are editing themselves. In order to make the field appear for self-service edits, you need to add it to the Organization tab of the the BEGIN SELF SERVICE EDIT MODE FORM section of the page.
The relevant code section is located at or near line 577 and looks as follows:<div data-bind="eidFormTab: { Title: '@EidResx("Organization", true)' }"> <div data-bind="eidFormSection: { Title: '@EidResx("Organization Information", true)' }"> <div data-bind='eidFormField: { Label: "@EidResx("Title", EscapeMode.HtmlAttribute)", DataFieldName: "Title" }'></div> <div data-bind='eidFormField: { Label: "@EidResx("Location", EscapeMode.HtmlAttribute)", DataFieldName: "Location" }'></div> <div data-bind='eidFormField: { Label: "@EidResx("Department", EscapeMode.HtmlAttribute)", DataFieldName: "Department" }'></div> <div data-bind='eidFormField: { Label: "@EidResx("DepartmentNumber", EscapeMode.HtmlAttribute)", DataFieldName: "DepartmentNumber" }'></div> <div data-bind='eidFormField: { Label: "@EidResx("Division", EscapeMode.HtmlAttribute)", DataFieldName: "Division" }'></div> <div data-bind='eidFormField: { Label: "@EidResx("Company", EscapeMode.HtmlAttribute)", DataFieldName: "Company" }'></div> <div data-bind='eidFormField: { Label: "@EidResx("District", EscapeMode.HtmlAttribute)", DataFieldName: "District" }'></div> <div data-bind='eidFormField: { Label: "@EidResx("Office", EscapeMode.HtmlAttribute)", DataFieldName: "Office" }'></div> </div>To add a field for the new Clearance Level attribute to the form, add the following line of code, placing it after the line of code for the District field.
<div data-bind='eidFormField: { Label: "@EidResx("Clearance Level", EscapeMode.HtmlAttribute)", DataFieldName: "ClearanceLevel" }'></div>- Save your changes and close Person.cshtml.
Override the ViewOne page
The ViewOne page is used in EmpowerID for viewing and managing the information associated with a resource object, such as an EmpowerID Person. We will be overriding this page so that the new attribute appears on it. To allow administrators to make quick changes to the form fields that appear on a page, EmpowerID includes a number of System Settings that can modified from the Web interface. For the particular section of the form we are modifying, EmpowerID pulls the value of the PA-PersonDetails-Work system setting, as shown by the below code for the CSHTML file.
<div class="sixcol">
     @{ Html.RenderPartial("DataTable", new LocalizedDataListModel(Model.ResourceTypeName)
         {
            Caption = EidResx("Page-PersonDetails-Section-GeneralTab-Work", EscapeMode.JavaScript).ToString(),
            Collapsed = false,
            Items = Model.SelectProperties(Config<String>("PA-PersonDetails-Work").Split(','))
         });
      }
To add the custom attribute to the ViewOne page, you add it to the relevant section of the form, which in this case is the Work section.
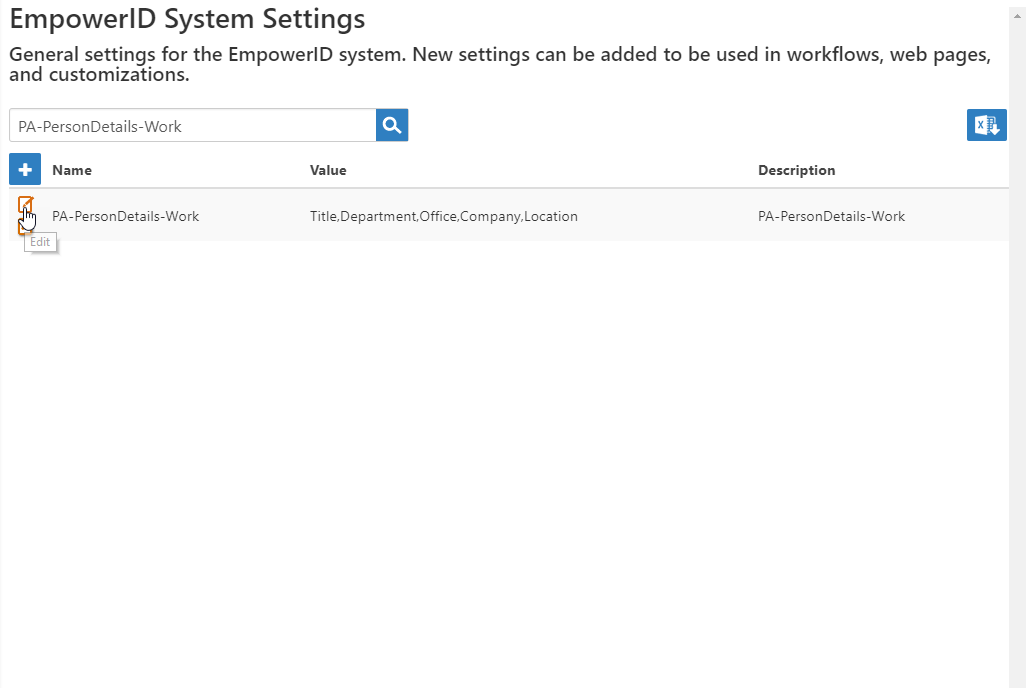
- In the Navigation Sidebar of the EmpowerID Web interface, expand Admin > Applications and Settings and click EmpowerID System Settings.
- Search for PA-PersonDetails-Work and then click the Edit button for the system setting.
In the Value field, add Clearance Level after Location. Be sure to add a comma after Location as the CSHTML file is looking for comma-separated values.
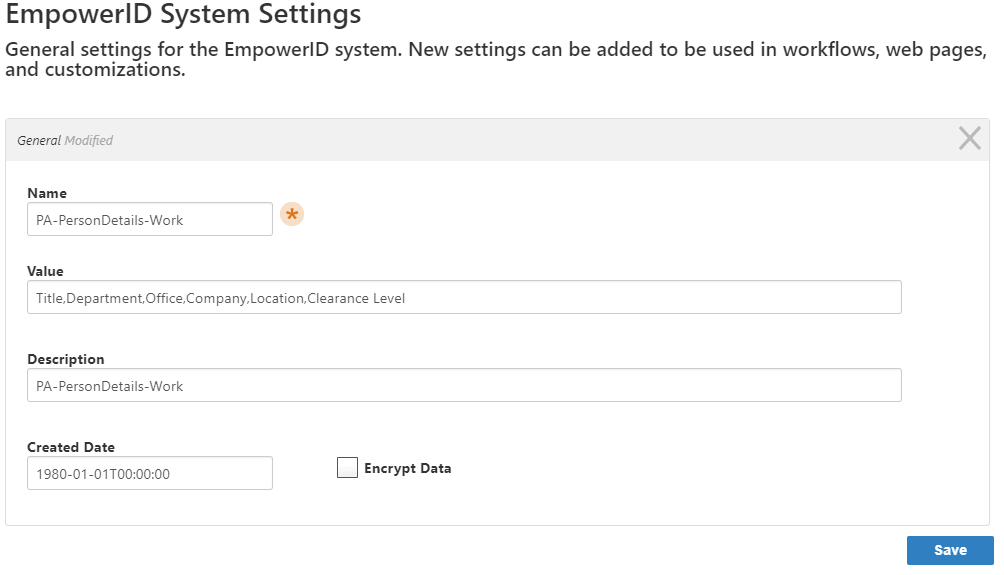
- Click Save.
- In the Navigation Sidebar, expand IT Shop and click Workflows.
Click Recycle EmpowerID AppPools.
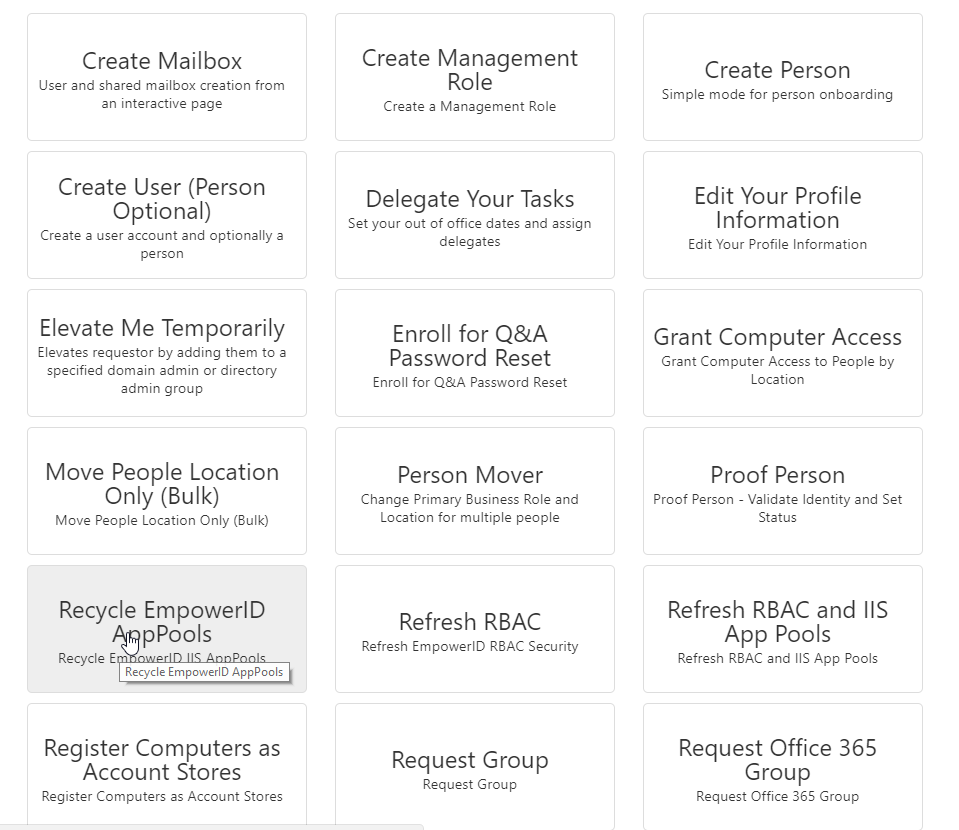
If you do not see the Recycle EmpowerID AppPools, this means you do not have access to the Workflow. If this is the case, recycle IIS from the command line.
Testing the custom atttibute
In this exercise, we will test the custom attribute by creating a new EmpowerID Person and then edit the person by setting a value for the attribute from the person's EditOne page.
- From the Navigation Sidebar of the EmpowerID Web interface, expand Identities and click People.
- From the Actions pane of the Person page, click Create Person Advanced.

- From the General tab of the Create Person form that appears, do the following:
- Type a first name in the First Name field.
- Type a last name in the Last Name field.
- Type a login in the Login field.
Set the primary Business Role and Location for the person to Temporary Role in Temporary Location.
The General tab of the form should similar to the below image.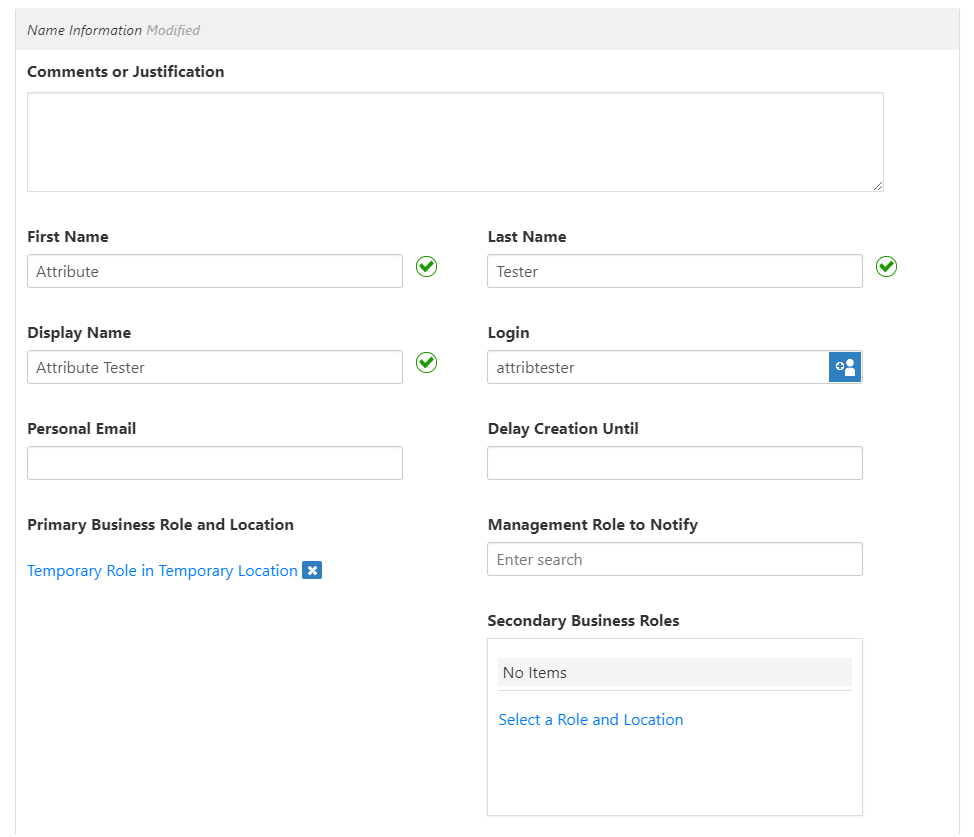
Click the Organization tab.
You should see the Clearance Level field.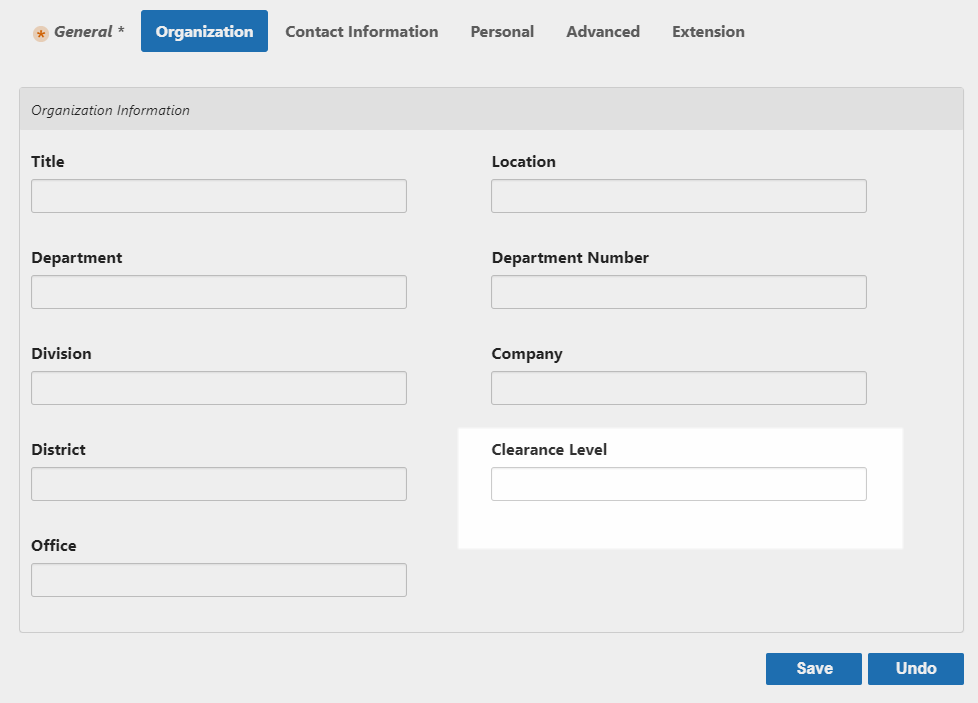
Enter a value—such as Executive—in the Clearance Level field and then click Save.
After EmpowerID creates the person, your browser is directed to the Edit form for the person. You will use this page to edit the attribute in the next section.
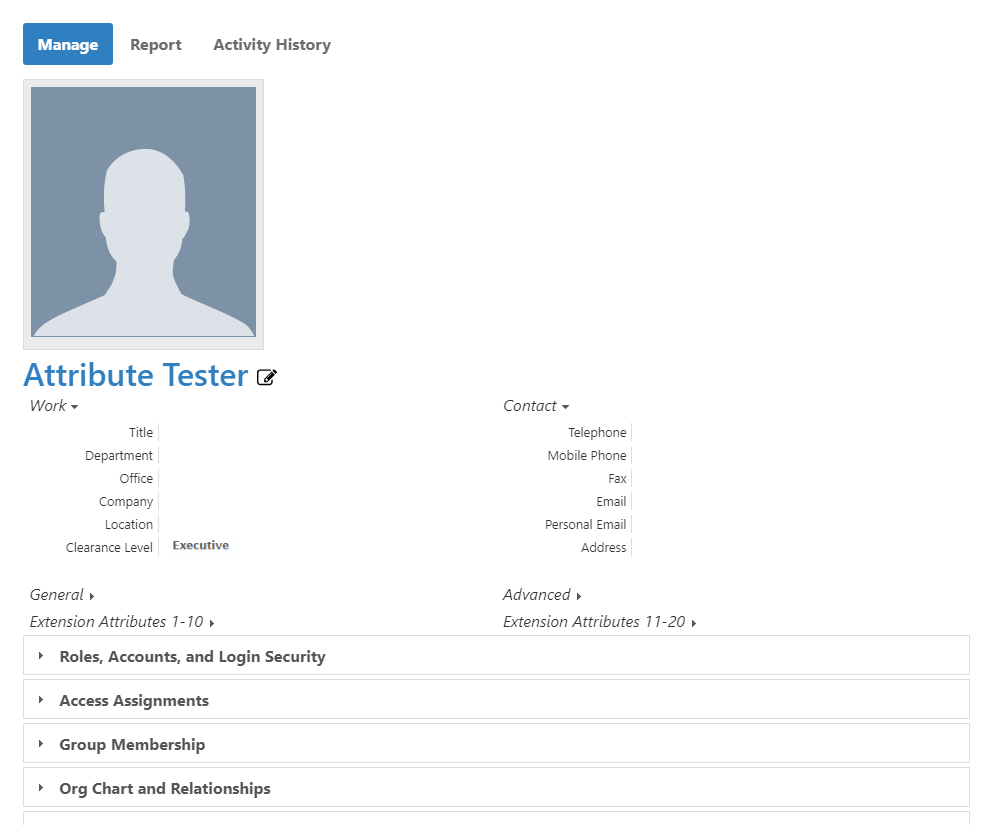
View the attribute on the View One page
- In the Navigation Sidebar, expand Identities and click People.
- Search for the person you just created and then click the EmpowerID Login link for that person.
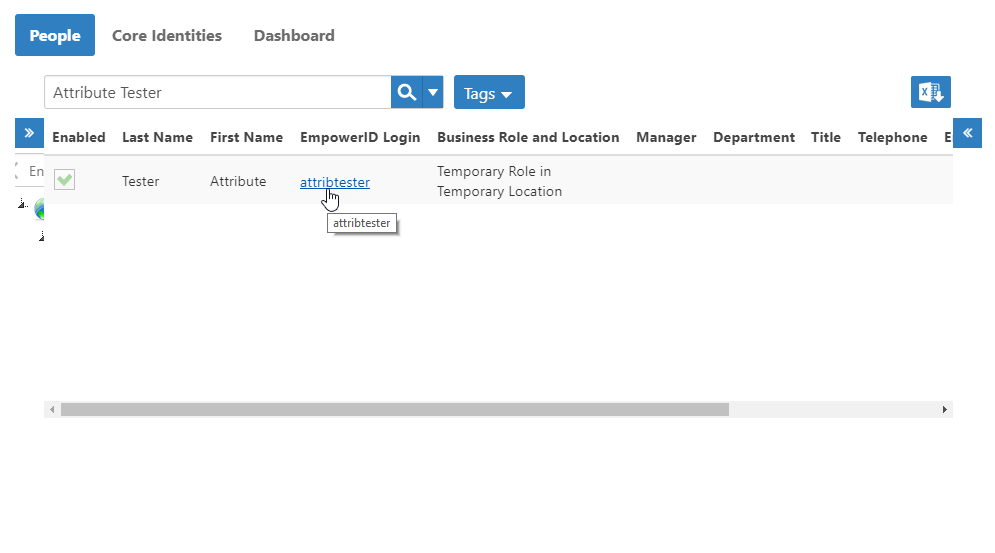
You should see the new attribute value displayed under Work.