Moving People
Universal Importer for Confluence
Kim Landis (Unlicensed)
Home / Identity Administration / People / Current: Moving People
When the Business Role or Location of people within your organization changes, you can move those people to a new Business Role and Location within EmpowerID as appropriate. EmpowerID provides a number of workflows and UI methods for doing so, with different options available depending on the method selected. This topic demonstrates using each of these methods.
If Resource Entitlement or Default Attribute policies have been applied to either the old or the new Business Role and Location, EmpowerID will perform the actions associated with those policies, adding and removing any resource entitlements or default attributes specified by those policies. For information on how to work with these policies, see Provisioning Policies and Creating Default Attribute Values Policies.
To move people in simple mode
- In the Navigation Sidebar of the EmpowerID Web interface, expand Identities and click People.
- From the Actions pane of Person Manager, click the Move Person Simple Mode action.
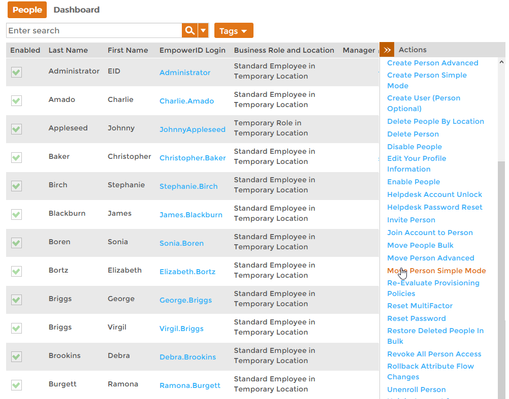
- In the Select People Lookup that appears, search for a person you want to move and then tick the box to the left of the person record to select it.

Repeat step 3, searching for and selecting any other people you want to move.
All selected people are moved to the same Business Role and Location. To move people to different Business Roles and Locations, move them separately.
- When you have completed selecting the people you want to move, click Submit.
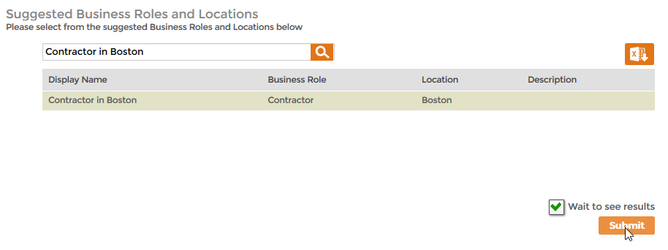
In the Suggested Business Role and Locations lookup that appears, search for the new Business Role and Location, click the record for that Business Role and Location to select it and then click Submit.
For immediate processing, leave Wait to See Results selected. If you clear Wait to See Results and click Submit, the process idles and EmpowerID creates a task for it, routing it to any Person with the delegations to continue moving the people.
- Click OK to close the Operation Execution Summary.
To move people in advanced mode
- In the Navigation Sidebar of the EmpowerID Web interface, expand Identities and click People.
- From the Actions pane, click the Move Person Advanced action.
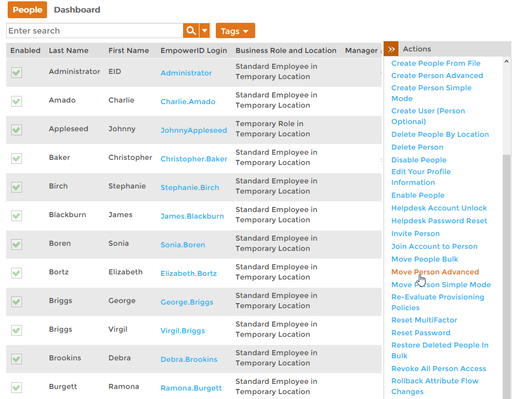
- In the Select People Lookup that appears, search for a person you want to move and then tick the box to the left of that person.

Repeat step 3, searching for and selecting any other people you want to move.
All selected people are moved to the same Business Role and Location. To move people to different Business Roles and Locations, move them separately.
When you have completed selecting the people you want to move, click Submit.
- In the Business Role pane of the Business Role and Business Locations lookup that appears, search for and select the Business Role you want to assign the people.
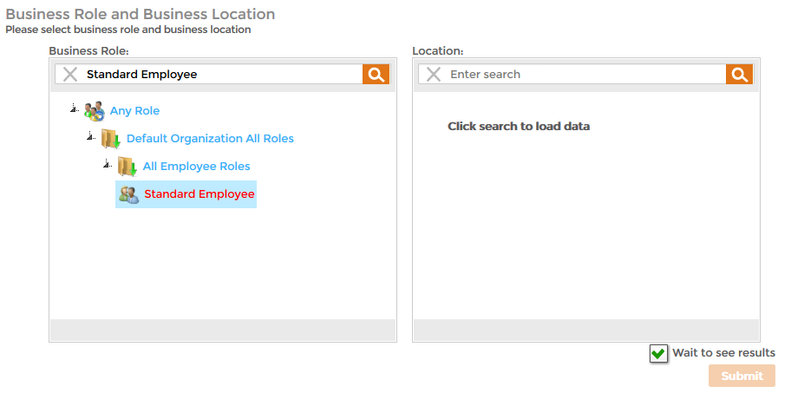
- In the Location pane of the Business Role and Business Location lookup, search for and select the Location to which you want to move the people.
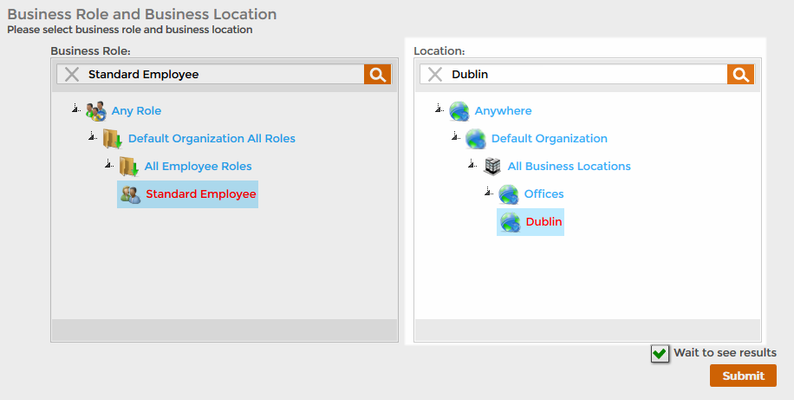
Click Submit.
For immediate processing, leave Wait to See Results selected. If you clear Wait to See Results and click Submit, the process idles and EmpowerID creates a task for it, routing it to any Person with the delegations to continue moving the people.
- Review the Person Provision Summary and then click Submit.
To bulk move people
To initiate the process, a user must have the Initiator Access Level for the MovePeopleFromOrgRoleOrgZoneToAnother workflow.
- In the Navigation Sidebar of the EmpowerID Web interface, expand Identities and click People.
- From the Actions pane of Person Manager, click the Move People Bulk action.
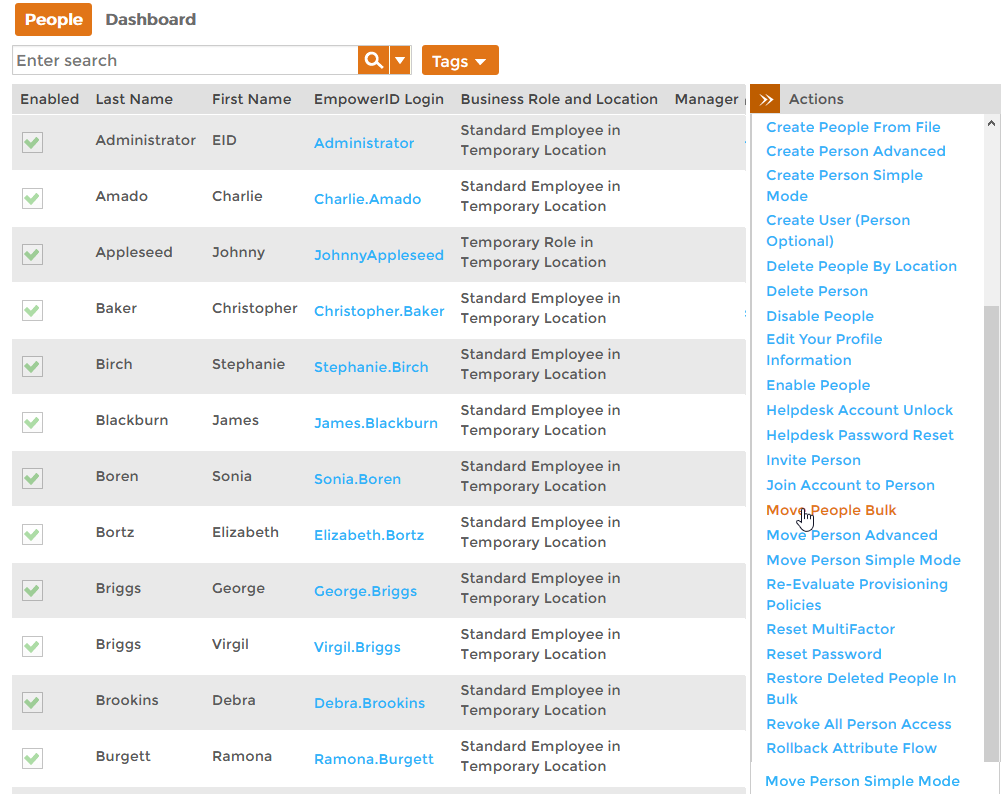
- In the Business Role pane of the Source Business Role and Location lookup that appears, search for and select the current Business Role of the people you are moving.
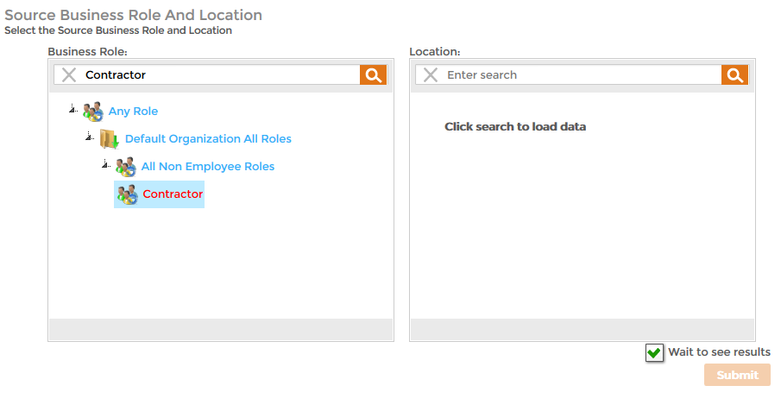
- In the Location pane of the Source Business Role and Location Lookup, search for and select the current Location for the people you are moving.
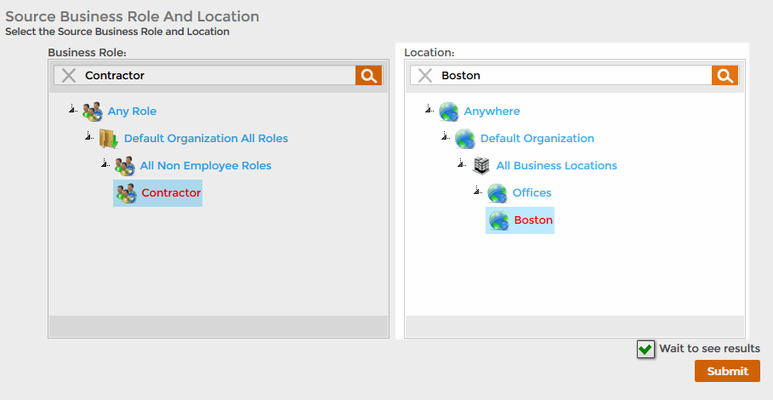
Click Submit.
For immediate processing, leave Wait to See Results selected. If you clear Wait to See Results and click Submit, the process idles and EmpowerID creates a task for it, routing it to any Person with the delegations to continue moving the people.
- In the Business Role pane of the Destination Business Role and Location lookup that appears, search for and select the new Business Role for the people you are moving.
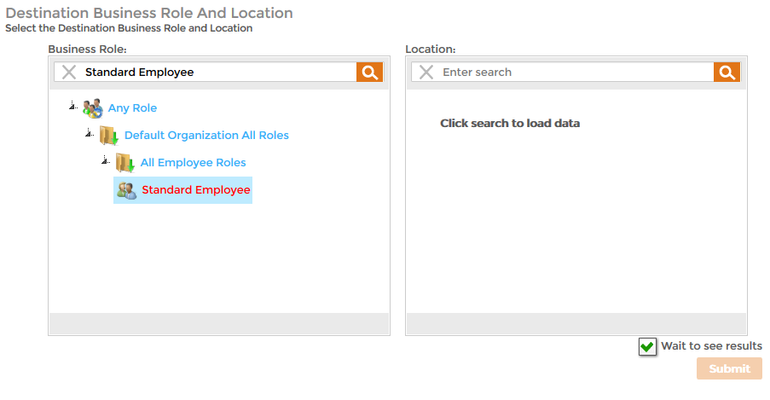
- In the Location pane of the Destination Business Role and Location lookup, search for and select the new Location for the people you are moving.
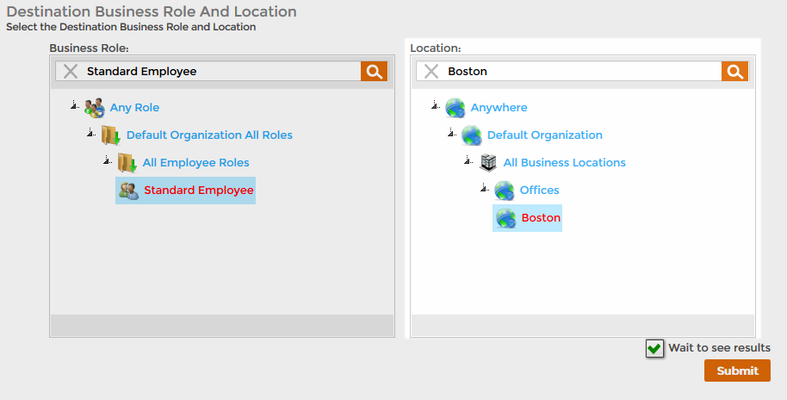
Click Submit.
For immediate processing, leave Wait to See Results selected. If you clear Wait to See Results and click Submit, the process idles and EmpowerID creates a task for it, routing it to any Person with the delegations to continue moving the people.
- Click OK to close the Operation Execution Summary.
To verify the new Business Role and Location assignment
- In the Navigation Sidebar, expand System Logs and click Audit Log.
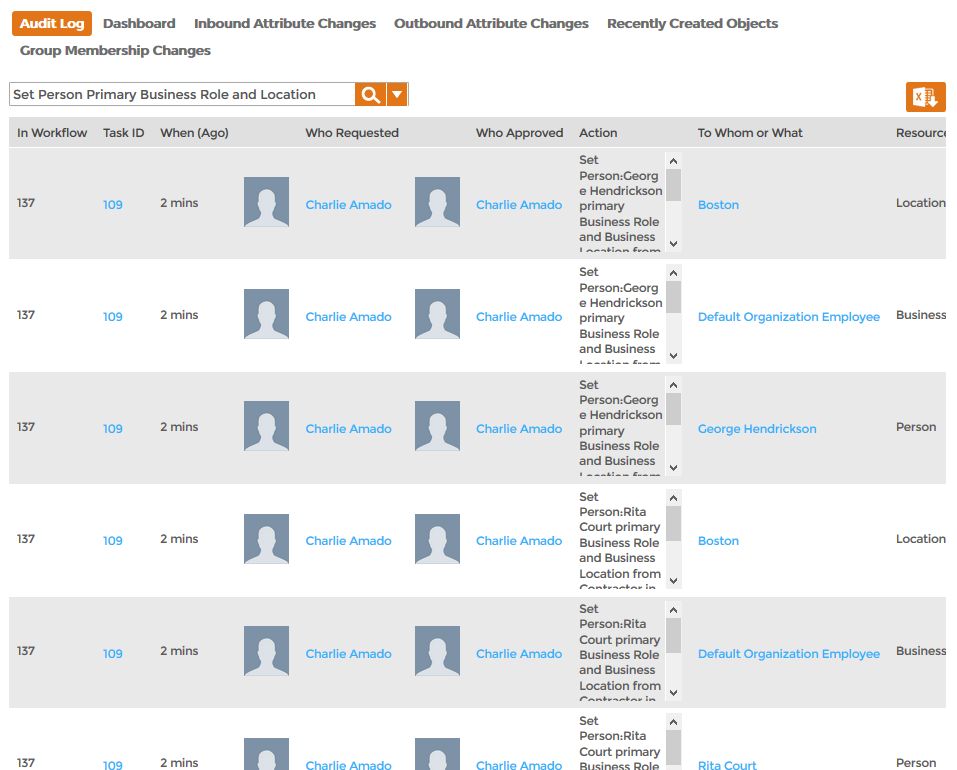
From the Audit Log tab, type Set Person Primary Business Role and Location in the search field and press ENTER.
Set Person Primary Business Role and Location is the name of the EmpowerID Operation for setting the Primary Business Role and Location of a person. For more information about EmpowerID Operations, see Overview of EmpowerID Operations.
You should see a record for each person moved.
Related Content