You are viewing an earlier version of the admin guide. For the latest version, please visit EmpowerID Admin Guide v7.211.0.0.
Restoring Deleted Computers
Home / Identity Administration / Computers / Current: Restoring Deleted Computers
EmpowerID allows you to manage the computer objects in your connected directories. This topic demonstrates how to restore deleted computer accounts.
The EmpowerID workflow used to restored deleted computer accounts is the RestoreDeletedComputerBulk workflow. To run the workflow, users need to have the Initiator Access Level for it.
To restore deleted computers
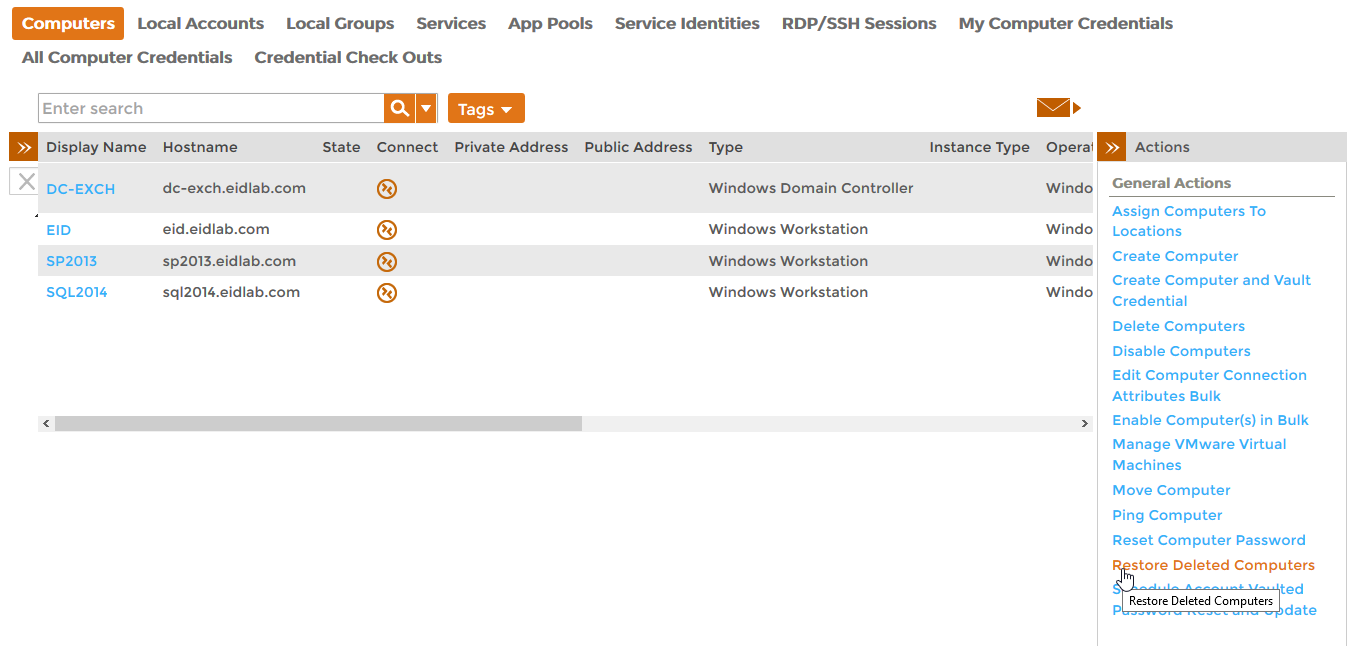
- From the Navigation Sidebar of the EmpowerID Web interface, navigate to the Find Computers page by expanding Resources and clicking Computers.
- Click the Restore Deleted Computers action link.
- From the Deleted Computers lookup that appears, search for the deleted computer you want to restore and then tick the check box on the computer record to select it.
- Repeat step 4 for any other deleted computers you want to restore.
When finished selecting deleted computers, click Submit.
Before submitting your choices, you can review the items by clicking the Selected flag that is located above the grid. If you decide you want to remove an item, you can do so by clicking the X to the right of the item.
- Click Yes to confirm you want to restore the deleted computer(s).
- Click OK to close the Operation Execution Summary.
To verify the restored computer
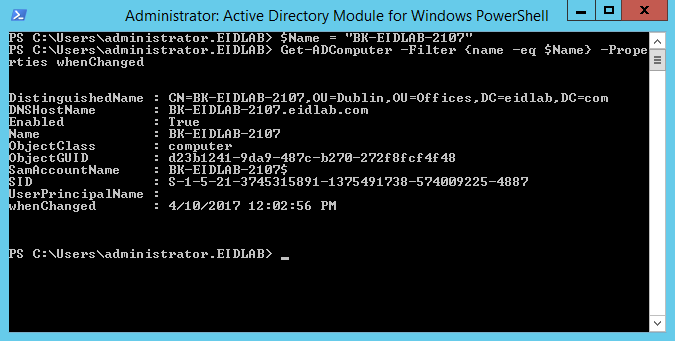
On a server with the Active Directory PowerShell Module, run the below PowerShell cmdlet. Replace <YourRestoredComputerName> with the name of the computer you restored.
$Name = "<YourRestoredComputerName>"
Get-ADComputer -Filter {name -eq $Name} -Properties whenChanged
You should see a record for the restored computer. The whenChanged property should match the timestamp in EmpowerID.
You can view the timestamp for when EmpowerID restored the deleted computer in Change Manager. To do so, expand System Logs, click Audit Log and then search for Restore to <YourRestoredComputerName>.


