Starting Computer Sessions
Once your request for a computer session is approved, you can start the session. When you start the session, the shared credential for the computer gets checked out to you.
To start a computer session
- From the navbar, expand Privileged Access and click Request Access.
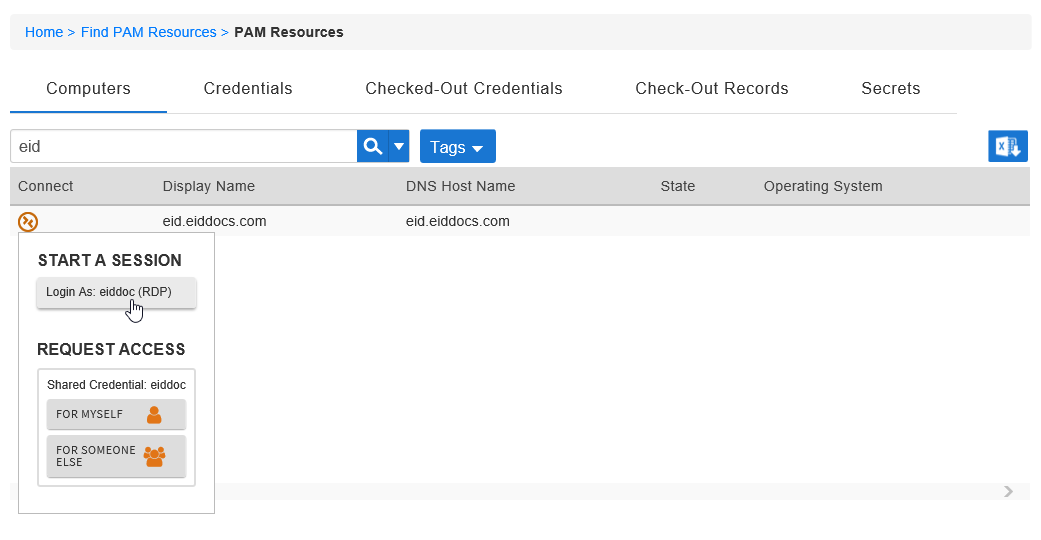
- Click the Computers tab and then search for the computer for which you want to start an approved session.
- Click the Connect icon and under Start A Session click the Lgoin As: button.
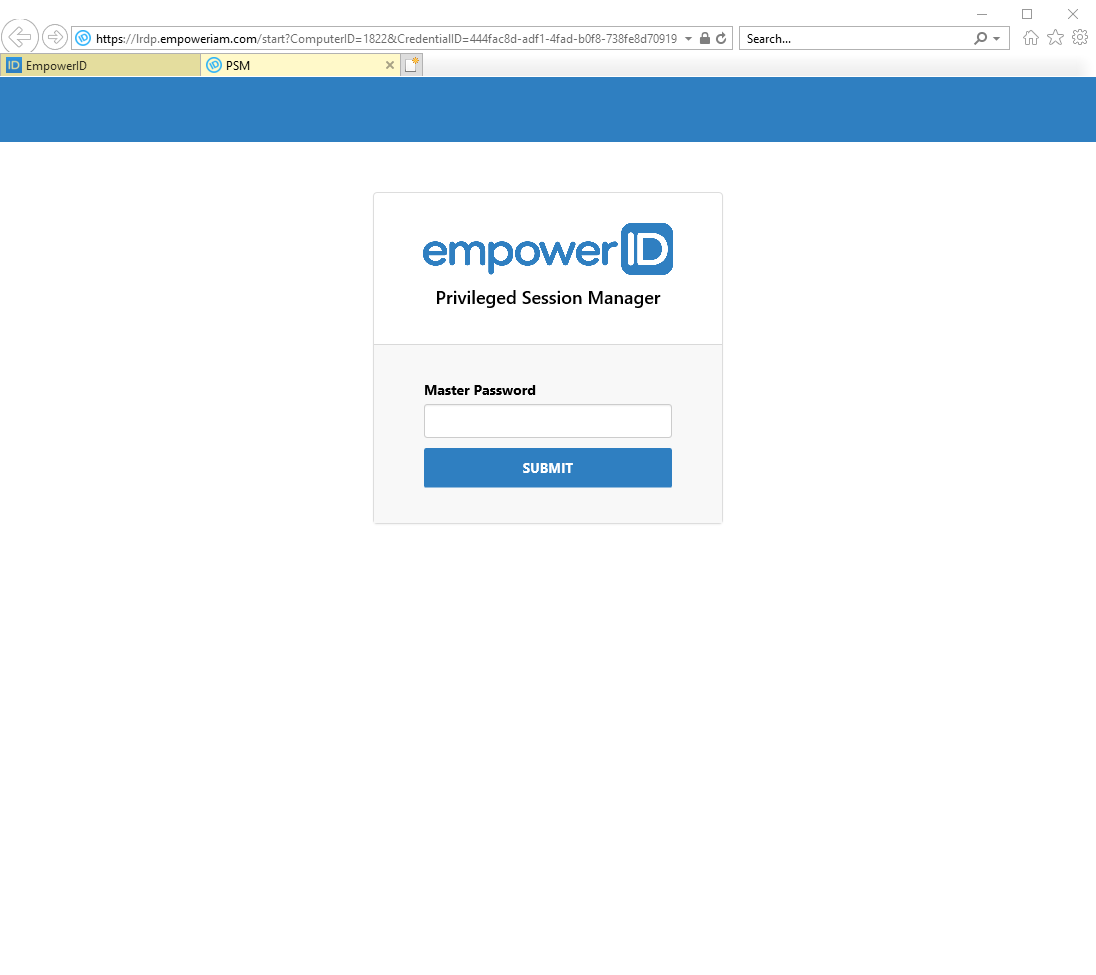
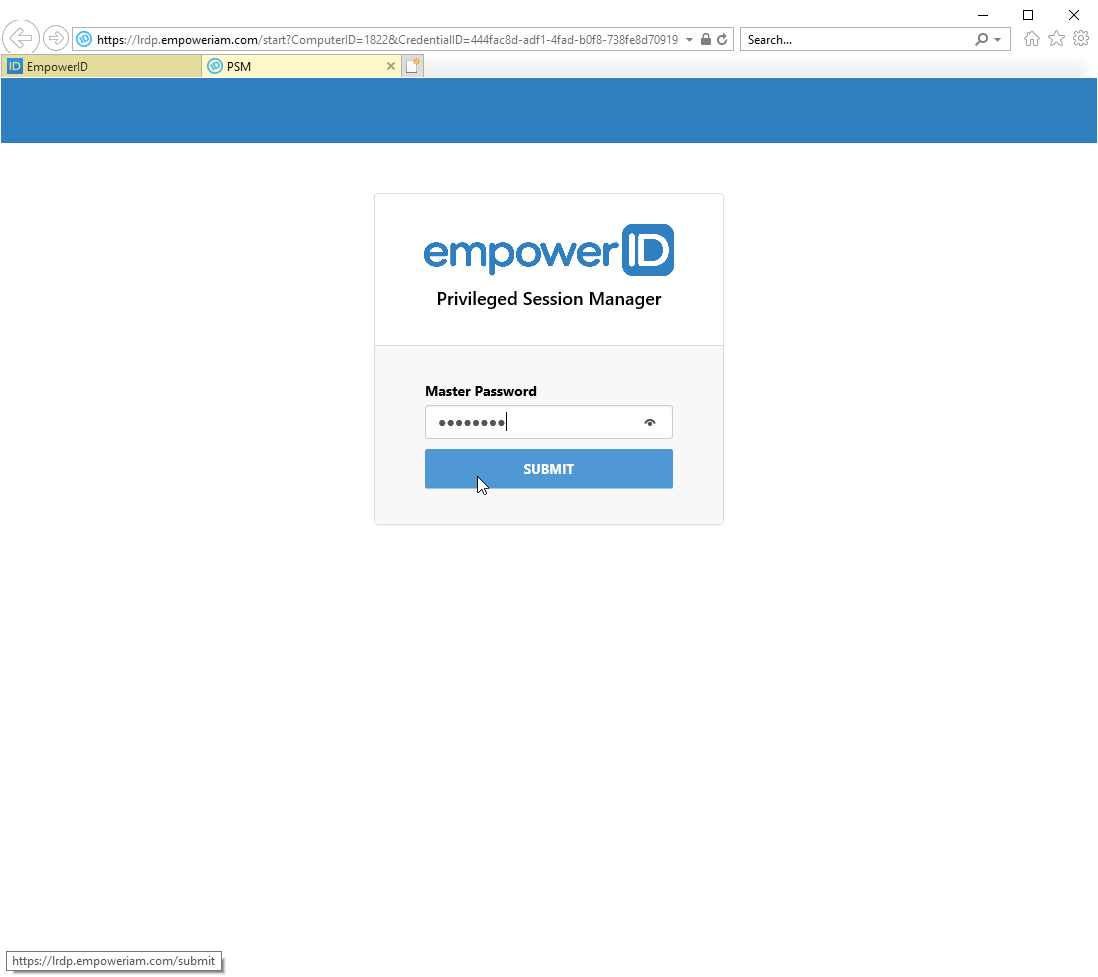
This opens a Privileged Session Manager (PSM) in a separate browser tab. Enter your Master Password and click Submit.
Your session begins and the record is now checked out to you.Your session will last for requested period of time; however, if you finish your work before your session completes, you can end the session by checking in the record.
Error rendering macro 'excerpt-include' : No link could be created for 'IL:External Stylesheet - v1'.
, multiple selections available, Use left or right arrow keys to navigate selected items


