Page Viewer Web Part
Working with the Page Viewer SharePoint Web Part
In an environment with Microsoft SharePoint you can install, deploy and configure the EmpowerID Page Viewer SharePoint Web Part to make EmpowerID management functions available to a SharePoint Web Part page.
Prerequisites
- You must configure EmpowerID as a claims-based authentication provider for your SharePoint farm and convert an existing SharePoint site collection from Windows Authentication to Claims-based authentication before performing the following steps. See Federating SharePoint With EmpowerID for instructions.
- You must have installed the EmpowerID SharePoint Web Parts and activated them as a site collection feature before performing the following steps. See Web Parts for instructions.
To work with the EmpowerID Page Viewer SharePoint Web Part
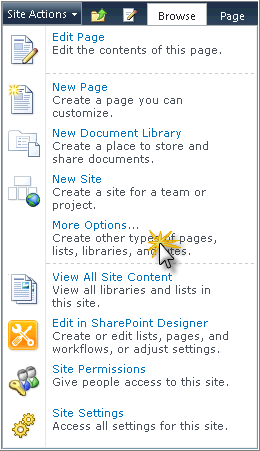
Navigate to the SharePoint site collection, click Site Actions and then click More Options.
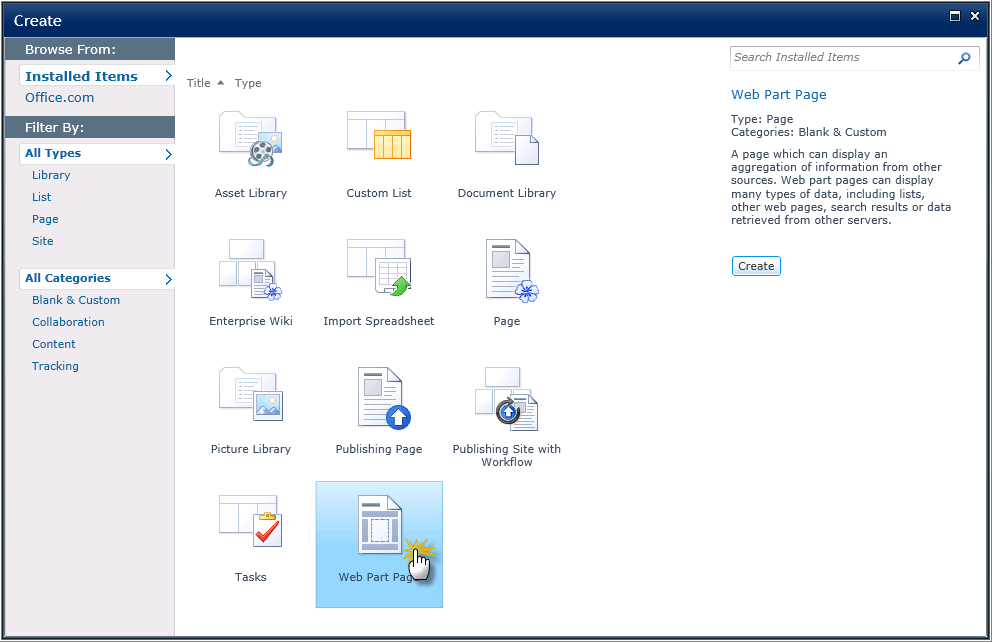
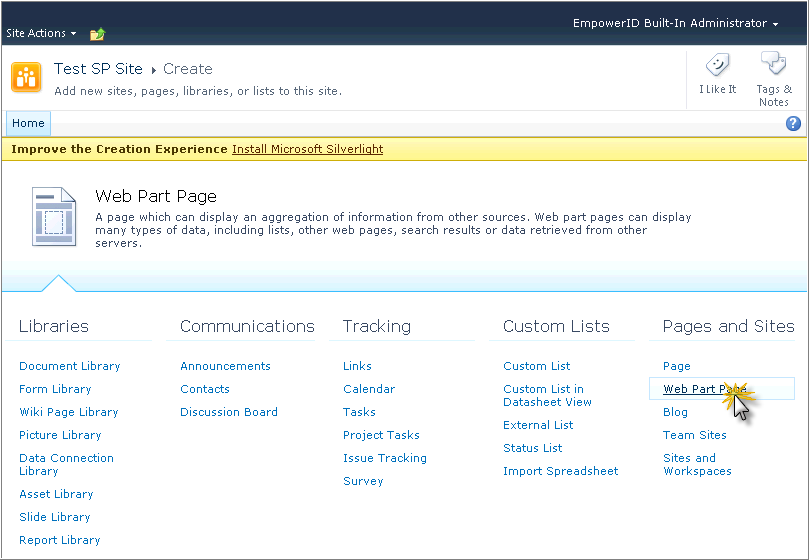
If you have Microsoft Silverlight installed, on the Create Page click Web Part Page and then click the Create button. If you do not have Microsoft Silverlight installed, on the Create Page under the Pages and Sites section, click the Web Part Page link.
(with Microsoft Silverlight)
(without Microsoft Silverlight)
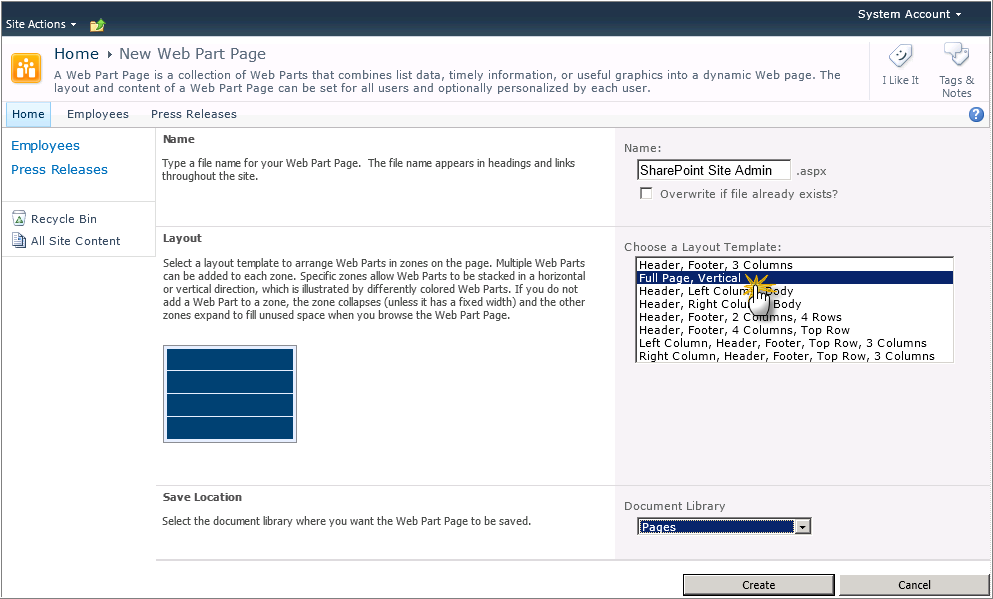
- On the New Web Part Page under the Name section, type in a name for the Web Part page. Under Choose a Layout Template, click Full Page, Vertical. Choose a target Document Library and click Create.
- Click Add a Web Part. Under Categories, click EmpowerID. Under Web Parts, click EmpowerID Page Viewer and then click Add.
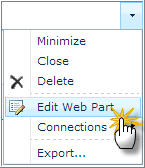
- Click the down arrow at the top right of the EmpowerID Web Part, then click Edit Web Part.
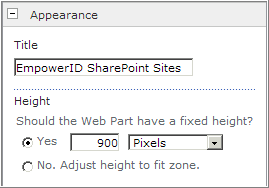
- Under the Appearance section, adjust the Height value as needed and click OK. The Height value controls how tall the EmpowerID Page Viewer Web Part will appear on the page.
- Under the EmpowerID Properties section, adjust the Path value to contain the target workflow or Find page in EmpowerID that you wish to expose to your SharePoint users. In our example, we target the Change Password workflow that is located at "https://servername.domain.com/EmpowerID/#w/ChangePassword."
To target this, enter ?NoTimeOut=true&hideHeader=true&hideBreadCrumbs=true#w/ChangePassword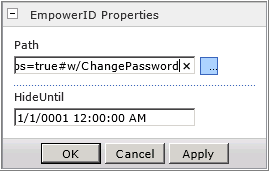
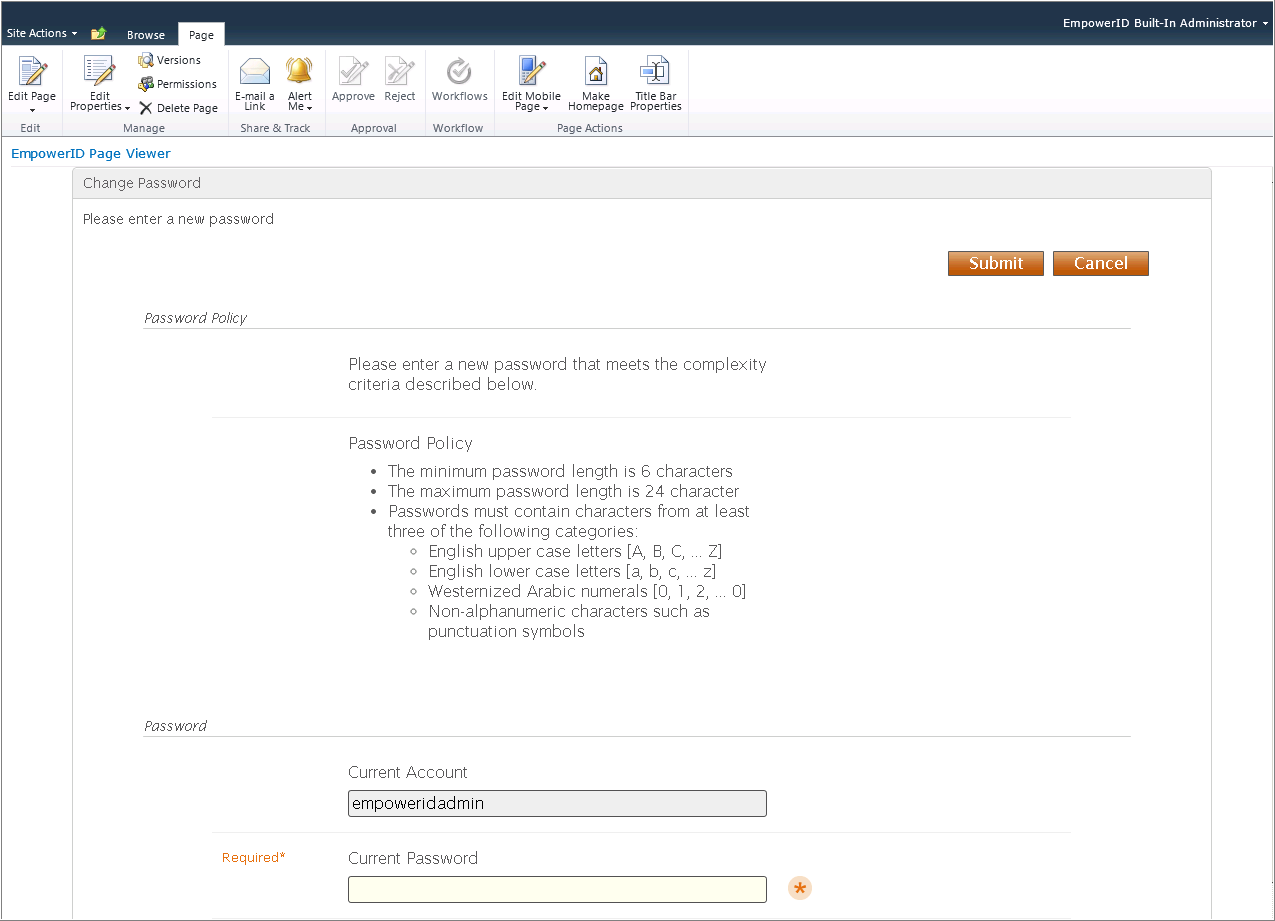
- Click the Page ribbon and then click Stop Editing. Navigate away from the Web Part Page that contains the EmpowerID Page Viewer Web Part or refresh the page. Confirm the selected EmpowerID Page Viewer Web Part appears and displays the desired workflow or Find page that you were targeting.
To provide another example, we target the Find Business Roles and Location page. This page is located at "https://servername.domain.com/EmpowerID/#UI/Find/OrgRoleOrgZone."
To target this, enter ?NoTimeOut=ture&hideHeader=true&hideBreadCrumbs=true #UI/Find/OrgRoleOrgZone for the Path value.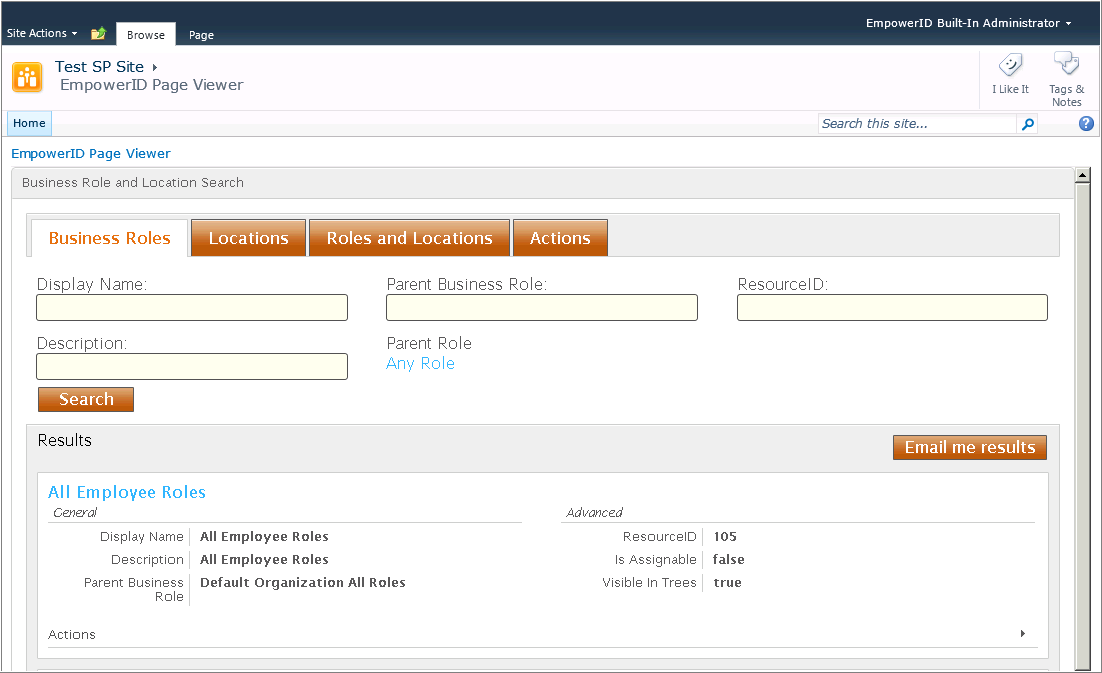
You can only place one EmpowerID Page Viewer Web Part on a SharePoint Web Part Page. You will need to create an additional SharePoint Web Part Page for each EmpowerID Page Viewer Web Part.
Related Content